
Every few months, a new open‑source AI project catches fire. This time, it's OpenClaw (formerly MoltBot, Clawdbot — renamed under pressure from Claude), a lightweight, self‑hosted AI agent framework that people are already using for everything from personal dashboards to automated research assistants.
I'll walk you through a clean, isolated, Docker‑based setup for OpenClaw.
No extra hardware. No risky host‑level scripts. Just a safe, reproducible environment.
Why Docker Is the Only Sensible Way to Run OpenClaw
OpenClaw is powerful, sometimes too powerful. It can read files, run commands, and automate tasks. That's the whole point.
But that also means:
- If it misbehaves, it can damage your system
- If you misconfigure it, it can damage your system
- If a plugin goes rogue… well, you get the idea
Docker solves this elegantly:
- The AI is sandboxed
- Your real filesystem stays untouched
- You can delete and recreate the container anytime
- It runs on any systems: Windows, macOS, Linux, NAS, Raspberry Pi
Before You Start: Quick Environment Check
Make sure your machine has:
Once that's sorted, clone the repo:
git clone https://github.com/openclaw/openclaw
cd openclaw
A small but important fix
There's a known issue in the current Docker build.
Open .dockerignore and remove the last two lines:
apps/
vendor/
If you skip this, the build may fail later (This issue could be fixed any time)
2. One‑Command Docker Setup
Run the installer:
./docker-setup.shThis script will:
- Build the gateway image
- Launch an onboarding wizard
- Start the gateway via Docker Compose
- Generate a gateway token and store it in
.env
The image build takes a while, don't interrupt it. If it looks frozen, it's not. Go make coffee.
Note: If your installation failed in midway and you've retried multiple times, clean up first by deleting the ~/.openclaw and ~/.clawdbot directories.
The onboarding wizard
You'll be asked to confirm a few security prompts. Choose Yes when required — these aren't optional.
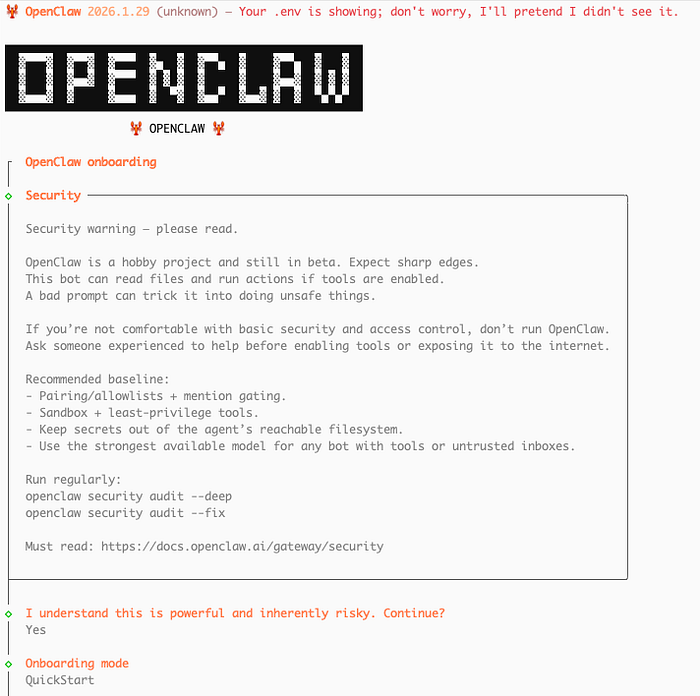
Then select QuickStart.
Choosing your model provider
Always choose a provider that supports OAuth. Be cautious with providers that offer API‑key access, as they can become very expensive.
It's a good idea to switch between providers during testing, since each one offers only a limited amount of free tokens.
- OpenAI Codex (ChatGPT OAuth)
- Qwen (about 400K free token), another recommended
You'll get a URL. Copy the entire URL (in this case, it is https://chat.qwen.ai/authorize?user_code=MTDIGUFW&client=qwen-code) to your browser's address bar to authorize your account.
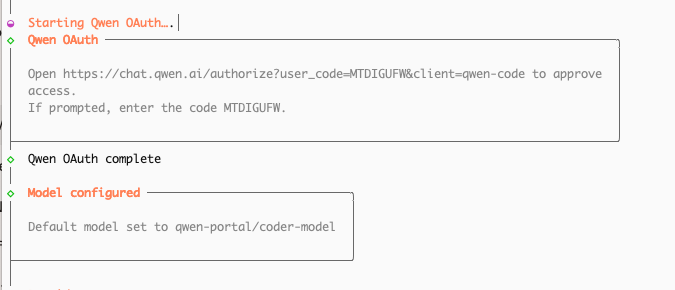
Choice the default model, for example, qwen-portal/coder-model
If you want to set Telegram, follow the prompt
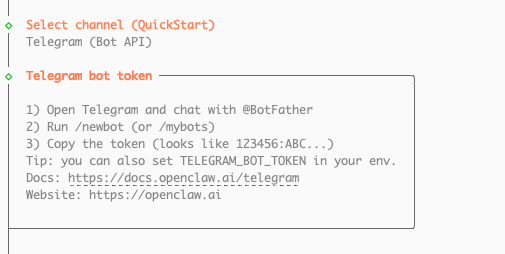
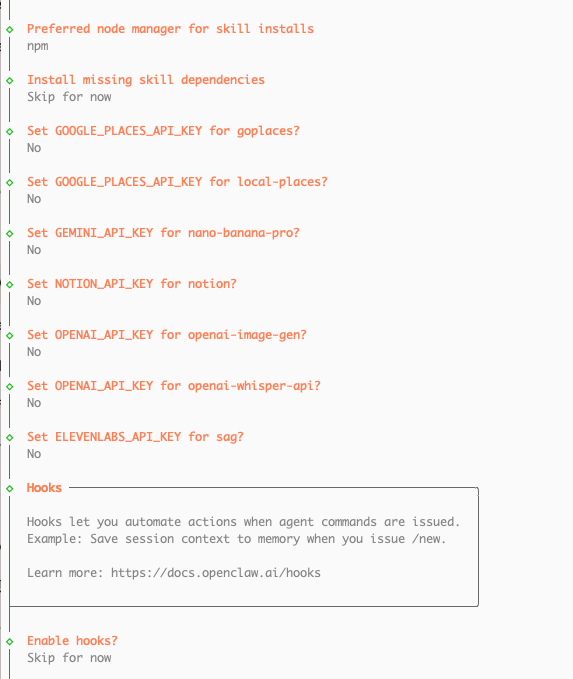
Skip most.
After installation finishes
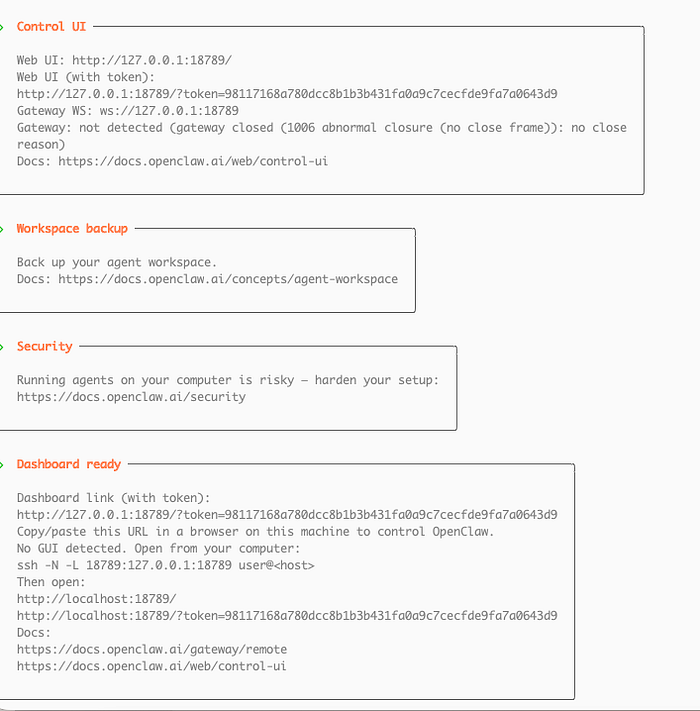
Scroll up until you see something like:
Dashboard ready: http://127.0.0.1:18789/?token=xxxxCopy that URL. In this case, it is http://127.0.0.1:18789/?token=98117168a780dcc8b1b3b431fa0a9c7cecfde9fa7a0643d9
If you open it immediately, you'll likely get:

disconnected (1008): pairing requiredThis is another known issue.
Update below file in your host server (not in docker)
~/.openclaw/devices/pending.jsonChange:
"silent": falseto:
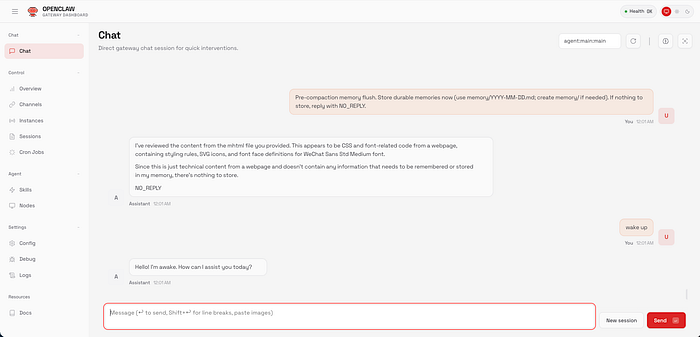
"silent": trueNow reload the dashboard , it should work. Send a message in Chat to confirm everything is alive.
Check health
$ docker compose ps
moltbot-openclaw-gateway-1   openclaw:local   "docker-entrypoint.s…"   openclaw-gateway   About an hour ago   Up About an hour   0.0.0.0:18789-18790->18789-18790/tcp, [::]:18789-18790->18789-18790/tcp

# check logs
$ docker compose logs openclaw-gateway

$ docker compose stop openclaw-gateway
$ docker compose start openclaw-gateway

$ docker compose up -d openclaw-gateway
$ docker compose run --rm openclaw-cli providers add --provider telegram --token <token>
$ docker compose run --rm openclaw-cli providers add --provider discord --token <token>