
Part 1: Visit the Nessus website (www.tenable.com/products/nessus/nessus-essentials) and fill out the form to obtain an activation code. Save the email containing the code for use during the installation and activation process.
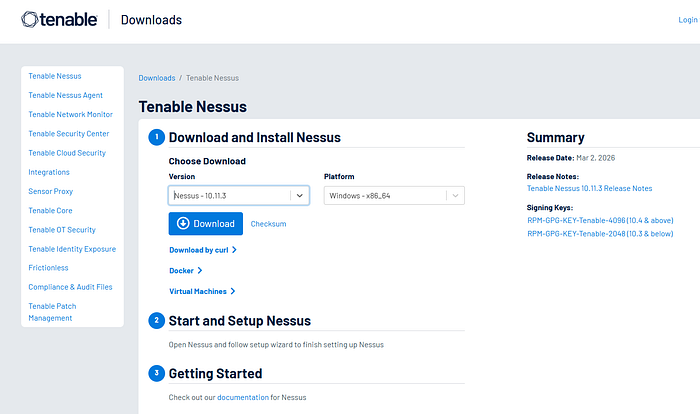
Part 2: Visit the Nessus download page. (www.tenable.com/downloads/nessus) and download the appropriate version of Nessus for your system. Install Nessus following the documentation available at https://docs.tenable.com/Nessus.htm. Verify that your installation was successful by loggin on to your Nessus server.
You will run a vulnerability scan against a server. You will need to save the report to complete the activities in the next chapter.
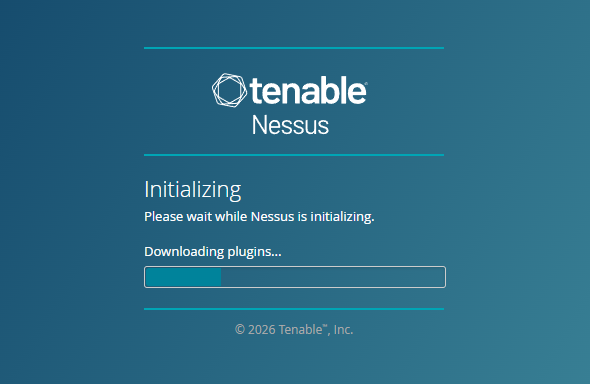
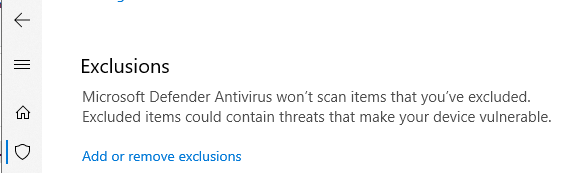
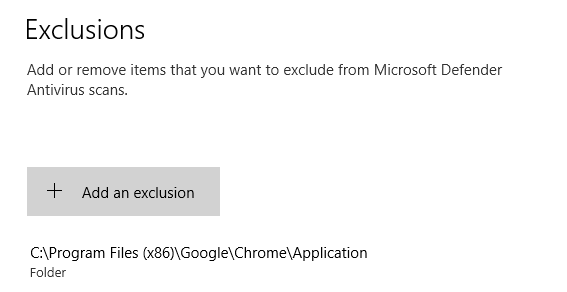
If the initialization times out or shows a "can't connect error", you may have to make some changes to your Windows Security. I had to create an exclusion in Windows Security to allow it. Open the Start menu and type "Allow an app through Windows Firewall". Click the "Change settings" button (requires administrator rights). Find Google Chrome in the list and ensure both the "Private" and "Public" boxes are checked. If Chrome is not listed, click "Allow another app…" and navigate to C:\Program Files\Google\Chrome\Application\Chrome.exe. Click OK to save changes. Add this and then reload the local host initialization.
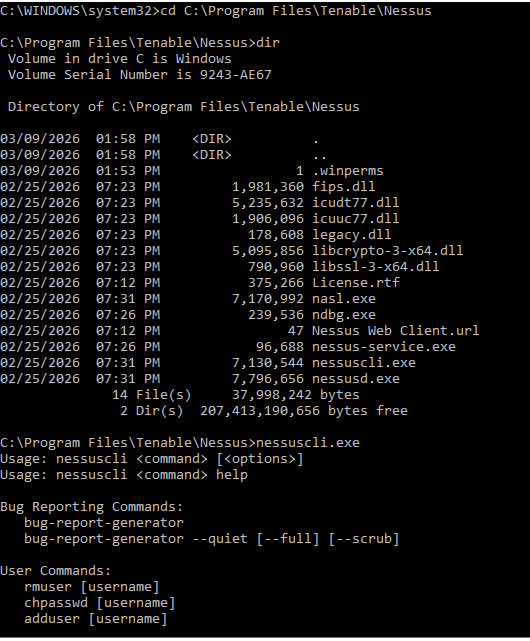
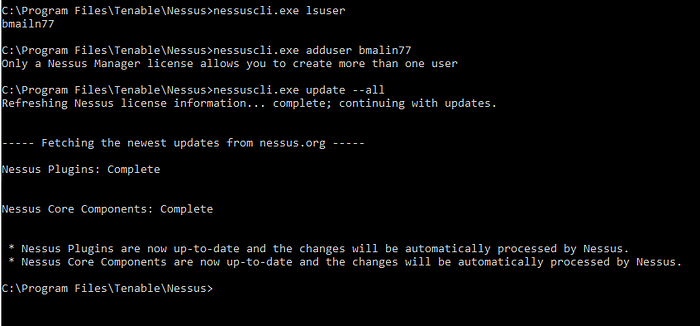
When I was able to login, I was having some issues with the user/password. I thought for sure I used my tried and true, but in an effort to change them, learned some handy tricks via the cmd in windows to get into the folder and see my user and update my password (if needed). Run cmd as admin>C:\Program Files\Tenable\Nessus. From there you will have admin access to the nessuscli.exe where you can take actions. As you can see, I flubbed my user name as "bmailn77". Rookie mistake but only nessus manager license allows you to create more than one user. Instead of it being a "wasted" exercise, I decided to run update all to my nessus local install.
The plugin compiler for me took several attempts. First time it just stopped. Second time it completed, but would not allow me to scan. The "create a new scan" prompt and button were both grayed out. From there I just started digging. It was suggested to do a hard stop and rebuild of the plugins. This takes time. My machine has 8GB, but think it needs more RAM to go faster through this process.

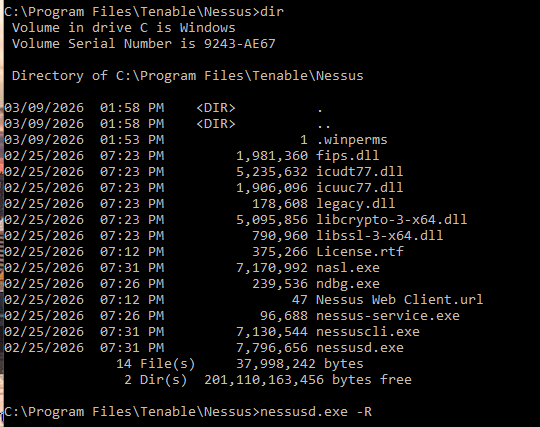

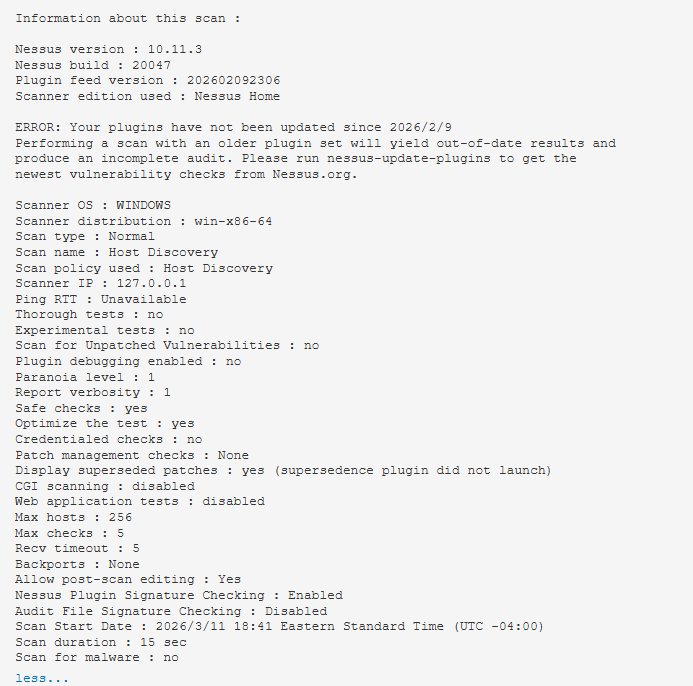
After the plugin compiler was done updating, we got it running. It's been a while since I used Nessus, so just starting with the basics first.
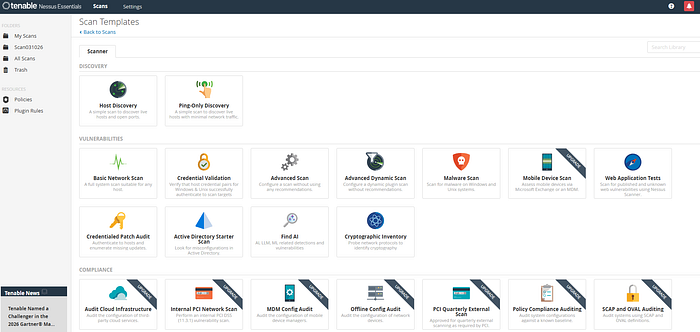
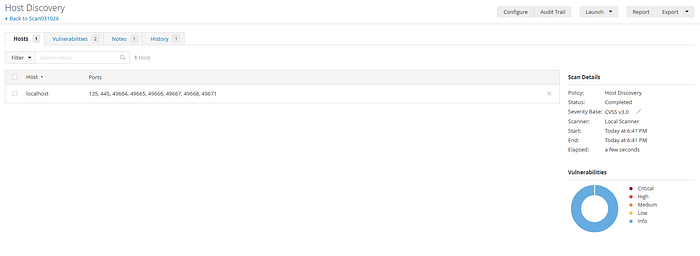
Host Discovery Scan — A simple scan to discover hosts and open ports.
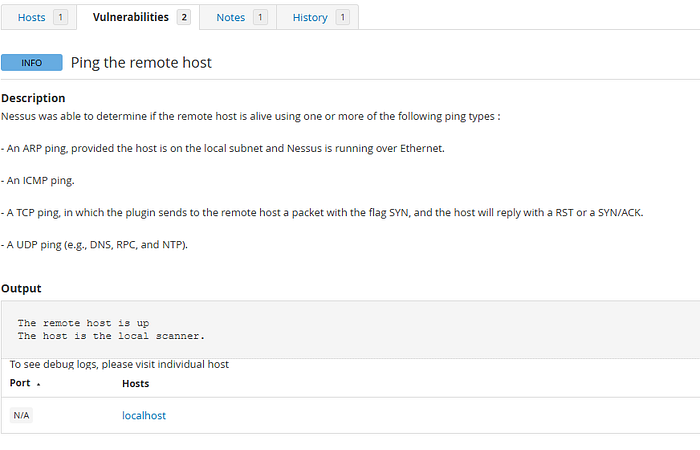
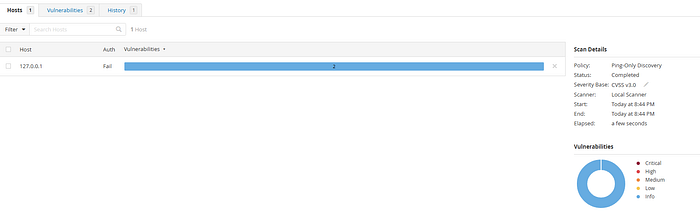
Ping-Only Discovery — A simple scan to discover the hosts with minimal network traffic.
Basic Network Scan — is a general-purpose vulnerability scan template in Nessus designed to identify security weaknesses across almost any host on a network. It is the recommended starting point for new users because it uses preconfigured "safe" default settings that minimize the risk of disrupting production systems. This was the first scan that while it took some time cause my machine is pretty slow at this point, provided me with a ton of information. Eventhough a lot of it was informational, it was a good practice to go down the lists and investigate.
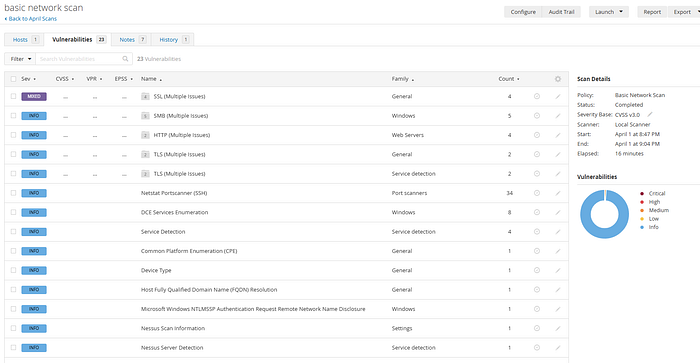
This screen breaks it all down. It reads like a great narrative of the vulnerability, Severity, Version, Type, Family, General, Published and last but not least, Risk Information.
The Notes section repeated a similar message, but across different IP's. The generic message across the messages was "…does not support packet forgery. This prevents Nessus from determining whether some of the target hosts are alive and from performing a full port scan against them. You may partially work around this problem by editing your scan settings to disable 'Ping' (Uncheck General->Ping host) and by providing Nessus with credentials to the remote host to prevent a port scan from taking place. It is, however, preferable to scan over a different network interface."

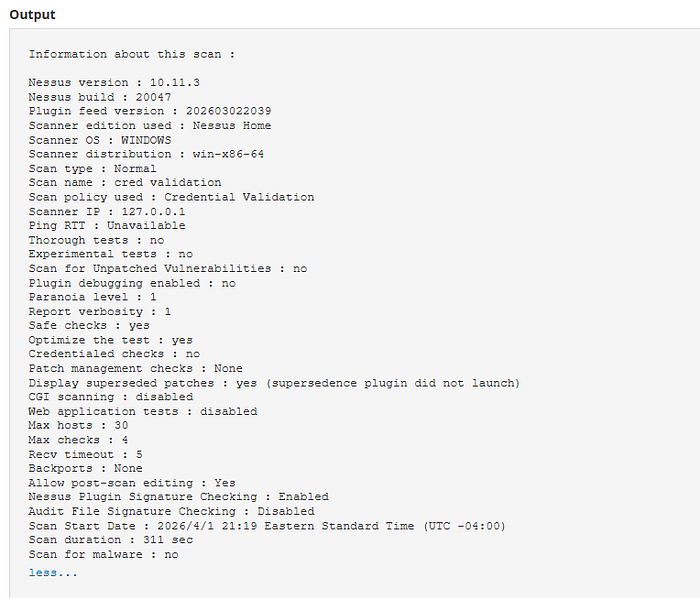
Credential Validatoon Scan — is a type of vulnerability assessment where the scanner is provided with login credentials for the target system. This allows the scanner to log in and perform an internal "local" check of the system's files, registry, and configurations, rather than just probing it from the outside over the network.
You need to complete parameters based on your choice of SSH or Windows. I chose Windows.
Authentication Method: Typically Password (SMB), but can also be Public Key or Kerberos. Username: An account with Local Administrator privileges on the target. Password: The cleartext password or hash for the account. Domain: If using a Domain Account: Enter the NetBIOS domain name (e.g., MYDOMAIN). You can find this cmd>whoami If using a Local Account: Leave this blank or enter the target's hostname
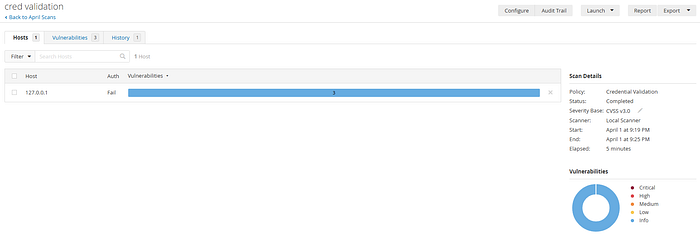
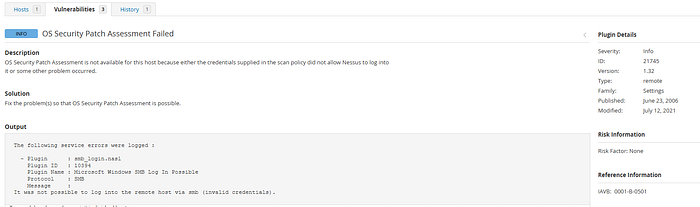
Even though all that came back were info, I wanted to dig into them. There were tons of articles about this the OS Security Patch assessment failing. I can't say for certain that this is failing because I didn't give it the Microsoft OS admin credentials, but someone running the scan for a small office of machines had posted on Reddit that giving the scan the admin credentials allowed it to run. I will not be doing this right now and will revisit.
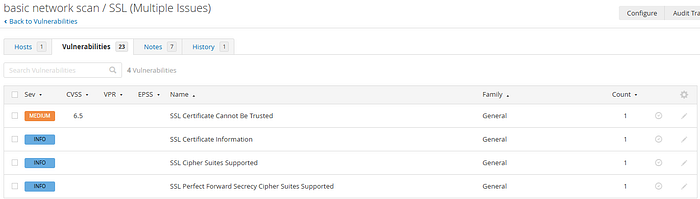
The Advanced Scan is the most configurable scan template available. It allows security professionals to tailor every aspect of a scan policy rather than relying on the pre-defined defaults found in templates like the "Basic Network Scan. A lot of results to comb through, so I will just point out a few.
SSL certificate cannot be trusted. I have an ok grasp of certificates, but this just took me to another level. See below. With this being said, I never heard the phrase "certificate chain". It means a certificate chain is an ordered list of digital certificates — starting from the website's certificate, through intermediate authorities, and ending at a trusted root authority — used to verify that an SSL/TLS certificate is legitimate and trustworthy. This statement, "If the remote host is a public host in production, any break in the chain makes it more difficult for users to verify the authenticity and identity of the web server. This could make it easier to carry out man-in-the-middle attacks against the remote host." Really just brought it all together.
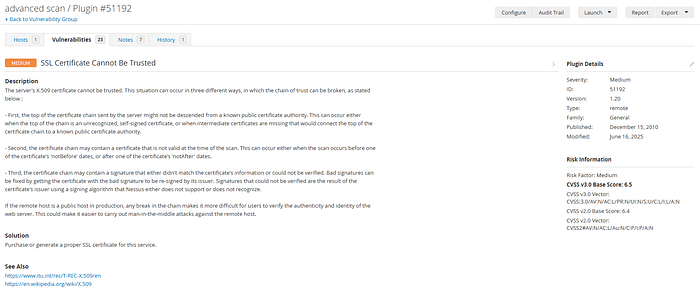
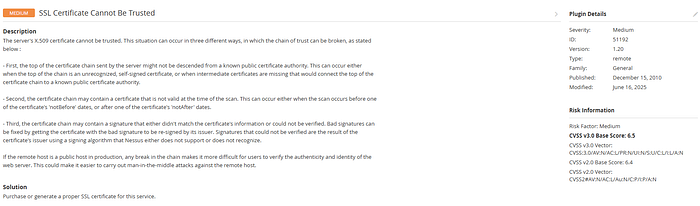
Description The server's X.509 certificate cannot be trusted. This situation can occur in three different ways, in which the chain of trust can be broken, as stated below :
- First, the top of the certificate chain sent by the server might not be descended from a known public certificate authority. This can occur either when the top of the chain is an unrecognized, self-signed certificate, or when intermediate certificates are missing that would connect the top of the certificate chain to a known public certificate authority.
- Second, the certificate chain may contain a certificate that is not valid at the time of the scan. This can occur either when the scan occurs before one of the certificate's 'notBefore' dates, or after one of the certificate's 'notAfter' dates.
- Third, the certificate chain may contain a signature that either didn't match the certificate's information or could not be verified. Bad signatures can be fixed by getting the certificate with the bad signature to be re-signed by its issuer. Signatures that could not be verified are the result of the certificate's issuer using a signing algorithm that Nessus either does not support or does not recognize.
If the remote host is a public host in production, any break in the chain makes it more difficult for users to verify the authenticity and identity of the web server. This could make it easier to carry out man-in-the-middle attacks against the remote host.
Solution Purchase or generate a proper SSL certificate for this service.
When you poke around a little further, you end up on ITU's website from the vulnerability. I am not well versed on their material, but will present it here. It provides you with the ability to download the latest
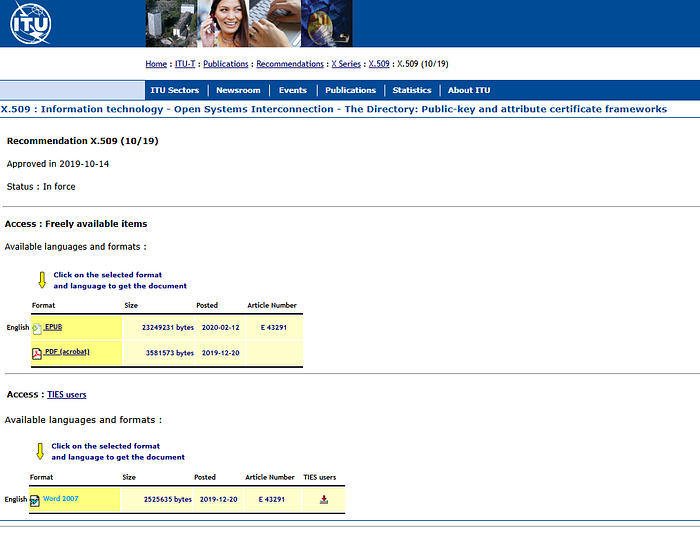
Summary Recommendation ITU-T X.509 | ISO/IEC 9594–8 defines frameworks for public-key infrastructure (PKI) and privilege management infrastructure (PMI). It introduces the basic concept of asymmetric cryptographic techniques. It specifies the following data types: public-key certificate, attribute certificate, certificate revocation list (CRL) and attribute certificate revocation list (ACRL). It also defines several certificates and CRL extensions, and it defines directory schema information allowing PKI and PMI related data to be stored in a directory. In addition, it defines entity types, such as certification authority (CA), attribute authority (AA), relying party, privilege verifier, trust broker and trust anchor. It specifies the principles for certificate validation, validation path, certificate policy, etc. It also includes a specification for authorization validation lists that allow for fast validation and restrictions on communications.
My 30-day license expired before I could do more different types of scans and I wasn't up for paying for it. They do say you can register with a different email address, but wasn't sure about doing that this way.