
In the high-stakes world of Cybersecurity Operations (SecOps), speed and intelligence are the only currencies that matter. When an alert hits your console, you don't have time to manually pivot between spreadsheets, browser tabs, and disconnected tools. You need a unified ecosystem that thinks and acts as fast as the adversary.
Welcome to the "Holy Trinity" of open-source incident response: TheHive, Cortex, and MISP. Together, they form a formidable defense stack that allows you to manage cases, automate analysis, and ingest global threat intelligence seamlessly.
The Players
Before we get our hands dirty with the terminal, let's define what we are building:
- TheHive: A scalable, 3-in-1 open-source Security Incident Response Platform which allows analysts to collaborate on cases in real-time.
- Cortex: The muscle of the operation. It acts as an engine that TheHive calls upon to run "Analyzers" (to check IPs, hashes, or URLs) and "Responders" (to take action, like blocking an IP).
- MISP (Malware Information Sharing Platform): The brain. It's a threat intelligence platform for sharing, storing, and correlating Indicators of Compromise (IOCs) from across the globe.
Phase 1: Deploying TheHive
TheHive is the heart of your SOC. For a rapid and reliable deployment, we use the automated installation script provided by StrangeBee.
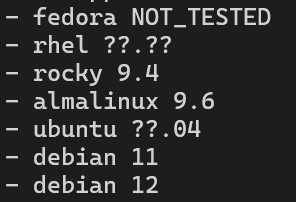
Ensure you are using a supported OS (from the screenshot below) and execute the script from the official documentation provided here. This handles the heavy lifting of setting up Elasticsearch and the application environment.
Phase 2: Installing Cortex (The Heavy Lifting)
Cortex requires a specific environment to thrive. For me this was the same machine which contained TheHive however, you can choose a different VM as well. Follow these steps to ensure a stable build.
- Install the required packages
sudo apt install wget curl gnupg coreutils apt-transport-https git ca-certificates ca-certificates-java software-properties-common python3-pip lsb-release unzip - Install Java 17: Now at this point the version of java installed in the system would be 11.0.29. However, Cortex requires Java 17
sudo apt install openjdk-17-jre-headless -y - Change Java to this version
sudo update-alternatives --config java→ choose the number which corresponds to Java 17 - Check the Java version
java -version

5. Install Cortex v3.2: Instead of going with the latest version of Cortex, choose v3.2 as that's compatible with the current version of elasticsearch which was installed during TheHive
wget -O /tmp/cortex.deb <https://cortex.download.strangebee.com/3.2/deb/cortex_3.2.0-1_all.deb> sudo apt-get install /tmp/cortex.deb
6. Setup a secret key configuration
cat > /etc/cortex/secret.conf << *EOF* play.http.secret.key="$(cat /dev/urandom | tr -dc 'a-zA-Z0-9' | fold -w 64 | head -n 1)" *EOF*
7. Add this to the config file of cortex: Replace the line including play.http.secret.key= by include "/etc/cortex/secret.conf"
sudo nano /etc/cortex/application.conf
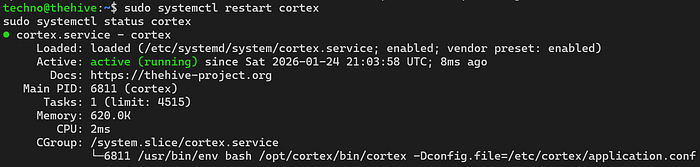
8. Restart cortex
sudo systemctl restart cortex
9. Access the dashboard of Cortex
http://<server_IP>:9001
Phase 3: The Integration Bridge
A SOC is only as strong as its connections. To link TheHive to Cortex:
- Create a user account in Cortex
- Create an API key for this user Cortex Dashboard → Organisation → User → API Key → Reveal
- Add this API key to the config file of TheHive
sudo nano /etc/thehive/application.conf
## CORTEX configuration
cortex {
  servers: [
    {
      name = "Cortex"
      url = "http://<server_IP>:9001"
      auth {
        type = "bearer"
        key = "<API_key>"
       }
     wsConfig {}
    }
  ]
}
4. Restart TheHive
sudo systemctl restart thehive
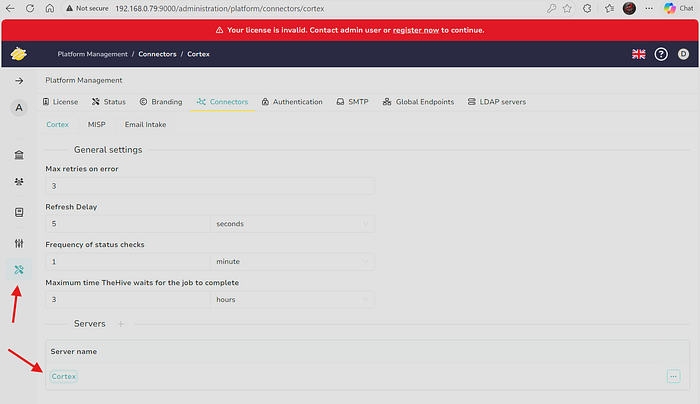
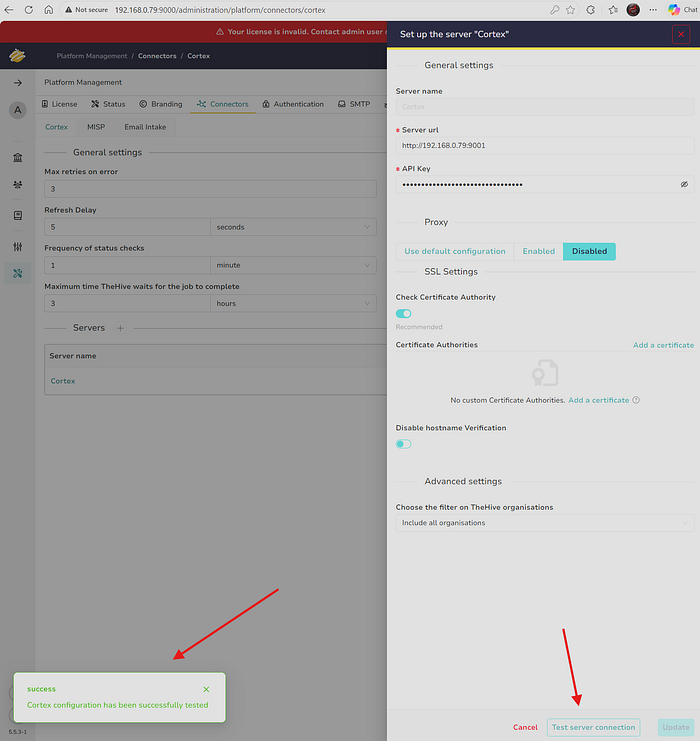
5. Check connection from TheHive to Cortex TheHive Dashboard → Platform Management → Connectors → Cortex → Test server connection
Phase 4: Unleashing Analyzers
Analyzers allow you to investigate an observable (like a suspicious file hash) with one click.
- Install prerequisite packages
sudo apt-get install -y --no-install-recommends python-pip python2.7-dev python3-pip python3-dev ssdeep libfuzzy-dev libfuzzy2 libimage-exiftool-perl libmagic1 build-essential git libssl-devpip install -U pip setuptools && pip3 install -U pip setuptools - Download cortex analyzers
cd /opt/git clone <https://github.com/TheHive-Project/Cortex-Analyzers> - Install analyzers
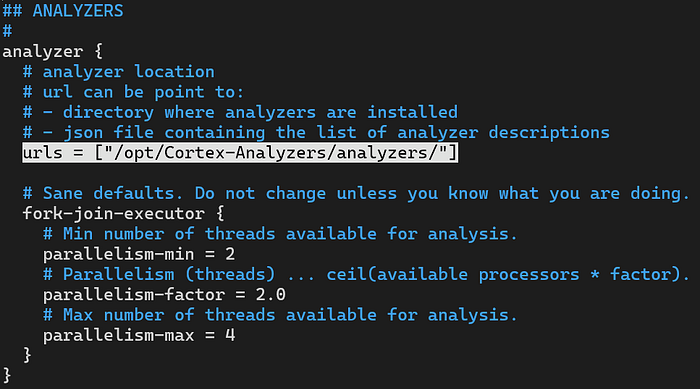
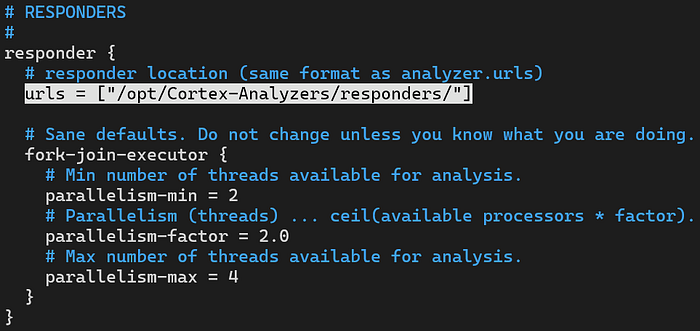
for I in $(find Cortex-Analyzers -name 'requirements.txt'); do sudo -H pip install -r $I; donefor I in $(find Cortex-Analyzers -name 'requirements.txt'); do sudo -H pip3 install -r $I || true; done - Update the config file of Cortex
sudo nano /etc/cortex/application.conf
5. Restart cortex service
sudo systemctl restart cortex
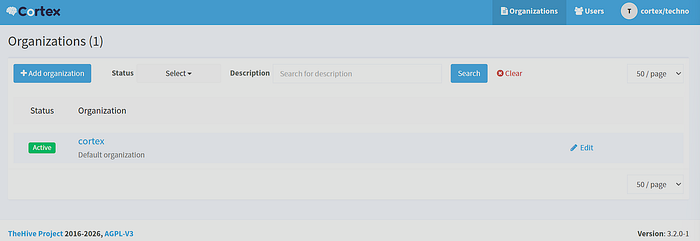
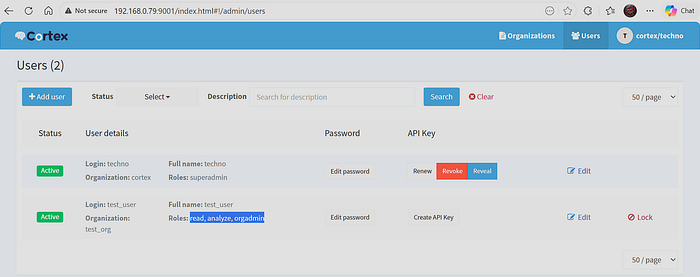
6. Create a new organisation in Cortex and a new user with access rights as shown in the screenshot below
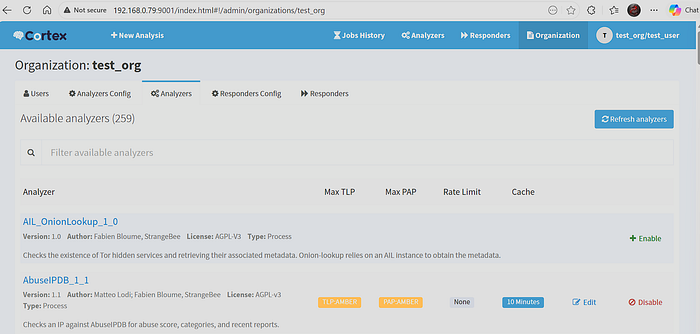
7. Log in as this user and browse to the analyzers Cortex Dashboard → Organization → Analyzers
8. Activate any analyzer: As an example I've activated AbuseIPDB with an API key from my account on this website.
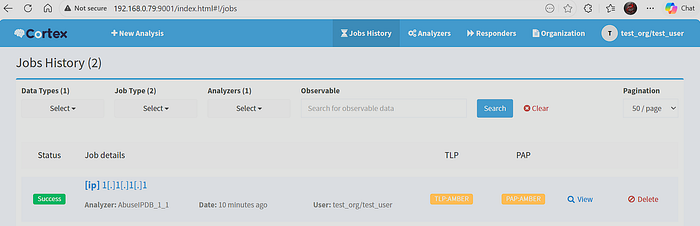
9. Test the analyzer Cortex Dashboard → Analyzers → AbuseIPDB
10. This analysis can now also be done from within TheHive.
Phase 5: Infusing Threat Intel with MISP
To prevent being a "reactive" SOC, you need the proactive intelligence that MISP provides.
- Download the latest VM of MISP from here.
- Open this VM in your VMware Workstation.

3. Open the dashboard of MISP at http://<server_ip> and change the default credentials from admin@admin.text:admin
4. Add feeds to the platform available here. MISP Dashboard → Sync Actions → List Feeds → Import Feeds from JSON
5. Enable these feeds MISP Dashboard → Sync Actions → List Feeds → Select all feeds → Enable
6. Download the feed info MISP Dashboard → Sync Actions → List Feeds → Fetch and store all feed data
7. The download information can be viewed in MISP MISP Dashboard → Home
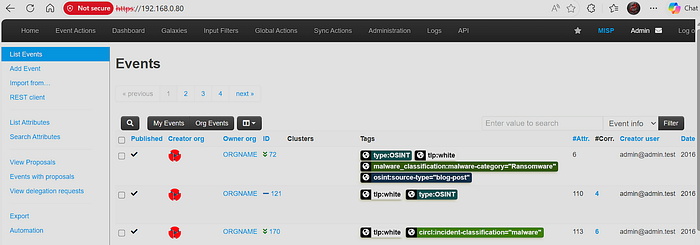
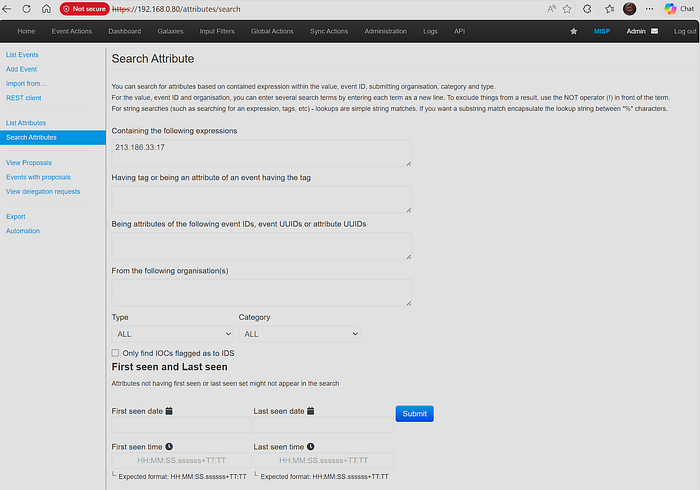
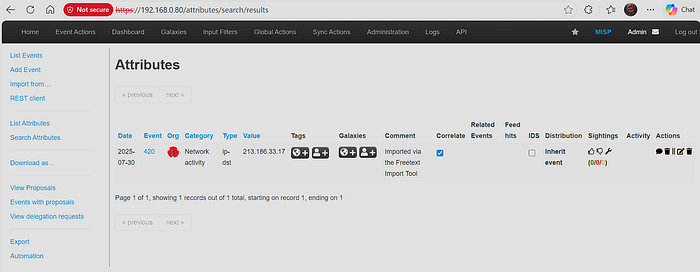
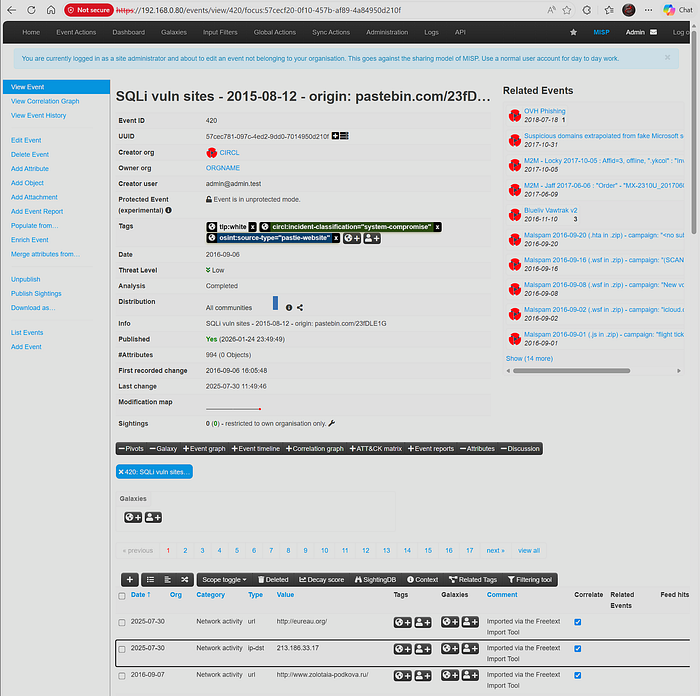
8. We can now use this threat intel feed to search for IOC's MISP Dashboard → Search Attributes
The Path Ahead
Coming Up Next: Manual alerts are good; automated responses are better. In Part 5, we will integrate Shuffle SOAR to take our mimikatz alert from Wazuh, query VirusTotal, and notify the SOC team automatically.