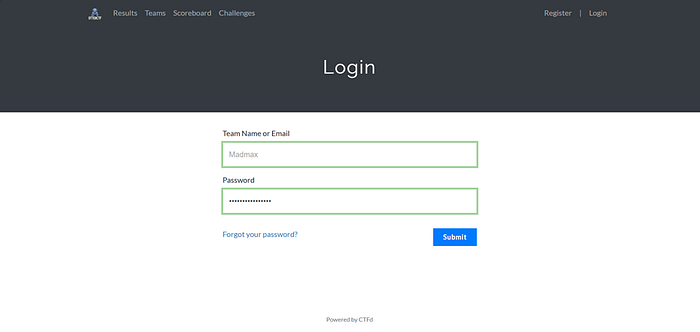

In this image, I logged into the CTF platform using my team name and password. This confirms that I already have access to the challenges. It shows that I am inside the competition environment and ready to attempt reverse engineering challenges.
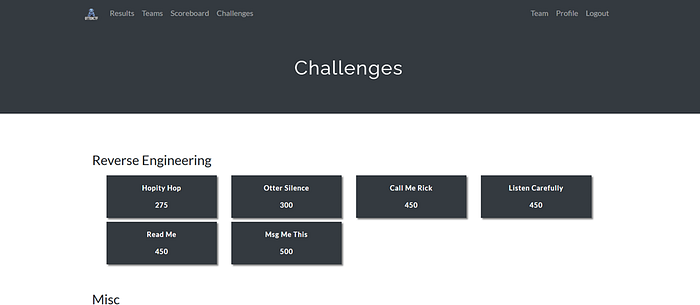
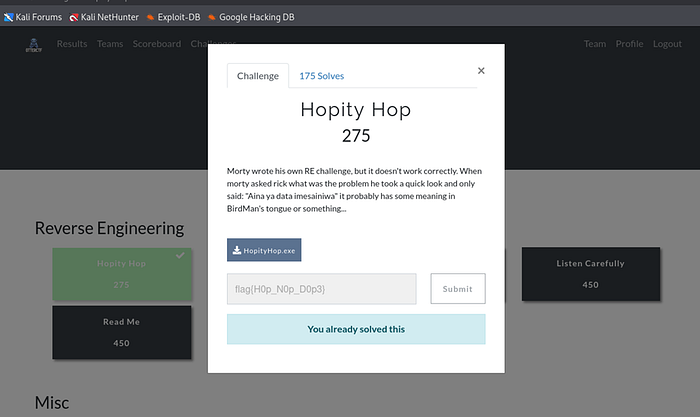
Here I can see the list of available challenges under the Reverse Engineering category. I noticed the challenge called Hopity Hop (275 points). That is the one I am going to solve. This tells me the difficulty level is medium since it gives 275 points.
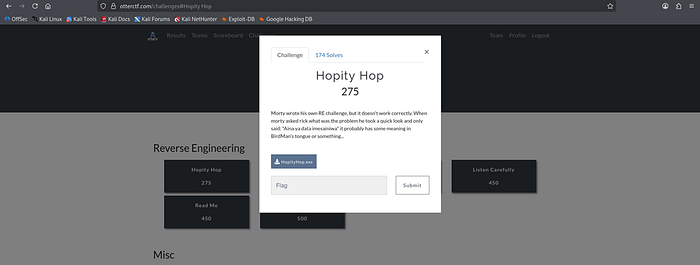
In this image, I opened the Hopity Hop challenge. I can see the description and the downloadable file HopityHop.exe. This is important because it tells me that the challenge is based on a Windows executable file, so I will need to analyze it using a reverse engineering tool like Ghidra.
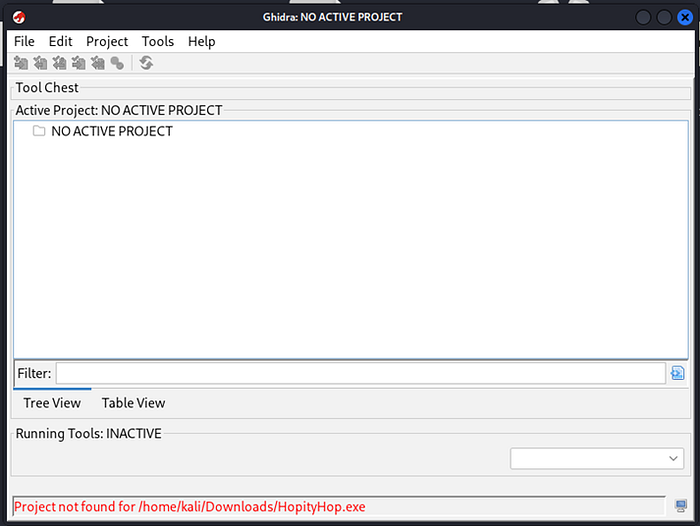
Here I opened Ghidra, but I see "NO ACTIVE PROJECT" at the top. At the bottom, it says the project was not found. This means I tried to open the exe directly without creating a project first. So I understand that I must create a new project before importing the file.

In this image, I selected Non-Shared Project. This is correct because I am working alone on my local machine. I clicked "Next" to continue creating my reverse engineering project.

Here I set the project directory to /home/kali and named it HopityHop_RE. This helps me organize my work properly. After confirming everything is correct, I clicked "Finish" to create the project.
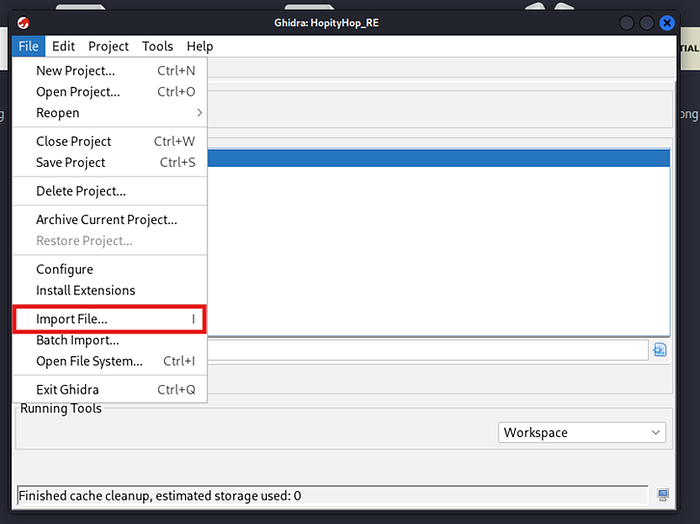
Now I clicked File → Import File to load HopityHop.exe into my project. This is important because Ghidra cannot analyze anything until the file is imported into the project.
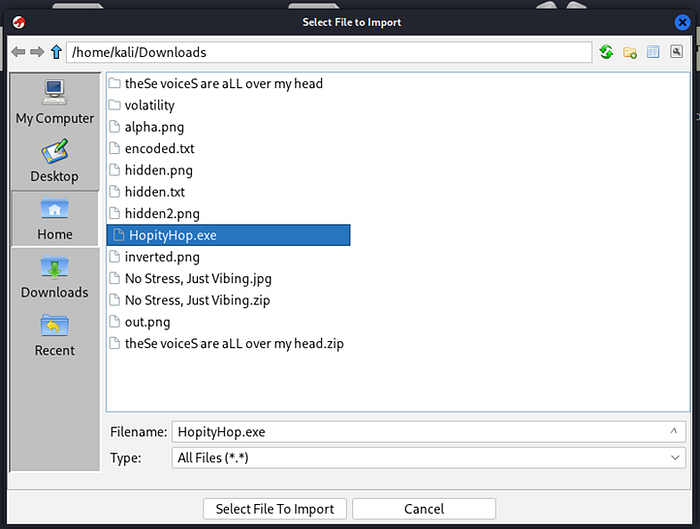
In this screenshot, I selected HopityHop.exe from my Downloads folder. This confirms I am importing the correct binary file that I downloaded from the challenge page.
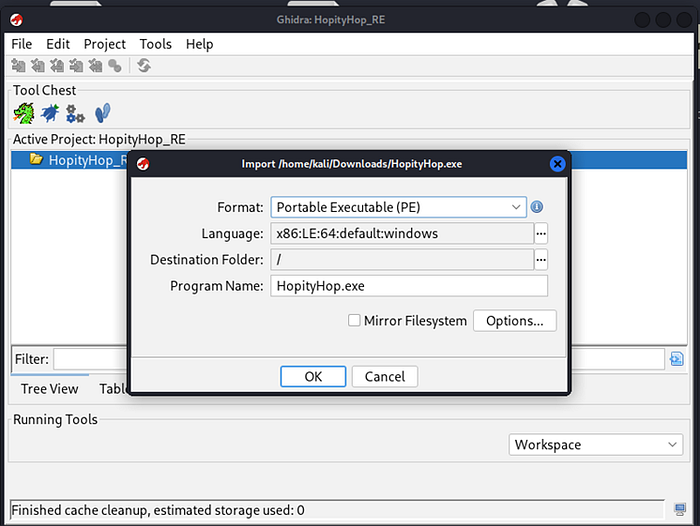
Here Ghidra shows that the file format is Portable Executable (PE) and the language is x86:LE:64:windows. This tells me the binary is a 64-bit Windows program. That is very important because now I know what architecture I am dealing with.
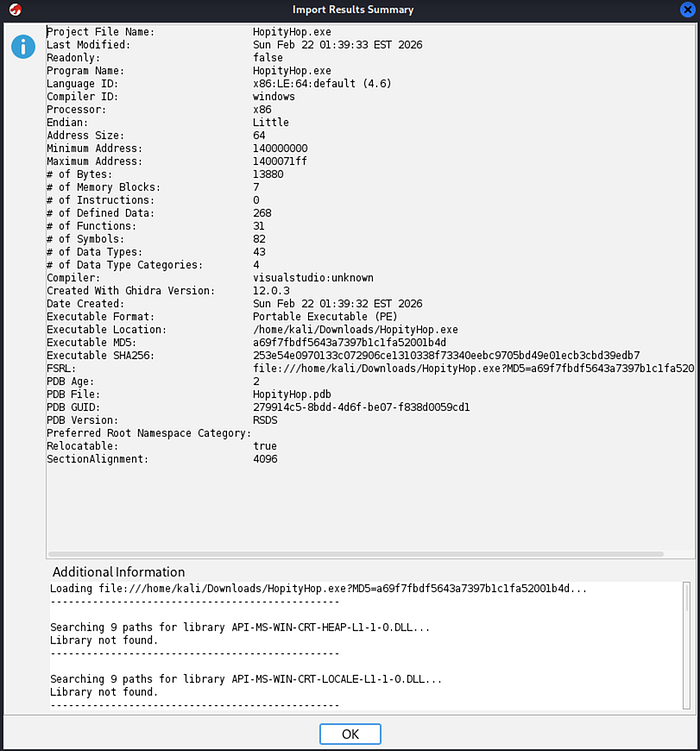
This image shows the import summary. I can see details like processor (x86), address size (64), and number of functions. This confirms that the binary was successfully loaded and recognized properly by Ghidra.
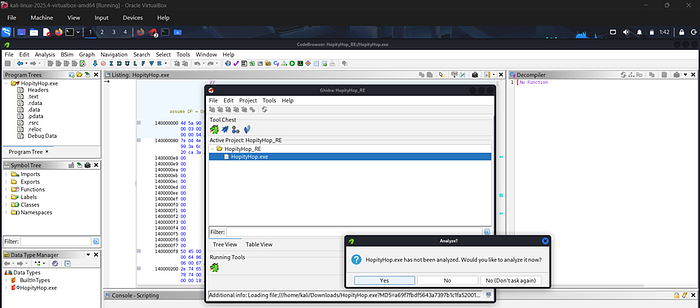
Here Ghidra asks me if I want to analyze the program. I clicked "Yes" because analysis is necessary for Ghidra to automatically detect functions, strings, and structure inside the binary.
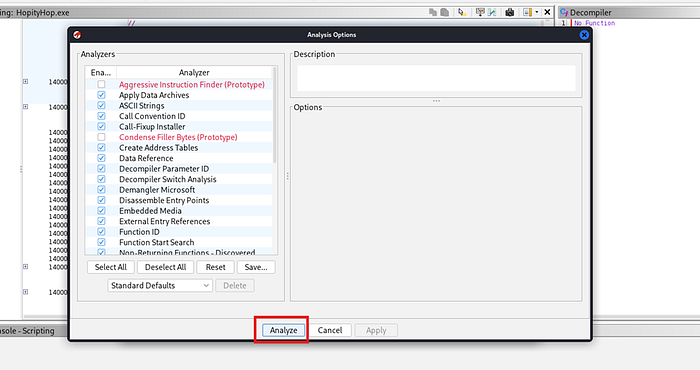
In this window, I kept the default analysis options and clicked "Analyze." This allows Ghidra to scan the entire executable and identify important components automatically.
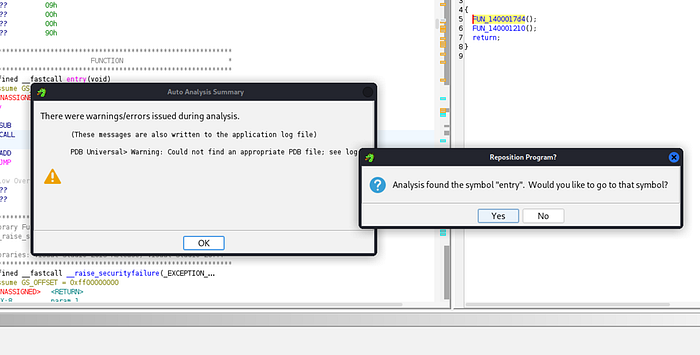
This shows that analysis completed with a small warning about PDB, but that is not critical. The important thing is that analysis finished successfully and Ghidra found the program entry point.
Here Ghidra asks if I want to go to the symbol "entry." I clicked "Yes." This takes me to the starting point of the program, which is where execution begins. This is always a good place to start understanding program logic.
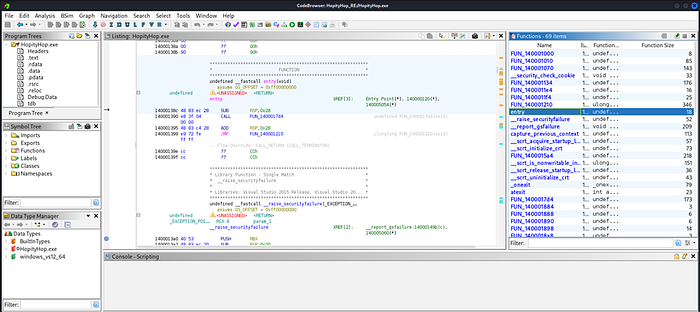
In this screenshot, I am inside Ghidra after analysis is complete. On the right side, I can see the list of detected functions. This is important because I now know Ghidra has identified multiple internal functions automatically. I understand that I should not waste time on small system functions and instead look for suspicious or larger custom functions.
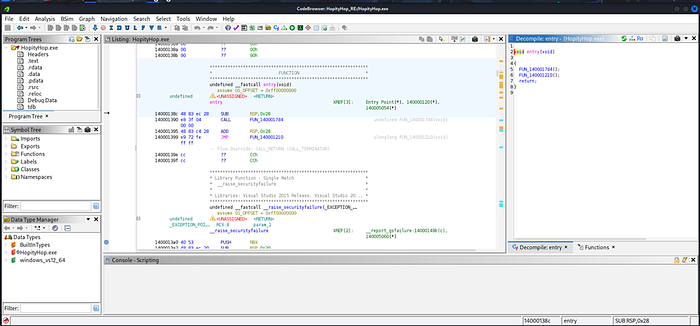
Here I clicked on the entry function. In the decompiler window, I can see that it simply calls two other functions and then returns. This tells me that entry is not where the real logic is. So I decide to follow the function calls to find where the actual program behavior happens.

In this image, I opened another function that was called from entry. In the decompiler window, I see some Windows file-related structures and setup code. It looks like normal startup or environment preparation code. From this, I understand that this function is probably not directly generating the flag.
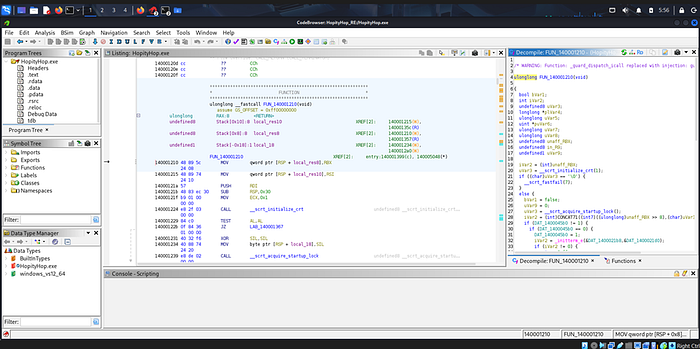
Now I am looking at a bigger function that contains CRT initialization code. I see calls like __scrt_initialize_crt and startup lock functions. This confirms that this is mostly program initialization logic, not the real challenge logic. So I continue searching for something more interesting.
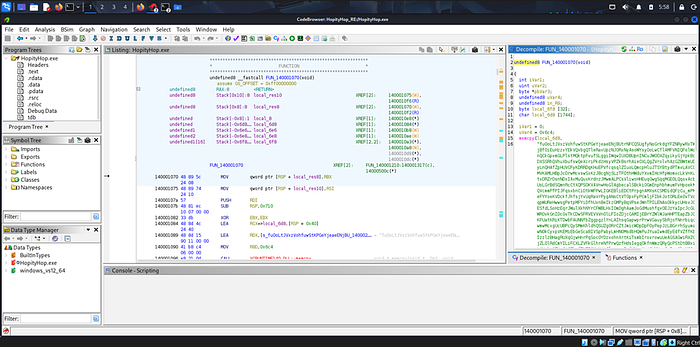
Here I opened FUN_140001070, and immediately I see something different. In the decompiler window, I notice a very long strange string filled with random characters. This looks suspicious and very important. I realize this is probably the encoded or hidden data used to generate the flag.

In this screenshot, I scroll further down inside that same function. I see a loop structure where it processes characters one by one. I understand that the program is iterating through that long string and performing some operations on each character. This is likely where the transformation logic happens.
Here I look at the assembly instructions more closely. I see instructions like MOVSX, CALL, ADD, TEST, and JNZ. This confirms that the program is looping repeatedly and modifying values. The JNZ shows that it continues looping until a condition becomes zero.
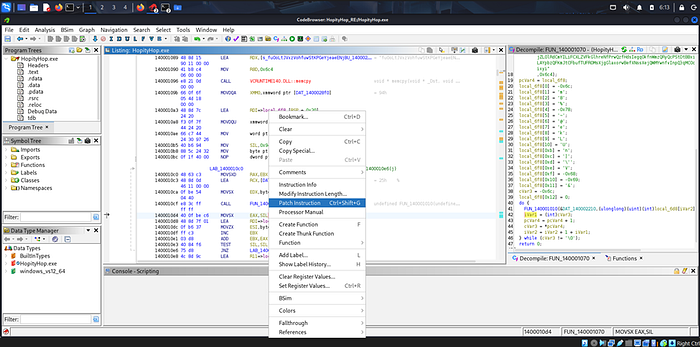
In this image, I right-clicked on an instruction and selected "Patch Instruction." This means I decided to modify the program behavior. Instead of fully understanding the logic mathematically, I chose to patch the binary to control its behavior and make it reveal the flag more easily.
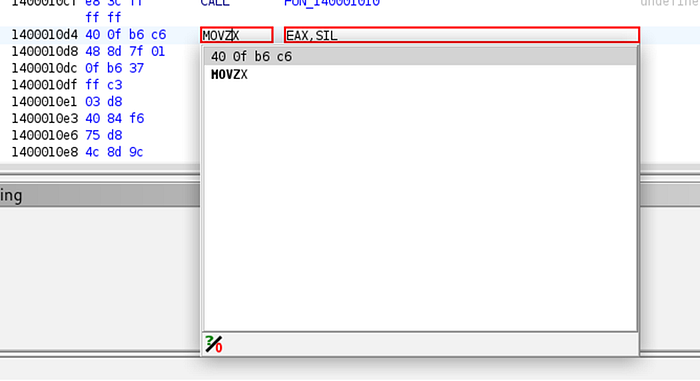
Here I zoomed into the specific instruction MOVZX EAX, SIL. This instruction moves a byte into a register and zero-extends it. This is part of the loop logic. By focusing on this line, I understand that this register value affects the loop condition and flag generation process.
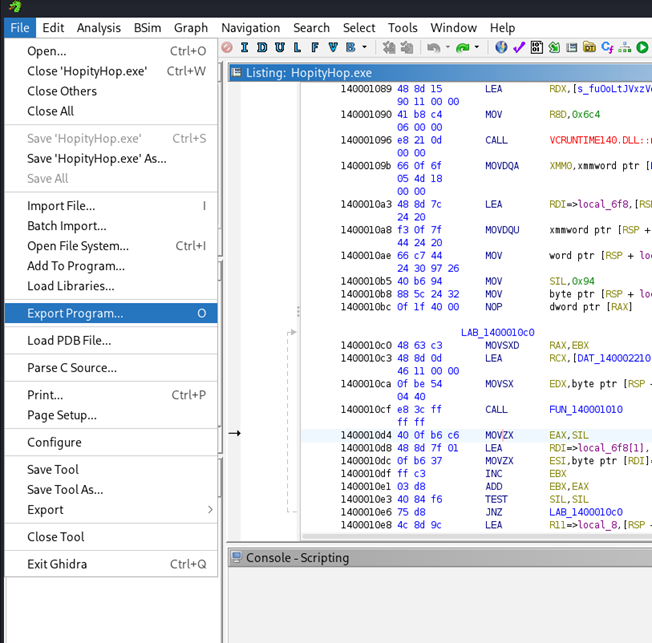
In this screenshot, I went to File → Export Program. This is important because after patching the binary, I need to export the modified executable. I selected "Original File" format to save my patched version.
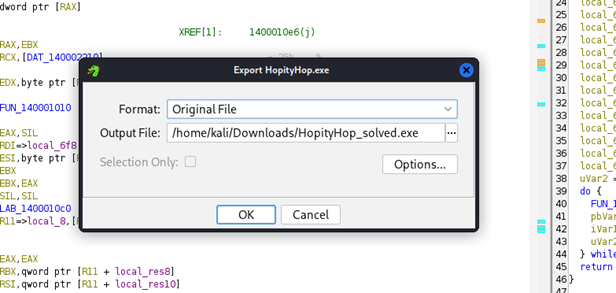
Here I set the output file name to HopityHop_solved.exe and saved it in my Downloads folder. This is my modified version of the original binary, which should now behave differently when executed.
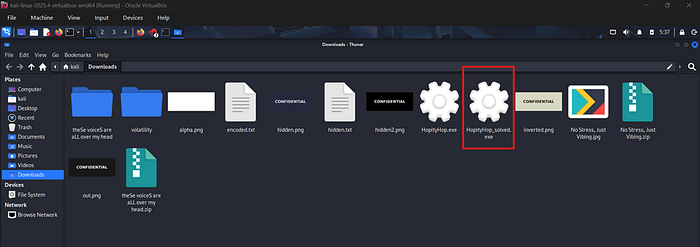
In this image, I confirm that HopityHop_solved.exe is successfully saved in my Downloads folder. This tells me the export worked correctly and I am ready to test it.
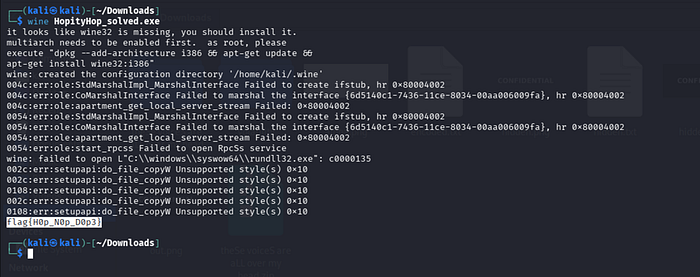
Here I ran the file using Wine with the command wine HopityHop_solved.exe
Even though Wine shows several error messages, at the bottom I clearly see the output:
flag{H0p_N0p_D0p3}
This confirms that my patch worked and the program printed the flag successfully.
In this final screenshot, I submitted the flag on the CTF platform. It shows "You already solved this." This confirms that the extracted flag: flag{H0p_N0p_D0p3} is correct and the challenge is successfully completed.