TL;DR
This project simulated a phishing attack in a controlled lab environment using only personally owned accounts for educational purposes. The goal was to understand the full phishing lifecycle, from infrastructure setup to credential harvesting, demonstrating how phishing campaigns are planned, adapted, and executed in realistic scenarios. It also highlighted the importance of troubleshooting, infrastructure setup, and social engineering techniques in phishing operations.
Key Steps:
▸ Attempted to use SMTP2GO for email delivery but encountered account creation issues.
▸ Switched to Twilio SendGrid for SMTP relay configuration.
▸ Initially tried using the Social Engineering Toolkit (SET) on Kali Linux but found it limited for credential harvesting.
▸ Pivoted to Gophish as a better alternative for phishing simulation.
▸ Configured SMTP settings, email templates, landing pages, and target groups inside Gophish.
▸ Faced multiple issues cloning login pages due to missing JavaScript/CSS dependencies.
▸ Resolved landing page problems by switching to a simpler WordPress-based template after researching community solutions.
▸ Used a promotional email template to simulate realism.
▸ Successfully launched a phishing campaign against a personal test account within a virtual lab environment.
Outcome:
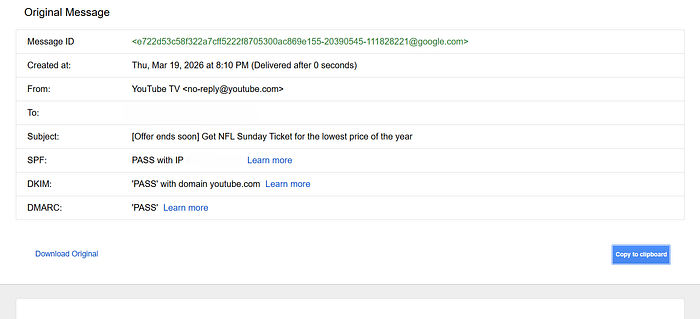
▸ The phishing email was delivered successfully.
▸ The fake landing page captured submitted credentials as intended.
▸ Campaign metrics inside Gophish confirmed successful credential harvesting in the simulated environment.
Let's Begin! 🎣
We start off by setting up our SMTP relay server. We first navigated to SMTP2GO's website to create a free account and get started:

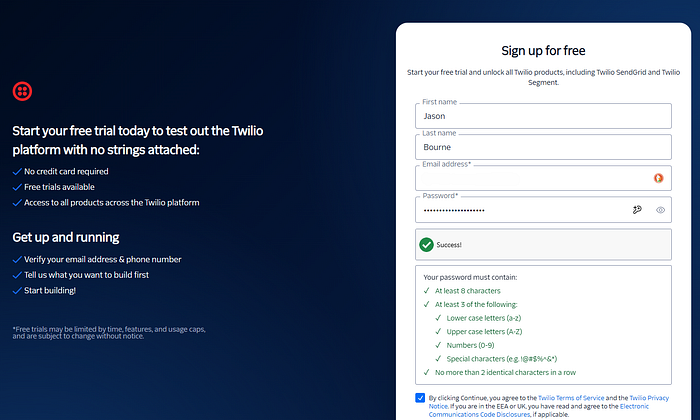
We attempted to great a free account on SMTP2GO's website, but an error kept getting thrown, and it seemed like it would not accept a specific email domain to create the account. Upon further investigation, I came across another SMTP relay station, which is the one we will instead end up using for the rest of the project: SendGrid.
Once we create our account, we are welcomed into SendGrid's dashboard:
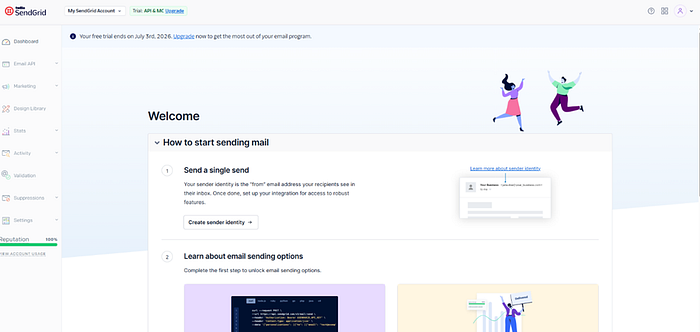
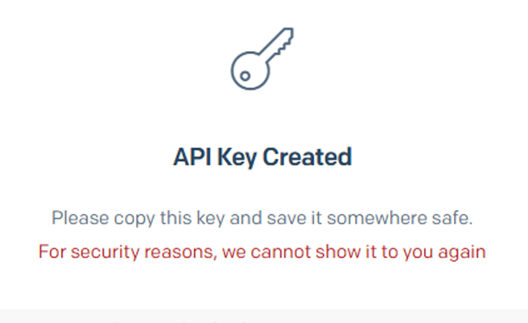
From here, we create a sender, and in this case, I utilized my specific email address as a verified sender for this relay service. After that, the next step is to get the API key setup to be able to incorporate it into our Gophish service during that setup:

***** One thing to note is that when the API key is created, they will present you the key once. After that, you won't see it again, so take down the key value once it is created.
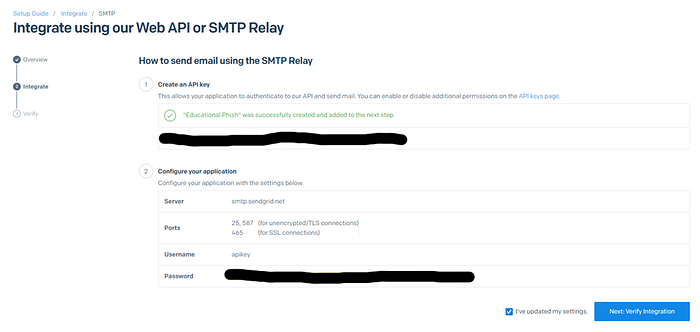
We then have to set up the SMTP relay service on SendGrid:

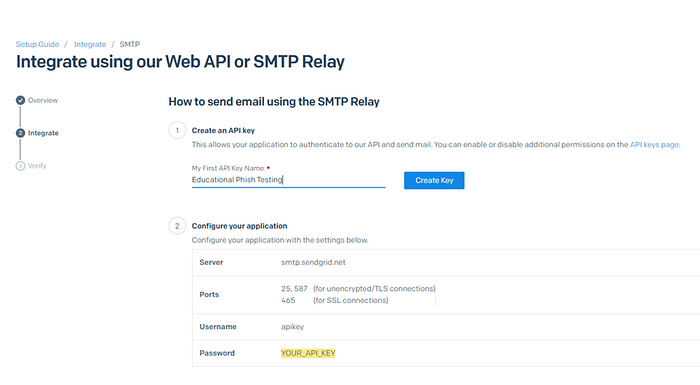
Once the SMTP relay is created, take down the server's name and ports. They will come into play when setting up the relay on Gophish:
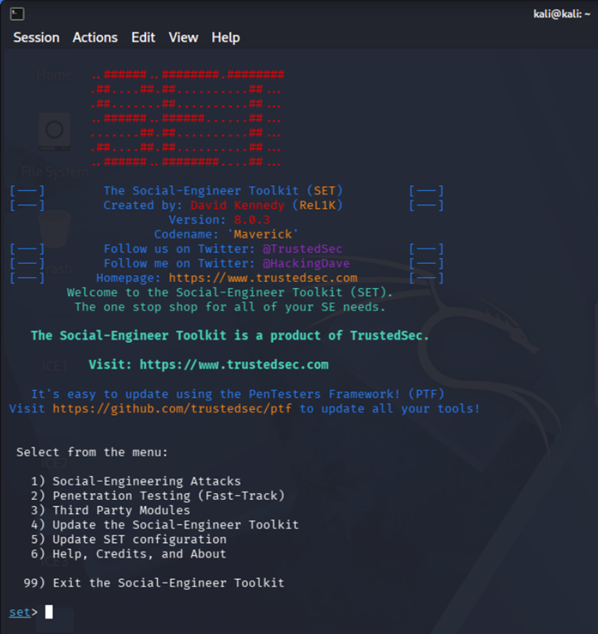
With the full setup on Twilio's SendGrid now complete, we can begin setting up our Kali Linux for phishing. Powering up our Kali VM on our VMware Workstation, we navigate to SET (Social Engineering Toolkit).
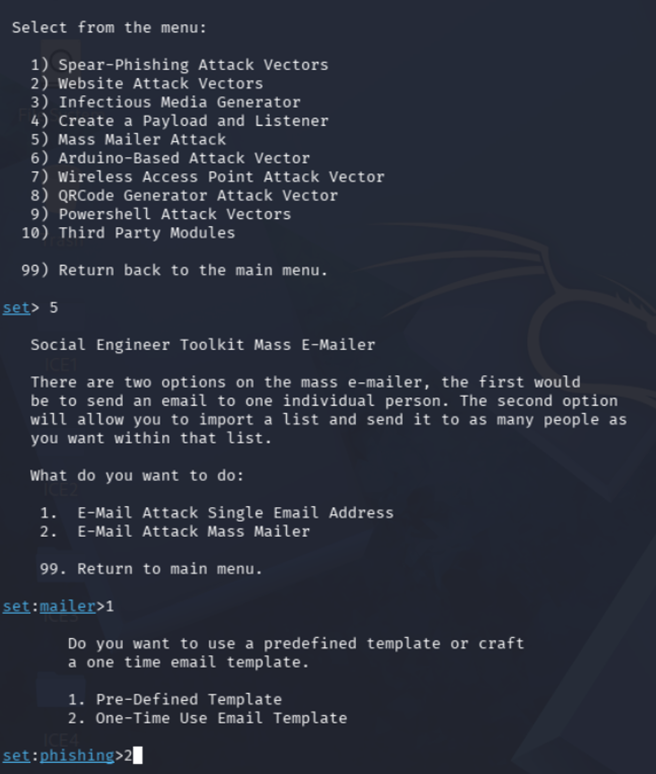
I began going through the steps to set up a phishing email attack, aimed at a single email address (my personal), and got to the template writing portion before I realized there was no way to really insert malicious links or URLs for credential harvesting.
Realizing this, I did a quick analysis and determined Gophish would be better suited for the job. From here, we changed tactics from SET to Gophish.
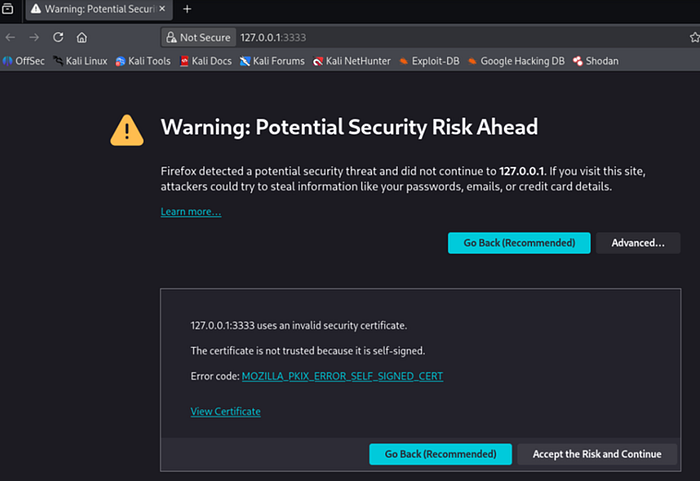
Initially, upon starting Gophish, you will have to get past the warning initially displayed to get to the application:
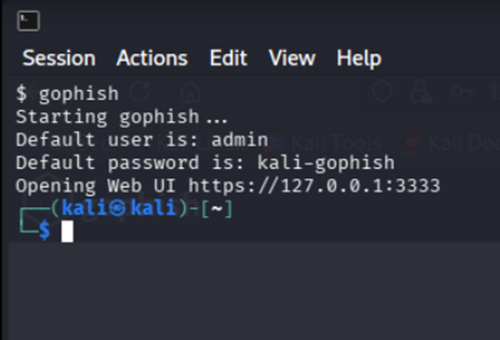
It is important to note that when you first start up Gophish, you will be given a set username and password. Gophish automatically will have you change the password when this default password is first used to sign on.
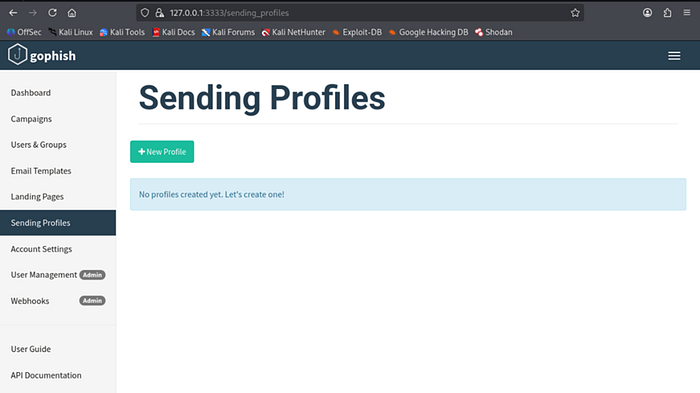
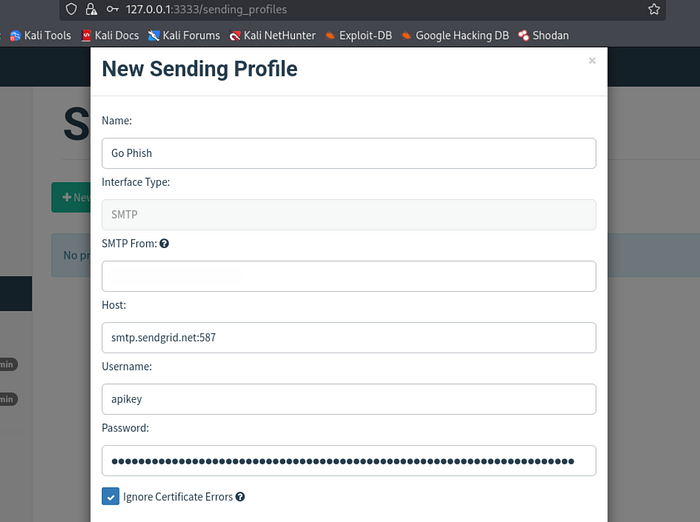
Once we have logged in and changed our password, navigate the left-hand pane for the Sending Profiles section. From here, we will put down the SMTP server information and our login information that we collected above when we set up the SendGrid account.
We can submit a test email during this process to ensure that the email goes through to the recipient. The test email turned out to be a success.
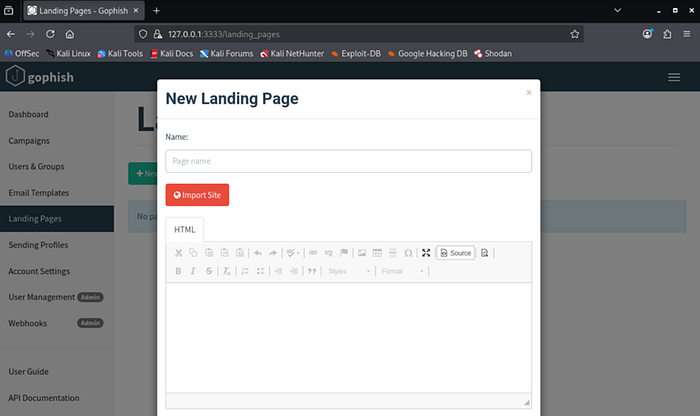
The next step is setting up the Landing page. This step was one of the most difficult, as I kept running into issues with creating a page with no issues. Originally, it started with using TryHackMe's login page as the landing page:
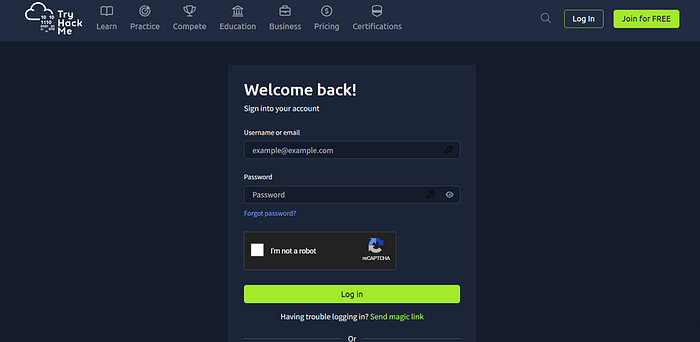
***********************************************
Before continuing further, here is where I ran into many different issues, spanning a couple days of troubleshooting. To save the hassle, I will skip to the resolution. The TryHackMe landing page did not work, and kept giving me a This Page Does Not Exist error that I could not resolve.
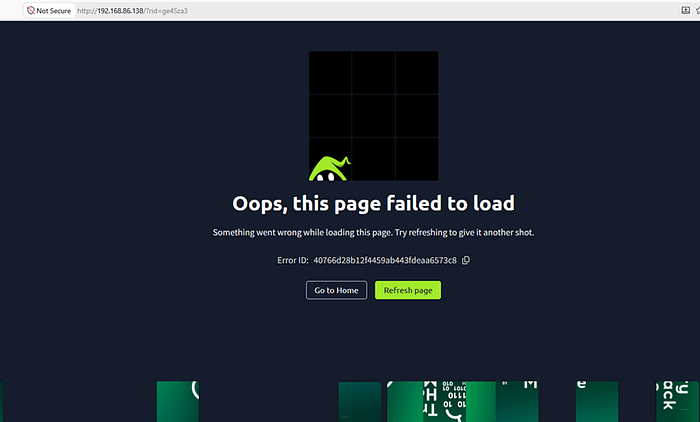
After a few days of troubleshooting, I found a solution thanks to Andrii Kladochnyi on HackenProof. In his report, he mentions how some webpages might not load properly due to the additional java, css, and any other extra files they may use besides their HTML front matter. He recommended using WordPress as the template, which I ended up doing as well, and which finally worked, as we will see further down in this report. Big shoutout to him for pointing out the issues with some complex webpages.
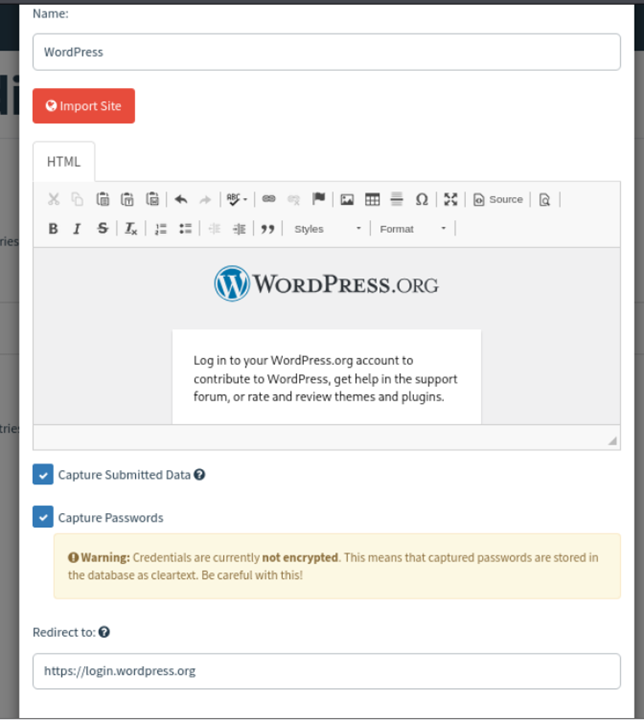
***********************************************
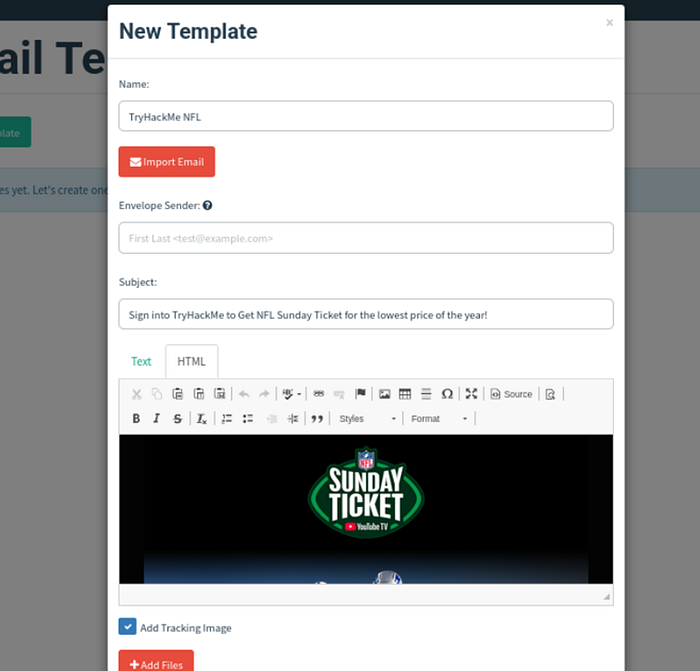
The next step is to make an email template to be used for our phishing attempts. In order to do this, we have to create a template, or use the template of an email already created, such as one of the many spam ones all of us receive at one point or another. I utilized a YouTube TV signup ad from my inbox.
Obviously, in a real phishing attempt, the template will appear much more convincing, but this was for educational purposes.
You can copy the source code of the email, and import it into the email template via the Import Email button.
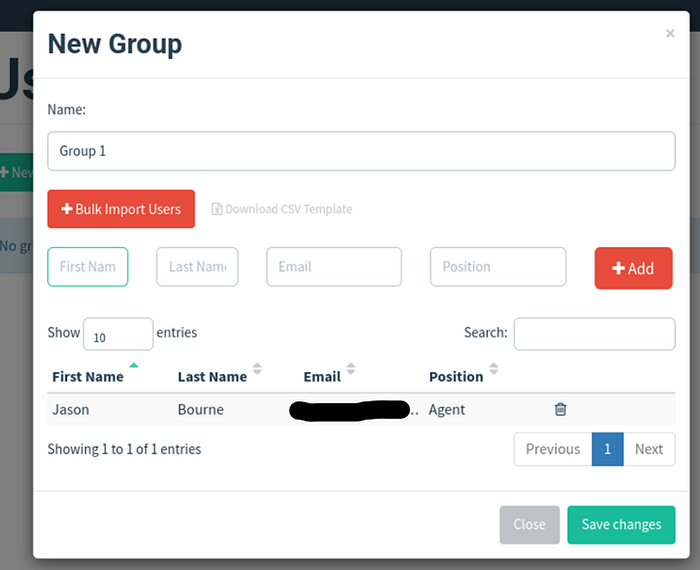
With the email template created all we have left to do is create a list of users to send our phishing attacks to. In this case, it was just one target: my personal email.
With the setup now complete, we are ready to begin our phishing attempt. We start a new campaign from the left-hand column, inputting all the various sections we have created in the previous steps.
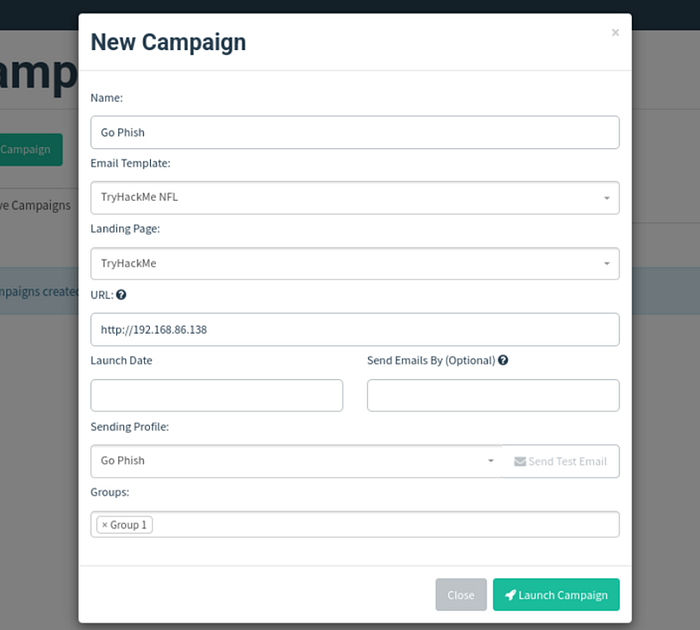
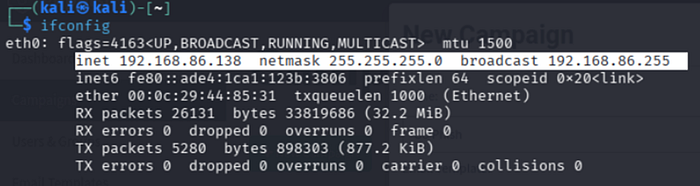
You may have noticed the URL section above. In case you were wondering, this can be found by determining your device's IP address.
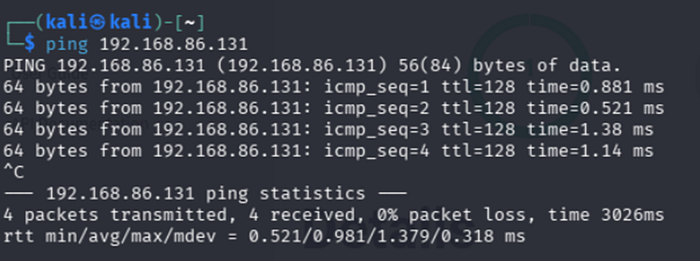
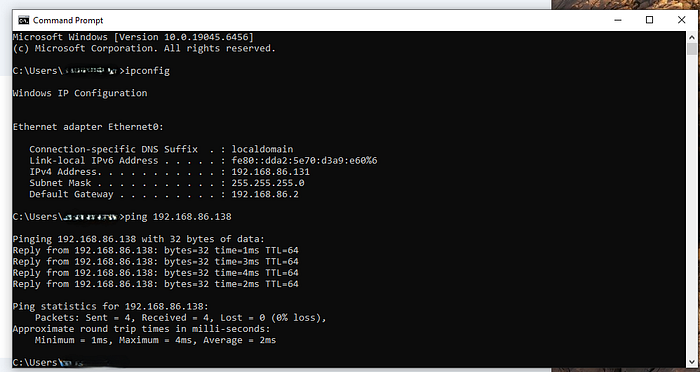
The victim will login to another VM to simulate real-life scenarios regarding credential harvesting and phishing. We can ping the second device on the network to verify both Kali Linux and the target machine can reach each other.
⛵ Now the fun begins!
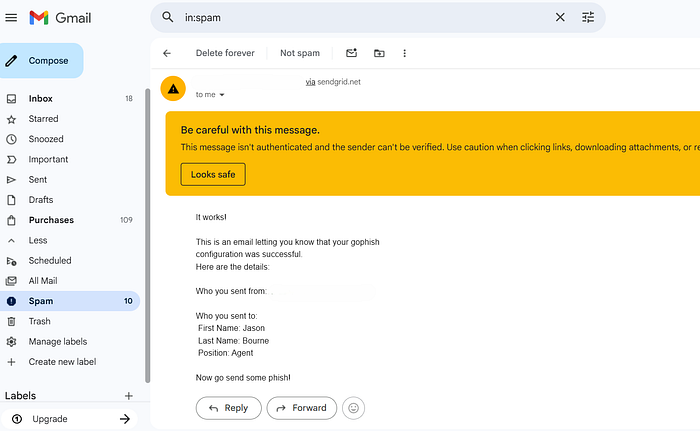
Logging in to our email, we are presented with the phishing email we have just created:
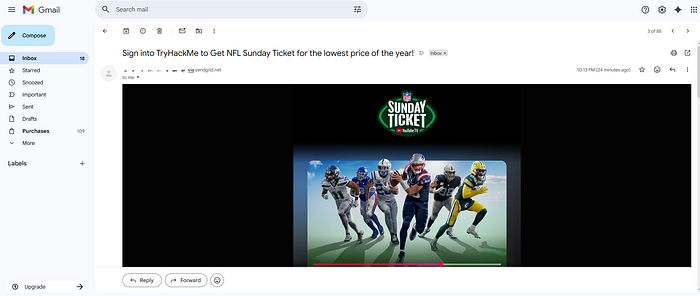
Also take note of the title of the email. This was prior to determining WordPress was one of the ideal websites to make templates of. The title of the email was changed to account of WordPress, rather than TryHackMe as the site. It took many trial and error runs of email campaigns.
🏁 Almost there…
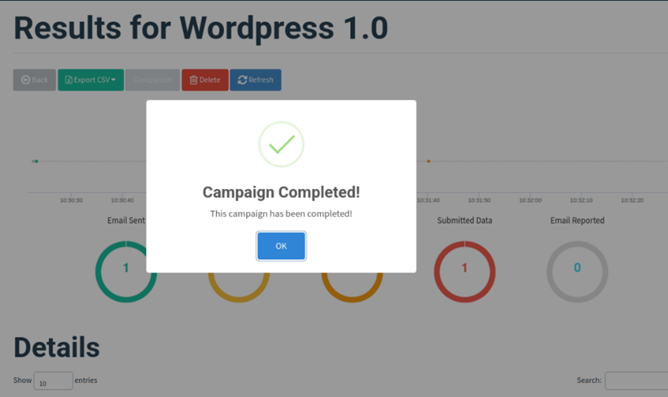
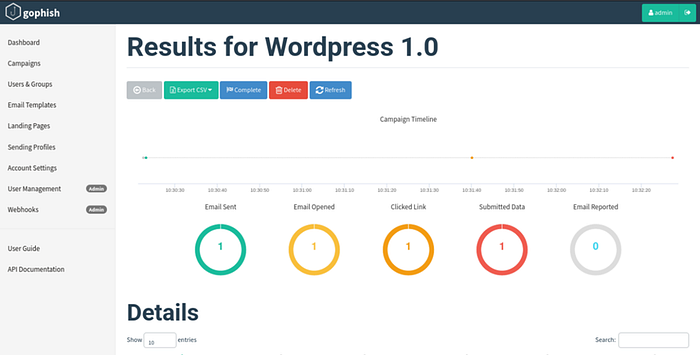
After a campaign has been run and the victim has interacted with the email, we can access the metrics of the campaign via the Dashboard. Again, after many trial and error runs, the landing page was fully fixed and functional, and this is what the metrics should show. Credential harvesting would be a success:
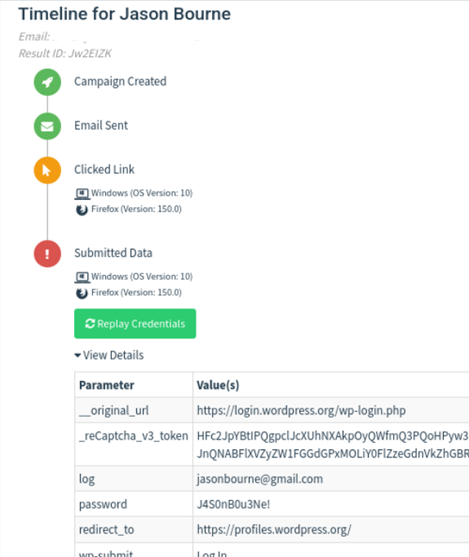
If we go further into the details, we can see the exact credentials that the victim entered on the fake landing page.
🎉 In Conclusion…
Despite taking multiple days and countless hours to figure out the various issues encountered, this simulation demonstrated the various steps taken to simulate phishing attempts to better understand their entire lifecycle, as well as demonstrate the ability to adapt and change tactics as needed when an obstacle was encountered.