OWASP BLT is becoming an increasingly popular platform for bug reporting and remediation with that we also need an on-the-go setup and for that I will show you how to setup BLT project on cloud shell. You can access this setup anywhere even your phone you just need to be logged in the same gmail.
Little sneak peek: In this blog we will also be hacking cloud shell itself! Let's go!
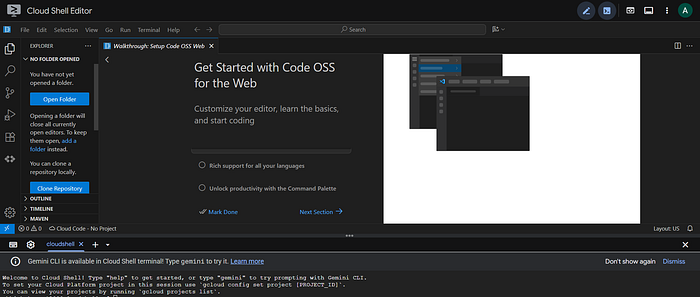
- Go to Google cloud shell at this URL https://shell.cloud.google.com/
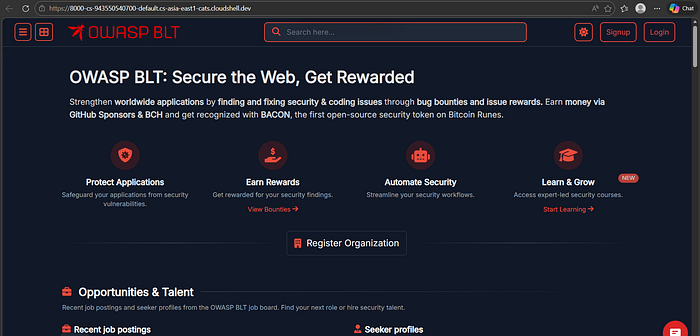
You will see a terminal and a code editor like this after loading:
2. Clone the BLT repo and open the folder in the editor.
git clone https://github.com/OWASP-BLT/BLT.git
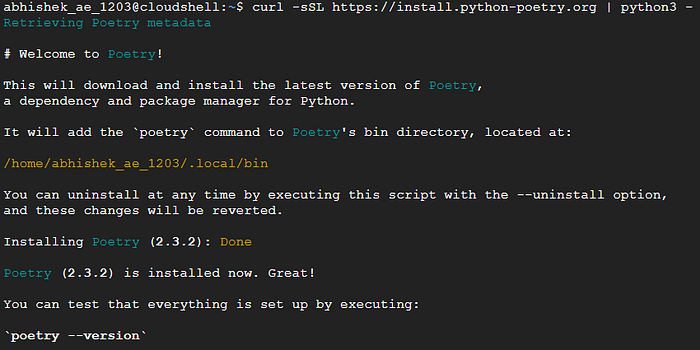
3. Next install poetry:
curl -sSL https://install.python-poetry.org | python3 -
A successful installation looks like this:
A short note on what poetry does:
Poetry is a comprehensive tool in Python used for managing project dependencies, virtual environments, and packaging/publishing code, replacing older tools like setup.py, requirements.txt, and pip. It uses a single pyproject.toml file to declare dependencies and a poetry.lock file to ensure consistent, reproducible environments across different machines.
4. Switch to BLT folder and then start a virtual environment using the command:
cd BLT
poetry env activate
Paste the output you get after running the above command starting with source /<venv-path>/bin/activate

5. Install dependencies using poetry install
You might be questioning why are we installing the dependencies in virtual env rather than in the system itself? Well, try that yourself it's a mystery for you to discover!
6. Now the most important part, open blt/settings.py file and either set a secret key in environment file or just remove lines 57–59 and replace it here itself:
SECRET_KEY = os.environ.get("SECRET_KEY", "i+acxn5(akgsn!sr4^qgf(^m&*@+g1@u^t@=8s@axc41ml*f=s")
next add *.cloudshell.dev on allowed hosts, also add csrf trusted origin and remove mandatory email verification (set it to False).
ACCOUNT_EMAIL_VERIFICATION = False

ALLOWED_HOSTS = [
    "127.0.0.1",
    "localhost",
    "0.0.0.0",
    "*.cloudshell.dev",
]

CSRF_TRUSTED_ORIGINS = ["https://*.cloudshell.dev"]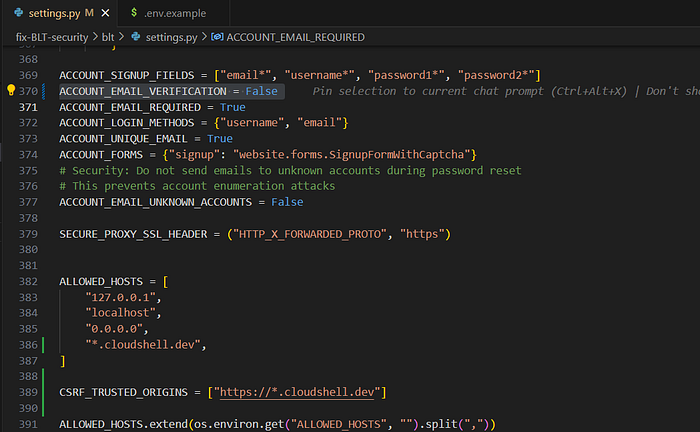
7. Final steps. Migration and starting the server. Run these commands in order:
1. python manage.py migrate
2. python manage.py createsuperuser ##(This is optional, add/remove as per your requirement)
3. python manage.py collectstatic
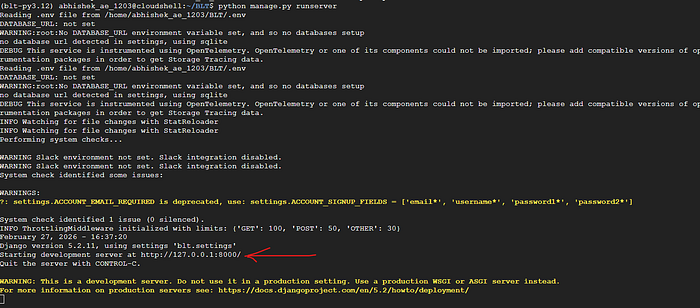
4. python manage.py runserverOnce everything is running successfully you will get your server started, it shows localhost ip and obviously it isn't on your localhost 😑, ctrl+click on the localhost (highlighted in the image with an arrow) and you will get a *.cloudshell.dev link with BLT running on it.
Note: Occasionally you may encounter "not allowed" problem that is the case when you have a lot of gmail accounts logged in the same browser in that case just note in which account you were using the cloudshell and note the order of that mail and add this at the end of the url: &authuser=3 (3 is assumed you can brute force just in case you don't understand).
Hacking the cloud shell! (don't ask me the root cause just enjoy the fruit)
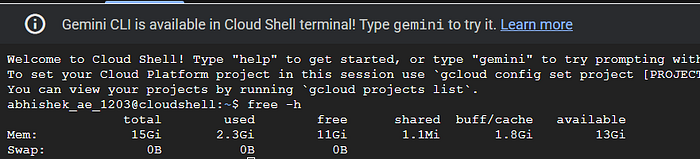
By default cloud shell allots you 7.8 gb of ram which is way too low so I am going to double it and give it to you! Add this at the end of your cloudshell url environment_deployment=ide

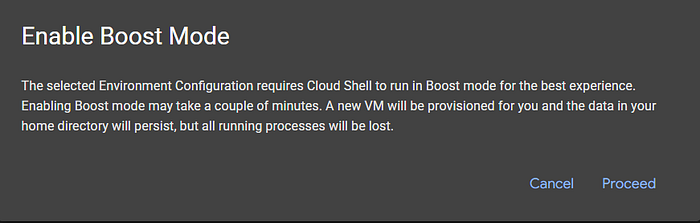
Click on proceed on the boost mode msg:
Now you have 15gb of ram!
That's all for now, thanks for reading!