
Installing Kali Linux is just the beginning.
The real power?
Knowing how to install, manage, and maintain the tools inside it.
Because Kali isn't magic.
It's a toolbox.
And a toolbox is only useful when you know how to organize it.
When people hear "installing tools in Kali Linux," they imagine complicated hacker screens.
The truth?
It's mostly about understanding a few powerful commands.
Once you understand them, you control your lab
Let's break it down simply and professionally. Before installing anything, update your system:
sudo apt update
sudo apt upgrade -y
Analogy:
Installing tools without updating is like installing apps on a broken phone.
Always start clean.
Method 1 :Installing a Tool from the Official Repository
The most common installation command:
Example:
sudo apt install tool-nameExample:
Install Nmap:
sudo apt install nmap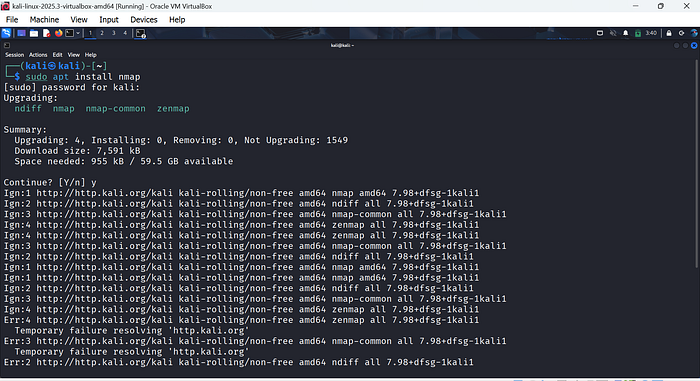
Install Wireshark:
sudo apt install wireshark
Install Hydra:
sudo apt install hydra
Method 2: Installing Tools from GitHub (Community Tools)
Not every tool is in the official repository.
Sometimes you'll need to install tools from GitHub.
For example:
- LinPEAS
- WinPEAS
This method usually involves:
- Cloning the repository
- Installing dependencies
- Making the script executable
Analogy:
APT installation is like buying tools from a certified store.
GitHub installation is like buying directly from a tool maker — powerful, but requires more understanding.
Always review the repository before installing. Sometimes the tool you need isn't in Kali's official repository. In that case, GitHub is your go-to source. Think of it as getting the latest "direct from the developer."
Always remember to install GitHub Repository itself on your kali
sudo apt update
sudo apt install git -y
Check your installation and version buy using:
git --versionStep 2: Navigate to Your Workspace
Create a folder for GitHub tools (optional but organized):
mkdir ~/tools
cd ~/tools
Analogy: Think of this as your "tool shelf." Don't scatter scripts everywhere.
Step 3: Clone the Repository
Find the GitHub repository link for the tool.
Example: Installing LinPEAS (a popular privilege escalation script):
git clone https://github.com/carlospolop/PEASS-ng.gitThis downloads the repository into a folder called PEASS-ng.
Step 4: Navigate Into the Folder
cd PEASS-ngList contents:
lsYou'll see scripts and README files. Always check README for installation instructions.
Step 5: Make Scripts Executable (if needed)
Most tools require execution permission:
chmod +x linpeas.shNow the script is ready to run.
Step 6: Run the Tool
Example for LinPEAS:
./linpeas.shThe tool starts scanning for privilege escalation opportunities on the system (in a legal lab environment).
Step 7: Keep Tools Updated
To update a GitHub tool you already cloned:
cd ~/tools/PEASS-ng
git pull
This fetches the latest version from the repository.
Analogy: Think of it as "checking for software updates" for your tool.
Step 8:Installing Dependencies
Some tools require Python packages or other dependencies.
Example:
sudo apt install python3-pip -y
pip3 install -r requirements.txt
Check README for exact dependencies.