Before getting into the setup it is important to understand the difference between the two tools because they are easy to confuse.
Claude Desktop is the application you install on Windows. It has a chat interface, supports MCP servers through a config file, and is designed for everyday conversations with Claude.
It has no remote access feature, it is tied to the machine it is installed on.
Claude Code is a terminal tool. You install it with npm and run it from the command line. It is designed for agentic coding tasks but it also supports MCP servers and most importantly, it has a Remote Control feature that lets you access an active session from any device through a browser or the Claude mobile app.
The key difference for this project is that Claude Code can be accessed remotely and Claude Desktop cannot. So to enable remote access we install Claude Code on the work machine alongside the existing setup, connect the same MCP servers to it, and start a remote control session. Claude Desktop stays installed and working exactly as before, Claude Code is just added on top for remote access.
Installing Claude Code
Installing Claude Code on the machine that has a connection with your MCP Servers which is my work Machine.
Step 1: Install Node.js on the Work Windows Machine
Claude Code requires Node.js. If it is not already installed go to nodejs.org and download the LTS version (We already explained how in Phase 5). Install with default settings and make sure Add to PATH is checked. Verify in PowerShell:
powershell
node --version
npm --version
Step 2: Install Claude Code
powershell
npm install -g @anthropic-ai/claude-code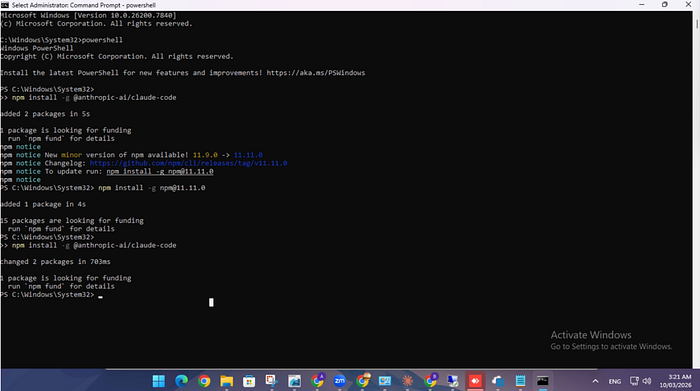
Verify it installed:
powershell
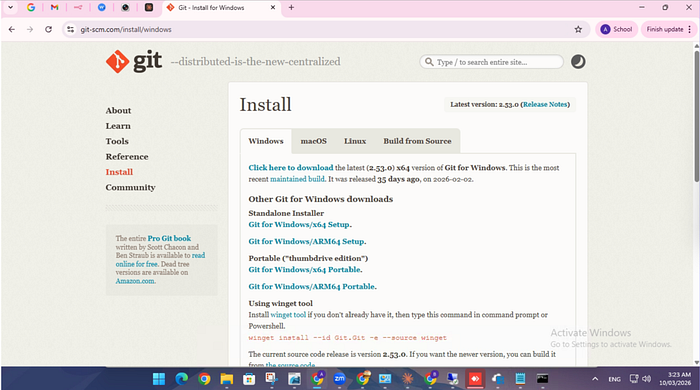
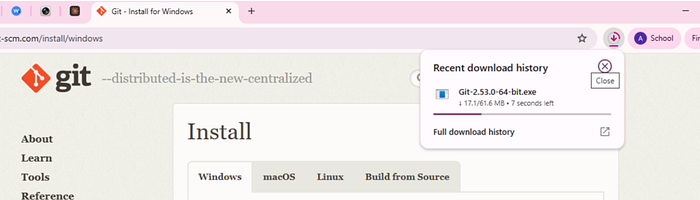
claude --versionStep 3: Installing Git for Windows And Why Claude Code Needs It
During the setup you will hit this error when trying to run Claude Code commands:
Claude Code on Windows requires git-bash (https://git-scm.com/downloads/win).
If installed but not in PATH, set environment variable pointing to your bash.exe,
similar to: CLAUDE_CODE_GIT_BASH_PATH=C:\Program Files\Git\bin\bash.exe
This confused me at first. Why does a tool for talking to Claude need Git?
The reason is that Claude Code is built to run on Unix-style systems, Linux and macOS. On those systems it uses bash as its shell to execute commands, run scripts, and interact with the filesystem. Windows does not have bash natively, so Claude Code cannot function without it.
Git for Windows solves this by bundling Git Bash, a bash shell for Windows as part of the Git installation. Claude Code uses Git Bash as its shell on Windows, not PowerShell or CMD. Without it Claude Code cannot run properly.
So even if you never use Git for version control in this project, you still need to install it because it brings Git Bash along with it.
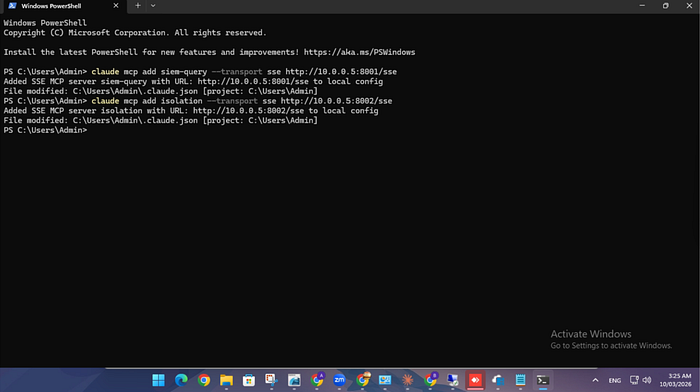
Step 4: Add the MCP Servers to Claude Code
Claude Code supports SSE transport natively so we do not need mcp-remote here. Add both servers directly:
powershell
claude mcp add siem-query --transport sse http://10.0.0.5:8001/ssepowershell
claude mcp add isolation --transport sse http://10.0.0.5:8002/sseVerify they were added:
powershell
claude mcp listYou should see both servers listed.

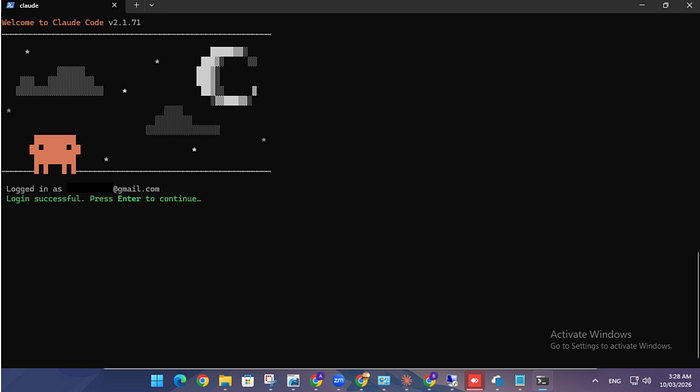
Step 5: Sign In
powershell
claudeThis opens the Claude Code interface. Type /login and it will open a browser window asking you to sign in with your claude.ai account. Sign in and authorize it. Once done type /exit to close the session.

Step 6: Accept Workspace Trust
Claude Code requires you to explicitly trust the workspace directory before it will run properly. This is a one time step. Since we exited, we need to run claude again:
claude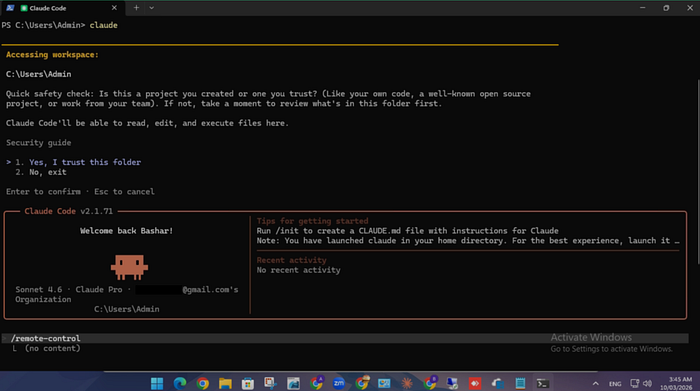
Step 7: Start the Remote Control Session
Open Claude Code and start the remote control session:

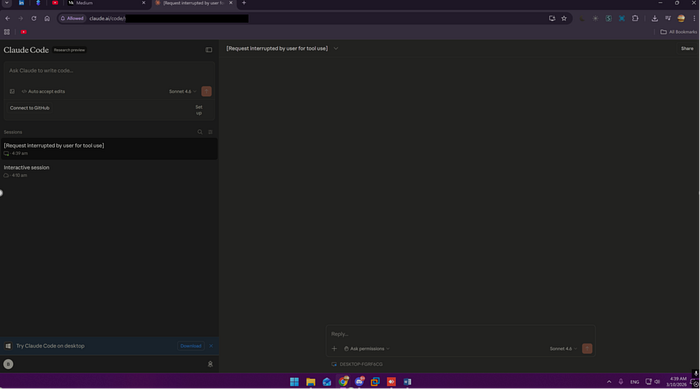
Step 8: Connect from Home
On your home device open any browser and paste your Session URL, however,, you need Sign in with the same claude.ai account you used on the work machine ofcourse for it to work.
You will see your active session listed with a green dot next to it. Click it and you are connected.
Step 9: Live Test from Home
This is the moment everything comes together. Two machines, two locations, one conversation.
What is happening on the work machine:
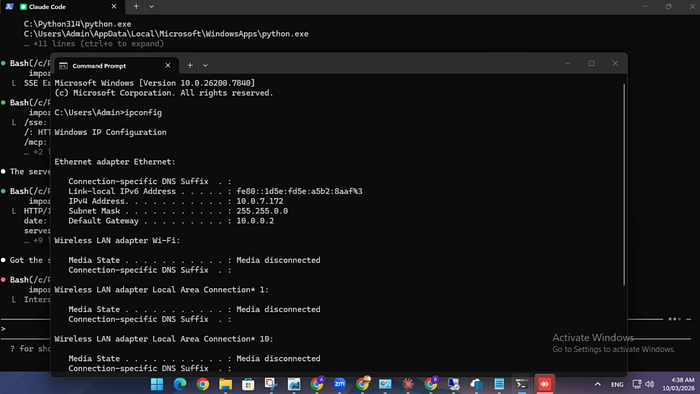
The work machine is sitting at the office with Claude Code running in the terminal. The remote control session is active and the two MCP servers are running in Docker on Kali. Nobody is touching anything. The terminal just shows:
/remote-control is active. Code in CLI or at
https://claude.ai/code/session_123456789
The work machine is waiting silently in the background.
What is happening on the home machine:
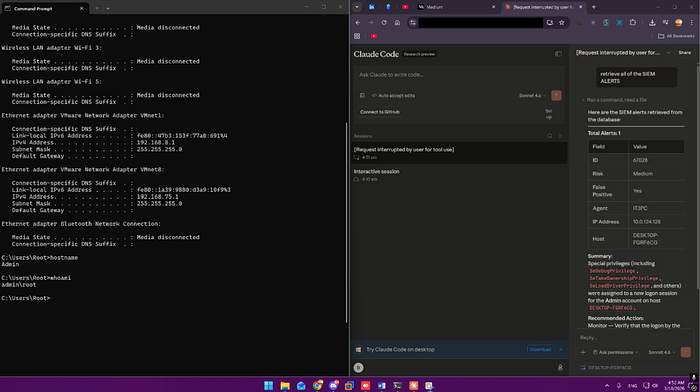
At home I open a browser, go to claude.ai/code, sign in, and find the active session. I type:
Retrieve all SIEM alerts from the database
That message travels from my home browser over HTTPS to Anthropic's servers, gets routed to the Claude Code session running at the office, and Claude wakes up on the work machine.
Back at the work machine:
The terminal starts showing activity. Claude Code is now running — you can see it executing commands, connecting to the MCP server, making the database call:
● Bash(python.exe ...)
  ⎿  Session ID: 1234567890
     Init response: Accepted
     Tool call response: Accepted
Claude connected to the SIEM MCP server on Kali at port 8001, which connected to MariaDB and pulled the alerts from the database.
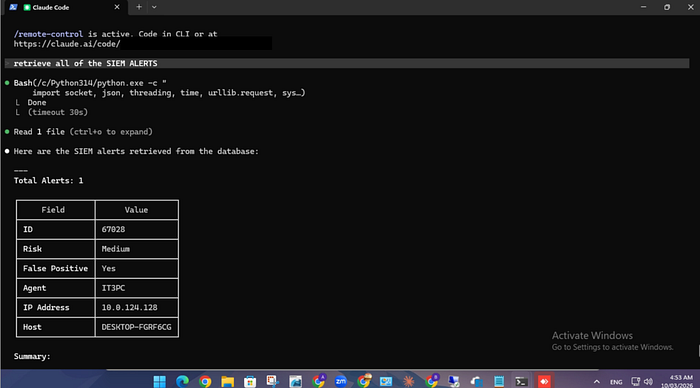

Back at home:
The results appear in my browser. A real alert from the live database: