
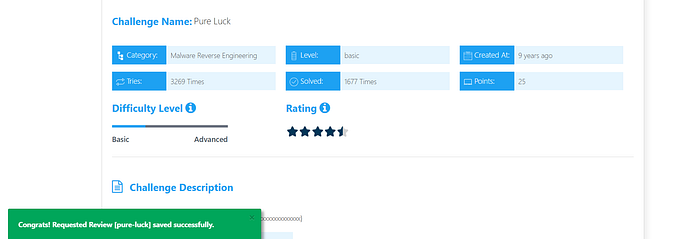
🚩 Challenge 3: "Pure Luck" Reverse Engineering
Category: Reverse Engineering / Binary Exploitation Tools Used: GDB + GEF Architecture: x86 (32-bit)
📋 Executive Summary
Successfully bypassed logical security checks and anti-debugging traps in a Linux ELF binary to extract a hidden flag. The challenge utilized Dynamic Analysis to override program execution flow and inspect memory segments in real-time.
🛠️ Technical Breakdown
1. Entry Point & Flow Analysis
The binary starts at _start and initializes the environment via __libc_start_main. Initial disassembly of main revealed a "kill-switch" logic: the program attempts a popen call. If it fails (which is the default on a non-intended environment), it jumps to a failure block and prints "No flags are ready".
2. Logical Bypass (EIP Hijacking)
Instead of patching the binary or satisfying the popen condition, I performed a Control-Flow Hijack. By identifying the "Win Path" at address 0x080488f7, I manually redirected the Instruction Pointer (EIP):
Bash
gef➤ set $eip = 0x080488f7This effectively "teleported" the CPU execution past the security checks directly into the flag construction logic.
3. Memory Reconstruction
The flag was not stored as a plaintext string (to evade strings utility). Instead, it was built byte-by-byte on the stack using a series of mov instructions.
- Buffer location:
[ebp-0x24] - Encoding: Hexadecimal ASCII values (e.g.,
0x66='f',0x6c='l').
4. Flag Extraction
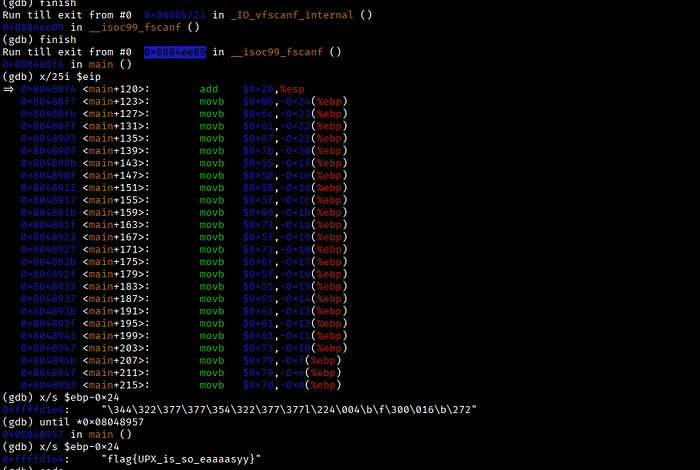
Once the construction loop finished, I inspected the memory at the specific stack offset before the program could clear the buffer or terminate:
Bash
gef➤ x/s $ebp-0x24
0xffffd1e4: "flag{UPX_xxxxxxxxxxxxxx}"
🔑 Key Takeaways
- Control Flow Matters: You don't always need to solve the puzzle; sometimes you just need to jump to the end.
- Memory is Truth: Even if a program doesn't "print" the result, the data must exist in RAM to be processed.

🚩 Challenge 4: "Bruteforce Me" Reverse Engineering
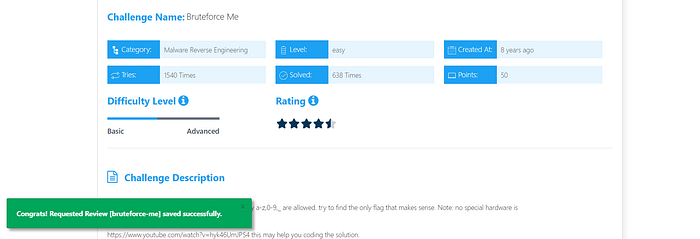
Category: Malware Reverse Engineering | Level: Easy | Key Concept: Bitwise Logic & Data Reconstruction
📋 Executive Summary
Successfully reversed a Python-based validation logic that utilized lossy bitwise operations to obfuscate the flag. By analyzing the mathematical "data leak" in the right-shift process and applying contextual reconstruction, I recovered the hidden flag and validated it against a global checksum constraint.
🛠️ Technical Breakdown
1. Algorithm Analysis
The challenge binary (Python script) processes user input in pairs, treating them as hexadecimal bytes. Each byte undergoes a Bitwise Right-Shift (>> 1).
- The Vulnerability: This operation is mathematically equivalent to integer division by 2 ($temp = \lfloor x / 2 \rfloor$).
- The Side Effect: The Least Significant Bit (LSB) is discarded, creating a one-to-many mapping where multiple inputs produce the same output.
2. Reversing the Lossy Operation
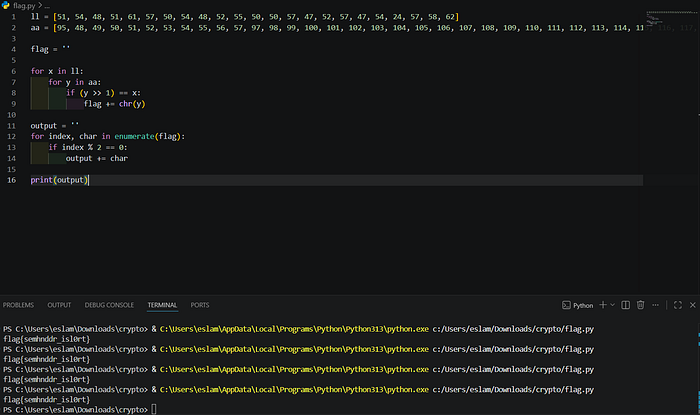
Since the script compares the shifted values against a static list ll, I reversed the operation by calculating the two possible original ASCII values for each entry:
- Candidate 1 (Even): $Target \times 2$
- Candidate 2 (Odd): $(Target \times 2) + 1$
3. Contextual Heuristics & Filtering
Initial automated reconstruction yielded ambiguous strings (e.g., fglmafgz{...). To isolate the correct flag, I applied:
- Pattern Recognition: Matching the known
flag{}prefix. - Semantic Analysis: Identifying English words within the garbled output (detecting the word "remainder").
- Checksum Verification: Ensuring the total sum of the chosen ASCII bytes matched the hardcoded requirement:
ss == 2406.
🏁 Flag Extraction
By resolving the ambiguity of the "lost bits" using the checksum as a filter, the flag was reconstructed:
Result: flag{xxxxxxxxxxxxxxxxxx}
🚩 5 Reverse Engineering Challenge — GUI I
Introduction
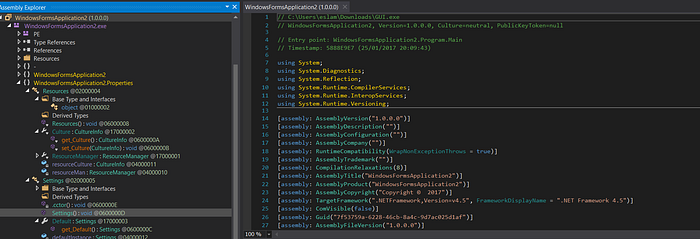
In this challenge, we were provided with a Windows executable (GUI.exe). The goal was to extract a hidden flag by analyzing the binary's behavior and its underlying source code.
Step1 : Source Code Analysis
Inside the InitializeComponent() method, I discovered a hidden Label (label3) containing a string of space-separated integers:
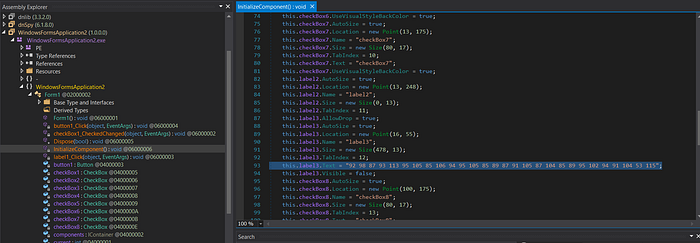
92 98 87 93 113 95 105 85 106 94 95 105 85 89 87 91 105 87 104 85 89 95 102 94 91 104 53 115
The crucial logic was found in the button1_Click event handler:
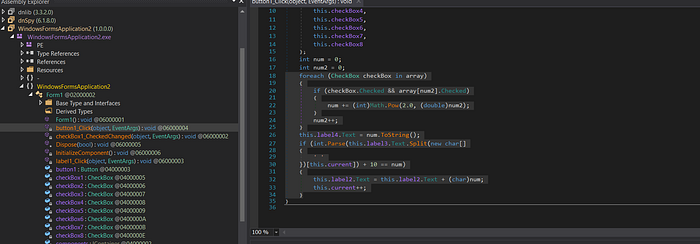
C#
if (int.Parse(this.label3.Text.Split(' ')[this.current]) + 10 == num)
{
    this.label2.Text = this.label2.Text + (char)num;
    this.current++;
}
The Logic Breakdown:
- The program calculates a value
numbased on the state of several CheckBoxes (treating them as 8 bits of a binary number). - It compares
numto a value from the hidden list inlabel3plus 10. - If they match, the character
(char)numis appended to the flag display.
Step 2: Decoding the Flag
Instead of manually clicking checkboxes in the GUI, I applied the transformation logic to the entire array of integers. The formula for each character was:
$$Character = (Integer + 10)$$
Converting the resulting decimal values to their ASCII equivalents:
- 92 + 10 = 102 ('f')
- 98 + 10 = 108 ('l')
- 87 + 10 = 97 ('a')
- 93 + 10 = 103 ('g')
- … and so on.
Conclusion
The final flag recovered was:
flag{is_this_caesar_cipher?}
This challenge highlights the importance of choosing the right tool for the job. While IDA Pro is powerful, dnSpy is essential for .NET targets as it provides a near-perfect reconstruction of the source code, making the logic analysis straightforward.
Tools Used:
- IDA Pro: Deep inspection.
- dnSpy: Final decompilation and logic extraction.
🚩 Challenge 6 : Developer locks
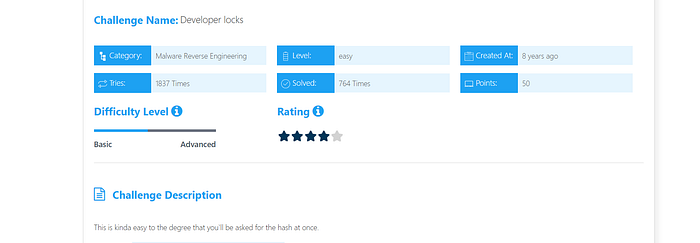
1. Initial Analysis (Static Analysis)
- Target: A .NET executable file.
- Tools Used:
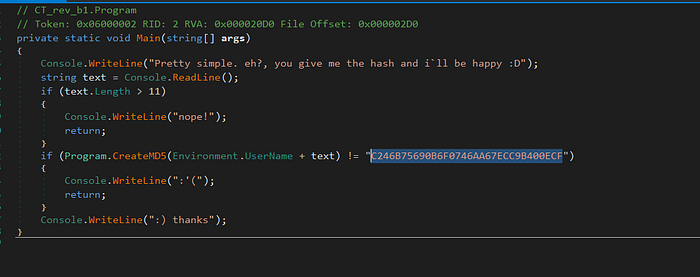
dnSpy(Decompiler) and MD5 cracking tools. - Code Logic: The program prompts the user for an input (
text) and subjects it to two main constraints:
- Length Check: The input must not exceed 11 characters (
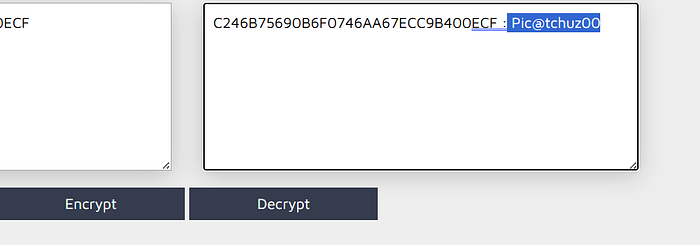
if (text.Length > 11)). - Hash Comparison: The program calculates an MD5 hash of the input and compares it against a hardcoded constant:
C246B75690B6F0746AA67ECC9B400ECF.
- Cracking Result: The hash
C246B75690B6F0746AA67ECC9B400ECFwas successfully reversed. - Plaintext:
Pic@tchuz00
🏁 Final Thoughts
These challenges showed that Reverse Engineering is all about choosing the right approach — whether it's bypassing logic, analyzing memory, or decompiling code.
Each problem required a different technique, and that's what makes the process both challenging and rewarding.

🚀 More to come.
اللهم انصر اخواننا في غزة