
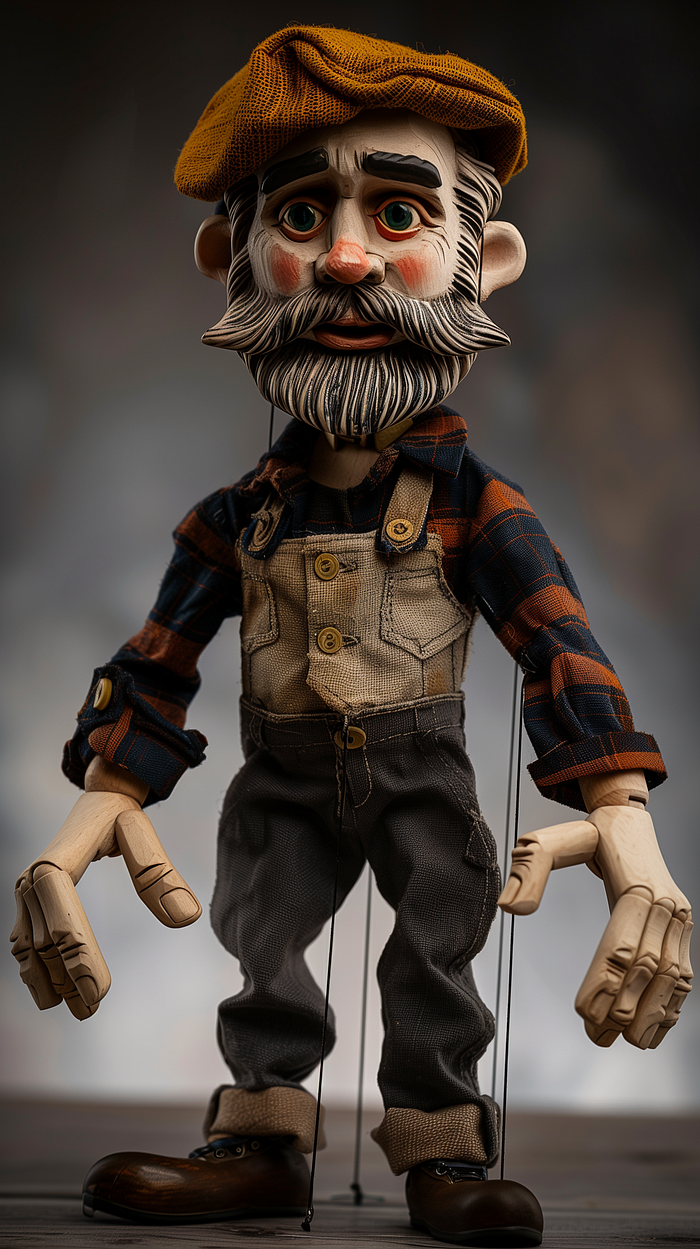
I started in Midjourney with idea of creating a marionette (puppet). I had in mind something of the Pinocchio flavor — old world, classic craftsmanship with carved wooden features and loose, rough-textured cloth fabric with buttons. In true "Brian" form — I wanted him to have a beard and wear a newsboy style cap (like me).
Midjourney

You can see in the side panel of alpha.midjourney.com — that I had quite a few variations that I explored. I ended up choosing this guy with his 'not quite a T-pose' but still arms out from the body, and decent characteristics.
theatrical puppet marionette in a T-pose, a middle-aged friendly figure with a beard, wearing a newsboy cap, open hands with carved wooden fingers. hyper realistic. Background of white — no ropes, strings — ar 9:16 — style raw — sref https://s.mj.run/S55S1WlAj48 — cref https://s.mj.run/yIcBlvKKLbM — stylize 300
Photoshop
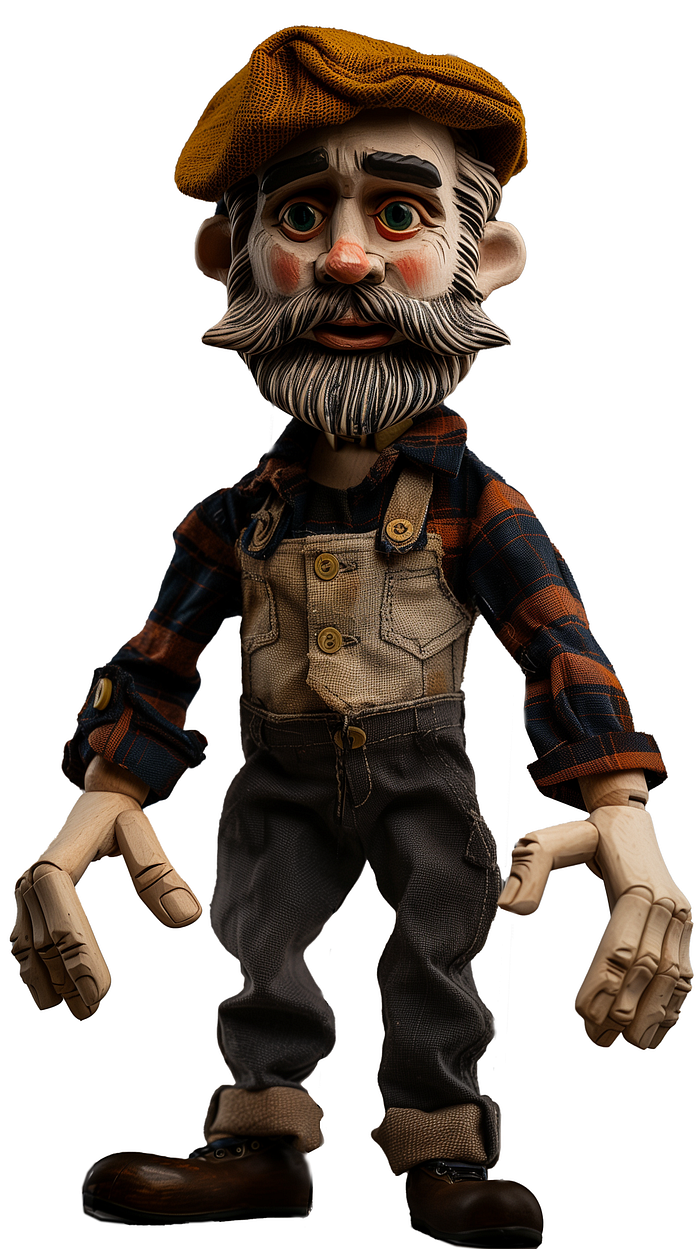
My next stop was to open this upscaled file in Adobe Photoshop. I wanted to remove the background and wires from the image — so that I had an isolated character with which to work. I am a Photoshop pro — so the task was not hard, but even for a newbie to Photoshop — the 'remove background' feature, 'generative fill' and 'repair' tool — can make short work of any overlapping lines, and jagged edges that need fixed. I exported the image as both a JPG and a PNG (because I genuinely was not sure which way it needed to be — next).
Tripo 3D
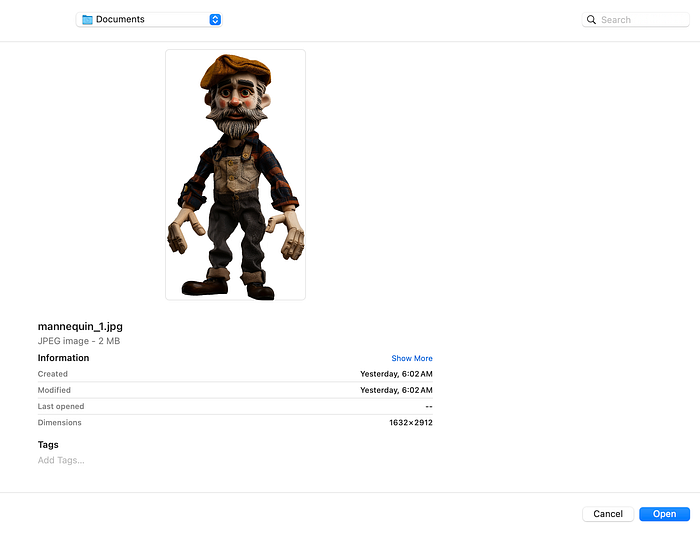
This is a pretty neat little application. Here, we are going to sign-up/-in (I used my Google account) and create a NEW 3D Model from my marionette. When you are on this page — in the bottom Prompting bar — click on the image icon (right in front of the yellow ( Create ) button. It will open a screen where you can grab your desired file. I choose the JPG of the marionette I just refined in Photoshop.
In only a matter of minutes, I had a 3D model generated of my character. I was in this screen able to spin, pan, zoom on my model — and could see that the AI 'figured out' what the backside of this character looks like — as well as the depth map matched to his face and clothing details.
Note on the bottom right corner where it shows on my screen: Custom Retopologize Format: glb
For our next step — you can use any of the downloadable formats, but I discovered that the .fbx file will include the "skin" (the dressing on your 3D model)… otherwise you will end up with a textured white playdough model.
Mixamo
The next tool is an Adobe product called Mixamo. You can find the site at: https://www.Mixamo.com. Click either the "Log in" in the top right corner (if you have an Adobe product account) or the blue "Sign Up for Free" button in the center of the screen.
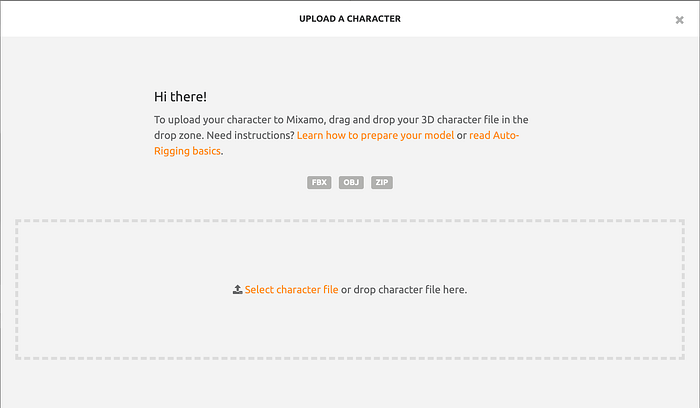
Once you are signed-up/-in, you will want to click the button to "Upload Character". This si where you will "Select character file" of the file you just created and exported from Tripo 3D. Note that this works with file types — FBX, OBJ or ZIP (with zip being just a compressed version of one of the first 2 file types).
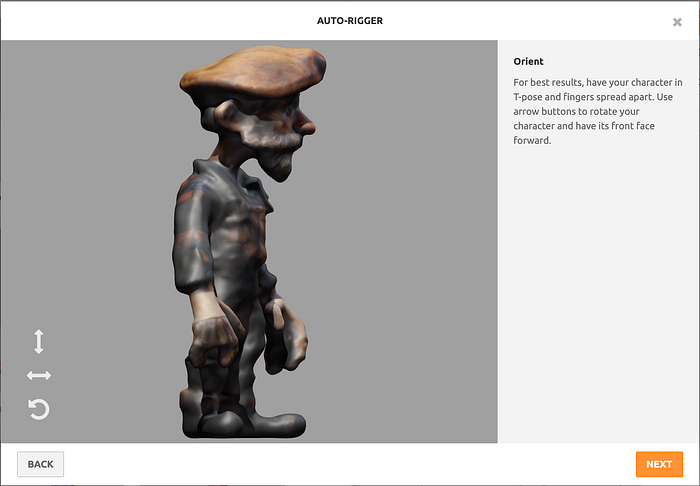
Once your character is uploaded, you will need to define a few variables for the character to work properly. The first screen it takes you to is labeled "Auto-Rigger". Here you are going to click the 3 arrows on the bottom left corner to reposition your character to facing you — straight on. For mine (in the current position) it only required clicking the ← → a few times to get him facing straight.
Next is where we place markers to indicate key anchor/flexion points for our model.
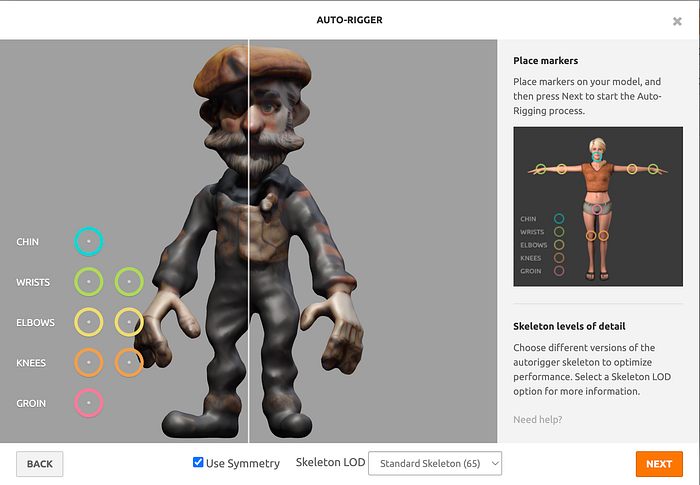
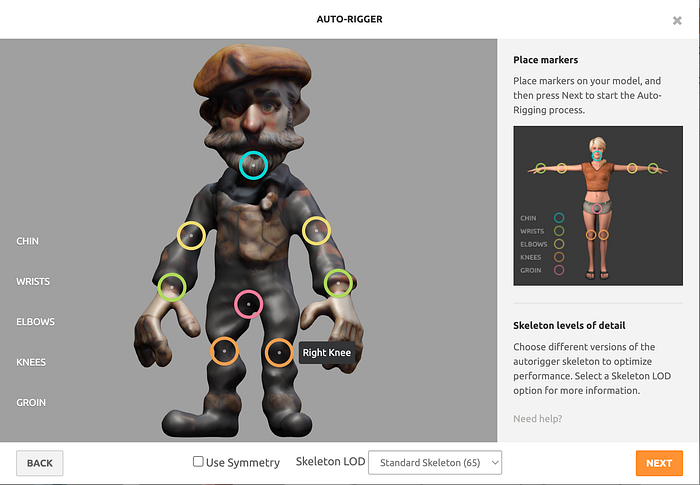
Now, after the points are placed — you are ready to click [ NEXT ].
At the top (near the name of the app 'Mixamo') you see 2 selects: Characters, Animations. Click on Animations — and look at the hundreds of animations you can apply to your character. Once you have an animation sequence you like- click the download button. I chose Format: FBX for Unity, With Skin and 30 FPS. [ DOWNLOAD ] Other Format options include: 5 versions of .fbx and 1 version of .dae.

Pretty neat, right!? From a flat render in Midjourney — to an animated 3D character that is ready for Unity, After Effects, etc…
Go — play — have fun… and learn along the way!
Brian Sykes