
Deployments should not be hard. Here is how to make it easy. At the end of the article you will have all the knowledge on how to containerize and deploy your Nest JS application.
While I am developing my React Native mobile application that helps me track anniversaries, special dates and memories together with my wife, many features to work requires pairing the two phones together, that enables seamless image synchronisation and data access.
If you want to check the application out:
Google Play: https://play.google.com/store/apps/details?id=me.svetlint.together
App Store: https://apps.apple.com/hu/app/together-love-counter/id6748013237
I have been developing the NestJS backend for almost two months now in my free time and all the milestones have been reached, all the features are working and the backend is ready to be deployed.
Here are the steps I have followed to deploy the NestJS backend that made further deployments easy.
Step 1. Dockerize the application
Running applications in containers is a standard. They are easy to replace, scale and remove.
Start by creating a Dockerfile for your application. This is a blueprint that is used to build an image that can be downloaded and started on other machines. This is the Dockerfile I used
# Multi-stage build for optimized production image
# Stage 1: Build stage
FROM node:22-alpine AS builder

# Set working directory
WORKDIR /app

# Copy package files
COPY package*.json ./

# Install all dependencies (including dev dependencies for building)
RUN npm ci --only=production=false

# Copy source code
COPY . .

# Build the application
RUN npm run build

# Stage 2: Production stage
FROM node:22-alpine AS production

# Install dumb-init for proper signal handling
RUN apk add --no-cache dumb-init curl

# Create non-root user
RUN addgroup -g 1001 -S nodejs && \
  adduser -S nestjs -u 1001 -G nodejs

# Set working directory
WORKDIR /app

# Copy package files and install only production dependencies
COPY package*.json ./
RUN npm ci --only=production && npm cache clean --force

# Copy built application from builder stage
COPY --from=builder /app/dist ./dist

# Change ownership of the app directory to the non-root user
RUN chown -R nestjs:nodejs /app

# Switch to non-root user
USER nestjs

# Expose port
EXPOSE 3000

# Health check
HEALTHCHECK --interval=30s --timeout=3s --start-period=10s --retries=3 \
  CMD curl -f http://localhost:3000/health || (echo "Health check failed")

# Use dumb-init to handle signals properly
ENTRYPOINT ["dumb-init", "--"]

# Start command that runs migrations first, then starts the app
CMD ["sh", "-c", "npm run db:migrate && npm run start:prod"]
One interesting thing is dumb-init. It runs as the PID 1 process, that is responsible for handling all the signals, so the container can be terminated and safely cleaned up.
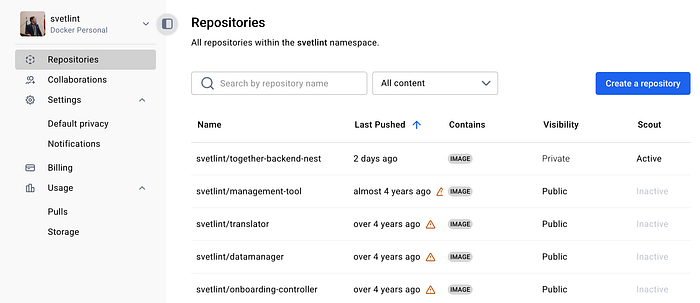
To push an in image to the DockerHub Registry you need an account. With one you can push unlimited public images, but can only have 1 private repository
Step 2. Building the image
Now that the blueprint is ready it is time to build our images. What I have learned that if I build an image on my Apple Silicon Mac that the platform will be linux/arm64 that is incompatible with the architecture of my VPS that is using an Intel Processor with the linux/amd64 architecture. This is where buildx comes into picture. Docker buildx extends the basic build capacities and makes creating multi-platform builds easy.
docker buildx create --name multiplatform --useThis command first creates a new builder instance and the use flag sets it as the active builder.
docker buildx build --platform linux/amd64,linux/arm64 -t account/image-name:tag --push .The second command performs the multi-platform build. Two platforms are specified with the platform flag
- linux/amd64 for Intel/AMD 64 bit processors
- linux/arm64 for ARM 64 bit processors like Apple Silicon processors
This builds separate image layers for each architecture.
The t flag tags the image for both platform variants, this way the registry will automatically serve the correct variant for each platform. The push flag automatically pushes to the registry the newly build image. It will create a single multi-platform manifest.
And the dot (.) in the end specifies the build context as the current directory and tells Docker to use the Dockerfile in this directory
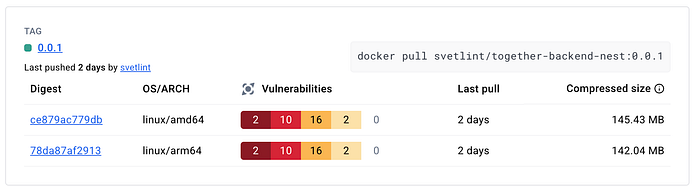
With that part done, it's worth checking the image in the registry.
Step 3. Deploying the image
Yay! It's deployment time!
I am deploying my app to my VPS that also runs my website.
To install docker follow the steps on the docker's website: https://docs.docker.com/engine/install/ubuntu/
Two important things to keep in mind.
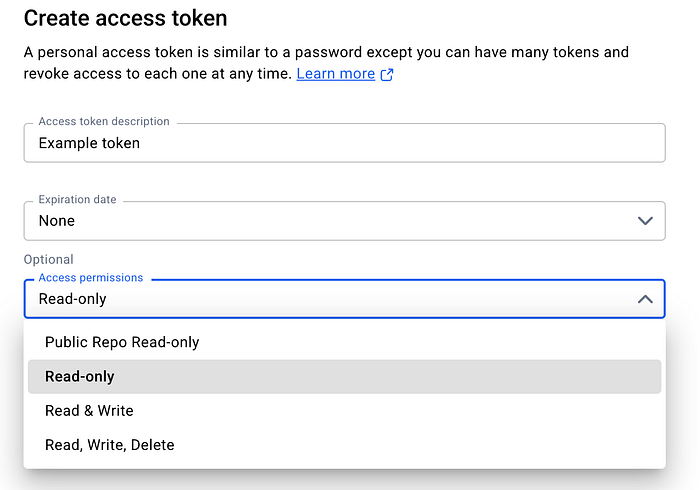
First: To pull private images you will need to log in. When you are logging in you should not use your password but an access token instead. You can create one in your profile settings, under Personal Access Tokens.
This improves security as your password will not be stored on the machine in plain text and access tokens can have less scope and redacted if leaked. For even better security you can use pass as an alternative. To set it up follow the docs: https://docs.docker.com/go/credential-store/
If you still use your password you will be greeted with the following message:
WARNING! Your credentials are stored unencrypted in '/root/.docker/config.json'.
Configure a credential helper to remove this warning. See
https://docs.docker.com/go/credential-store/Second: If you expose a port in docker that will ignore filewall rules. For example if only port 80 and 443 are allowed in ufw but you also expose port 3000 in Docker that will also be publicly available. The issue with that it exposes services directly to the internet, even when the port should be blocked. There is no SSL termination, HTTP traffic is in plain text, there is no rate limiting or DDoS protection.
To fix this issue the port should be bound to localhost only via 127.0.0.1:3000:3000 instead. This binds the port 3000 from inside the container to localhost:3000 on the host machine.
While the port definition of 3000:3000 would have bound to 0.0.0.0:3000:3000, this means all interfaces.
Great! Now we have the ability to download and run images.
I have created a folder for my project to keep the docker-compose.yml and the environmental variables in. This is the docker-compose I am using to run my application
services:
  # NestJS Backend - Production
  app:
    image: account/image-name:tag
    ports:
      - "127.0.0.1:3000:3000"
    environment:
      - NODE_ENV=production
      - PORT=3000
      # These should be provided via environment variables or secrets
      - DATABASE_URL=${DATABASE_URL}
      - DATABASE_CONNECTION_TYPE=${DATABASE_CONNECTION_TYPE}
      - DATABASE_AUTH_TOKEN=${DATABASE_AUTH_TOKEN}
      - JWT_SECRET=${JWT_SECRET}
      - JWT_EXPIRES_IN=${JWT_EXPIRES_IN}
    restart: unless-stopped
    healthcheck:
      test: ["CMD", "curl", "-f", "<http://localhost:3000/health>"]
      interval: 30s
      timeout: 3s
      retries: 3
      start_period: 10s
To set up environmental variables you can create a .env file next to the compose file or use a secret storage provider.
Finally run the application with the docker compose up -d command.
To check if everything is running perfectly just check the logs with
docker logs <container-name> .
To update your app you can just push a new image to the registry. Pull the new image with docker compose pull In your docker-compose yaml if you are using the latest tag the new image will be used when you re run the up command.
Step 3. Putting the API behind a reverse proxy.
I am using nginx as a reverse proxy as I already host my website with it, so I had to create a new config file /etc/nginx/sites-available/api.example.com.
These are the contents of the config file
server {
    server_name api.example.com;

    location / {
        proxy_pass http://127.0.0.1:3000;
        proxy_http_version 1.1;

        proxy_set_header Upgrade $http_upgrade;
        proxy_set_header Connection "upgrade";
        proxy_set_header Host $host;
        proxy_cache_bypass $http_upgrade;
    }

    listen 443 ssl; # managed by Certbot
    ssl_certificate /etc/letsencrypt/live/api.example.com/fullchain.pem; # managed by Certbot
    ssl_certificate_key /etc/letsencrypt/live/api.example.com/privkey.pem; # managed by Certbot
    include /etc/letsencrypt/options-ssl-nginx.conf; # managed by Certbot
    ssl_dhparam /etc/letsencrypt/ssl-dhparams.pem; # managed by Certbot
}

server {
    if ($host = api.example.com) {
        return 301 https://$host$request_uri;
    } # managed by Certbot

    server_name api.example.com;
    listen 80;
    return 404; # managed by Certbot
}
Then symlink the new config to sites-enabled so nginx can pick up the changes
ln -s /etc/nginx/sites-available/api.example.com /etc/nginx/sites-enabled/Test if the nginx configuration is correct.
nginx -tReload nginx so changes take into effect.
systemctl reload nginxRequest an SSL certificate for the subdomain.
certbot --nginx -d api.example.comNow the NestJS backend is deployed in a Docker container and is secured with SSL.
By following these steps now you also have the ability to deploy your Nest JS backend.
If you believe I made a mistake during the implementation or anywhere else please let me know! I did not use AI to write this article but I have used AI to help me with the containerization and deployment.
I hope you found this article helpful! Thank you for reading and happy coding!