


A couple of years ago, I was in a recruitment process for a frontend developer position, which included coding a simple project. The briefing was not complicated and I could use any coding language I wanted.
After my delivery, the company scheduled an interview to discuss my solution. I was very confident. I met all the requirements, I created a usable UI, I polished my code, therefore I was very proud of my solution.
A senior developer sat with me, with my project open on his laptop, and asked the first question: Why are you using a serviceWorker?
I froze completely. I had no idea what he was talking about.
After making a fool of myself for starting a technical interview clueless, the following questions were no better.
"What is this App.test.js file for?", the interviewer asked.
"Oh at least this one I know!", I thought. "That file is for testing purposes"
"So, what are you testing in this file then?"
I wasn't testing anything. Just as the serviceWorker, those files were automatically created when I run create-react-app to automatically set up my project and I started to code without paying any attention.
The rest of the interview went better. I knew how to answer everything about my coding decisions, but unfortunately, I already had made a first bad impression.
Companies are looking for developers that know what they are doing. They don't oppose using unofficial setup commands, as is the case of create-react-app,and they are fortunately not looking for people who deeply understand how to configure complex tools like webpack or Babel. However, they expect candidates to understand their own work and not do things arbitrarily.
That day, I learned a valuable lesson: I had to deeply understand my project's configuration.
Two years after, I would like to share some knowledge about this subject with you.
What is create-react-app?
create-react-app is a method to automatically set up a production-ready React application. It allows the developer to refrain from the configuration and build tools any code project requires, at least to a certain extent. After using it to create a simple project, it is quite easy to make upgrades to the app's underlying infrastructure. Angular projects have a similar tool, known as Angular CLI.
Using create-react-app to set up a project
Just recently, I created a React app using the create-react-app command that will serve as an example to illustrate how I approach a project configuration now.
I created a new React project named Jammit using the following command:
npx create-react-app jammitThis command automatically set up a development environment, with the following file structure:
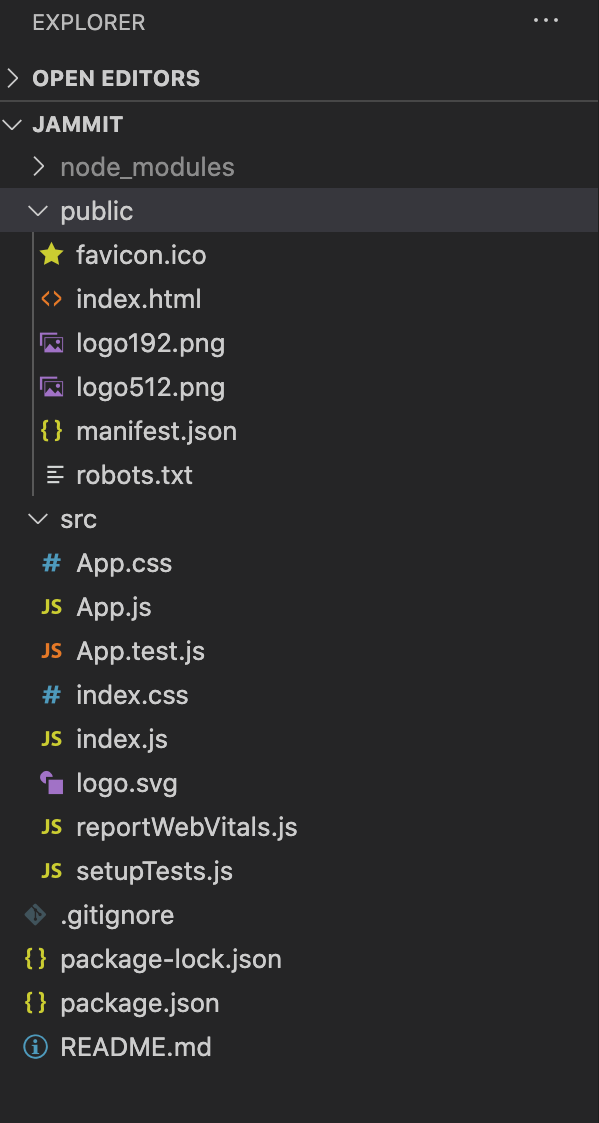
When launching the app, a web page with a default landing page appears on the browser:

After this, I removed the following list of files:
- logo192.png
- logo512.png
- logo.svg
- favicon.ico
- robots.txt
- App.test.js
- setupTests.js
- index.css
- reportWebVitals.js
These files include logos and icons for the default generated webpage, files for testing purposes, a .txt file, and a reportWebVitals.js file to analyze the app's performance. I intend to only use my own logos and icons and develop some cypress tests later. Therefore, I securely deleted all of the listed files.
Understanding the project's configuration
After these steps, this is what my project structure looks like.

I make sure I entirely understand the role of each of these files in my project's configuration.
node _modules
This folder is where npm stores local installs of packages. Anytime we import a new package by calling an "import" statement, the package goes here.
index.html
This index.htmlserves as a template for the main file that gets served on the browser. This includes metadata that describes the page's content.
manifest.json
This file describes the entire application, including information necessary to populate the web app's icons, colors, names, etc.

.gitignore
.gitignore indicates git which files shouldn't be added to the commits. It's usually used to avoid committing any intermediary object files and files from the build folder that aren't useful for other project collaborators.
At this time, I'm still at the initial stage of the development and haven't configured a git repository yet. Therefore, I am not using this file. But, in my experience, it can be handy in the further development stages, therefore, I maintained it for now.
package.json
This file lists the packages the project depends on and which versions of a package the project can use.
It also includes react-scripts, a set of scripts from the create-react-app pack. Basically, package.json includes the translation ofstart, build, testand eject to the react-scripts' version of the same commands. For example, running npm startwill actually run react-scripts startwhich sets up the development environment and starts a server.
package-lock.json
This file includes the exact version of the packages used in the project.
README.md
TheREADME.md file includes general information about the project, like a description, how to install it and run it. In coding projects, the Readme file is usually formatted in markdown, in order to be generated as HTML at the bottom of a GitHub page.
src folder
This folder includes the source code. Insidesrc we can add everything from React components, modules, styling files, middleware, etc.
index.js
When an app is generated with create-react-app, the default index.js includes many optional things I immediately deleted before starting to code. Here follows a comparison of my project'sindex.js right after the app's creation and after I cleaned it up.
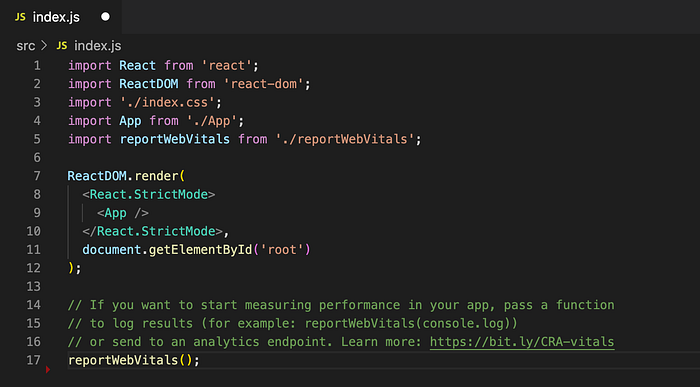
Basically, what I maintain in index.js is the entry point for the React application, seen in lines 5 to 8. In those lines, ReactDOM's render() method is called to render a React element into the DOM in t¢he supplied container and returns a reference to the component. In this case, the React element is the <App> component, as defined in line 6, and the supplied container is the DOM element rootalready defined by the starter pack in index.html
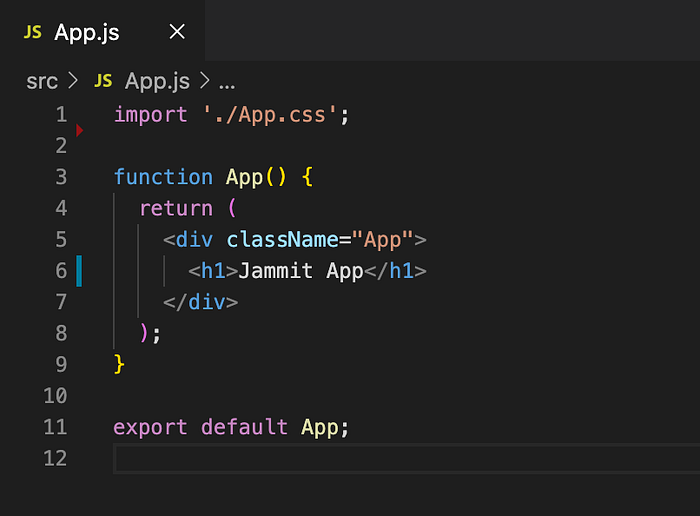
App.js
This is the root component of this app, where I will import other child components, like a NavBar, Footer, or any other component I need.
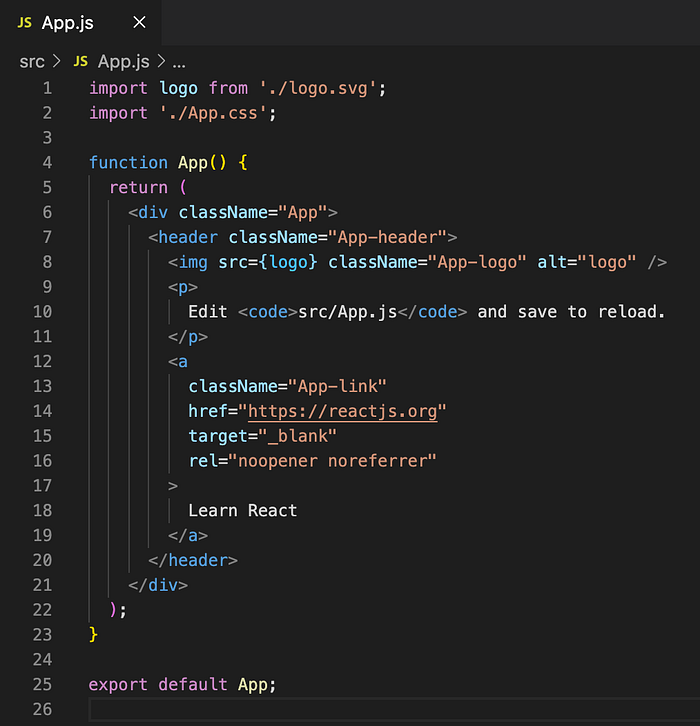
App.jsis initially created to accommodate the default landing page we've seen before. Therefore, we can delete most of its content. I only added a header to make sure I am seeing anything on the browser.
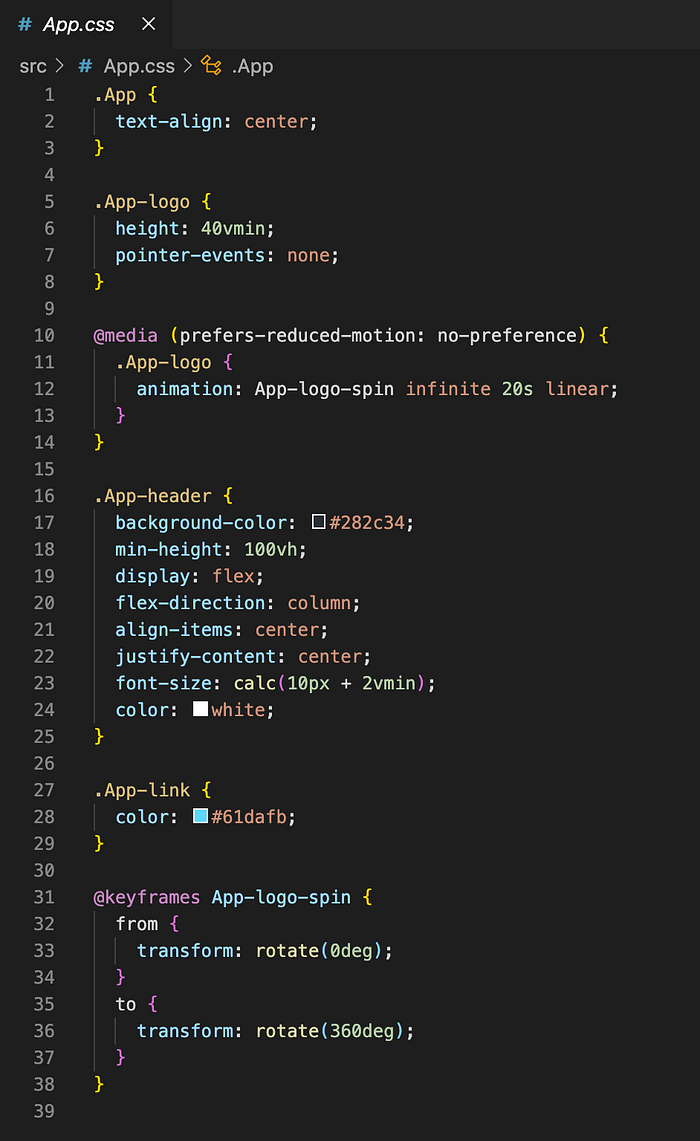
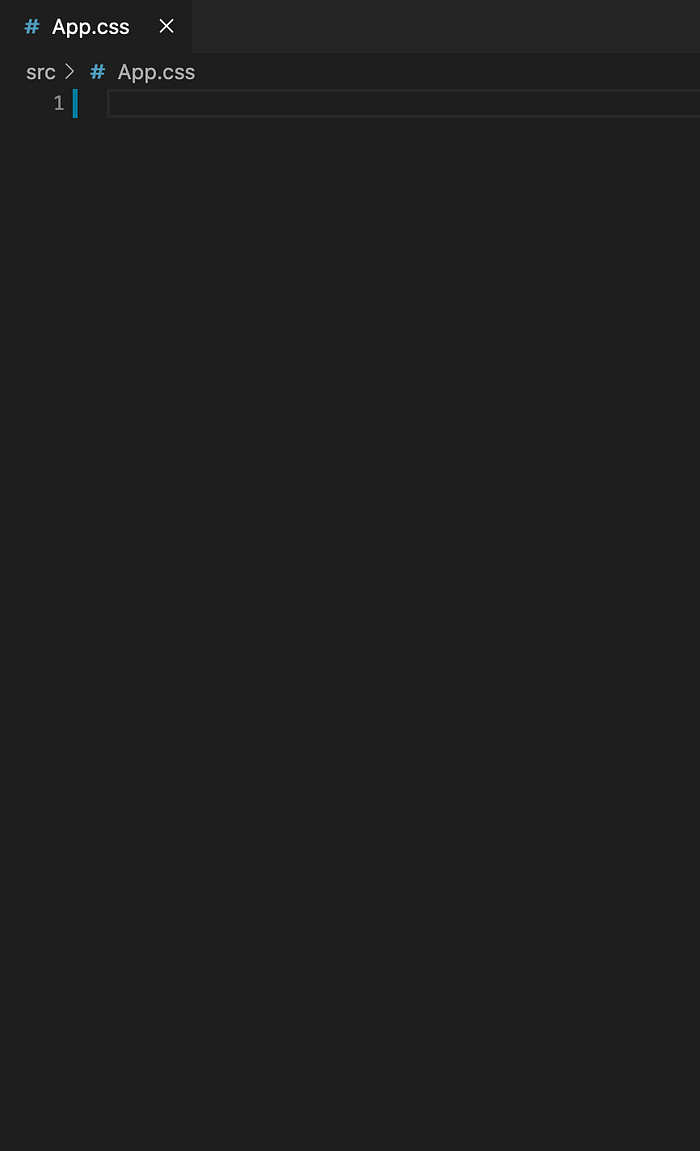
App.css
I still don't know if I will need to use App.css. I will decide on this later during my development. However, I certainly do not need its content right now, so I deleted it for now.
Start coding
By running npm start I can see what my initial page looks like in the browser.
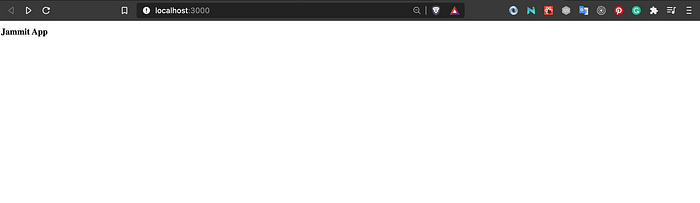
And that's it. This was the point I finally felt ready to start developing my project.
Conclusion
create-react-app creates a frontend build pipeline ready to use.
This command is a comfortable way for starting a new project without having to worry about complex issues like how to set up a webpack. However, it is important to understand a project's configuration to be able to use create-react-app in its full potential, without leaving unnecessary resources in the workspace.
Hope you liked this guide, it would have been very handy for my past-self before that embarrassing interview. Happy coding!