
In the previous tutorial, we saw that we can create a smart contract in Solidity and deploy our contract on Testnet with the help of Remix IDE.
Deploying a smart contract on Ethereum using MetaMask is crucial in transitioning your project from a test environment to the real blockchain. MetaMask, a popular Ethereum wallet, simplifies this process by allowing you to interact with the Ethereum network directly from your browser.
This guide will walk you through deploying your smart contract using MetaMask and Remix IDE.
Prerequisites
Before you begin, ensure you have the following ready:
- MetaMask Installed: Download MetaMask and set up your wallet.
- Smart Contract: A compiled Solidity contract. You can use the SimpleStorage contract from the previous tutorial.
Now that we have the wallet and smart contract, we must transfer some Ether (ETH) to our MetaMask wallet to pay gas fees. You can get test Ether from faucets when deploying on testnets like Goerli or Sepolia. For this tutorial, we will use Sepolia as our testnet tokens.
Getting Testnet Tokens
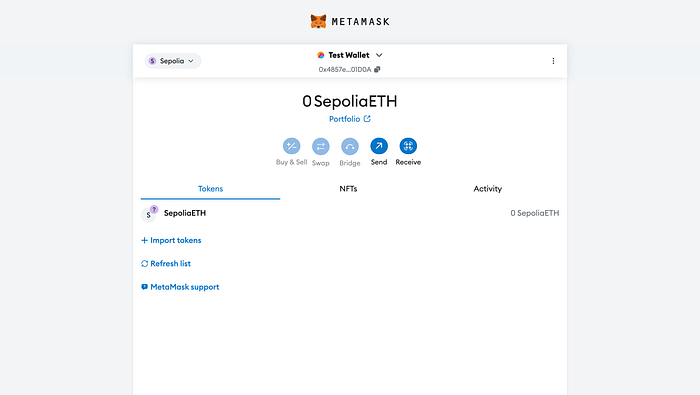
- Once you have installed the extension of your Metamask wallet, click on it, and you will see that there are currently 0 ETH tokens with us.
- Navigate to Ethereum Sepolia Faucets by Google Cloud Web3. Where you can see a form.
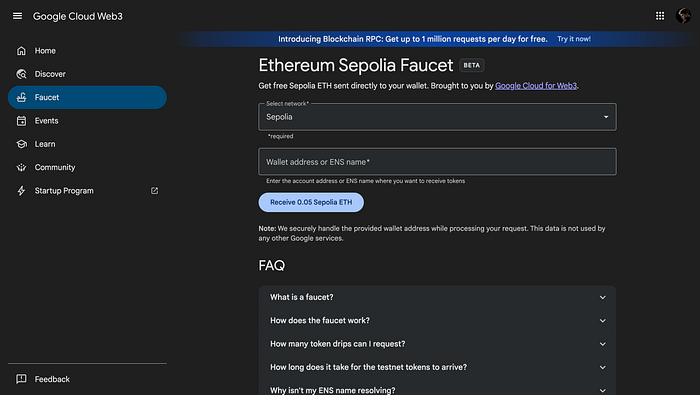
- Choose Sepolia as the Network from the dropdown, paste your wallet address from your Metamask account, and click on "Receive 0.05 Sepolia ETH".
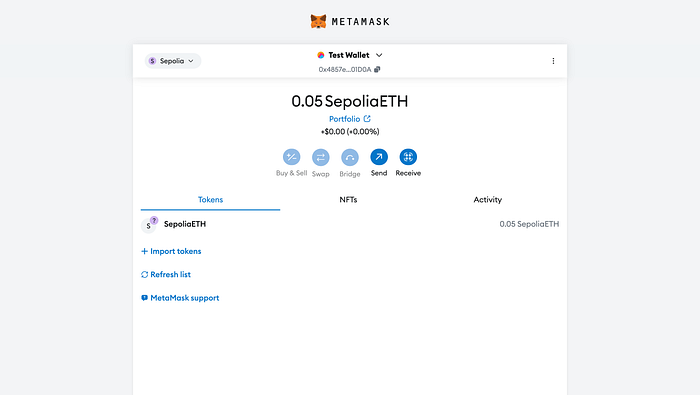
- Wait a few seconds, and you will see that 0.05 SepoliaETH has been transferred to your wallet.
Now that we have all the basic setup ready, it's time to compile and deploy the smart contract.
Compile and Deploy the Solidity Smart Contract
- Before starting with the steps to deploy your smart contract, you must compile it. Head to your RemixIDE, where you have written your contract. In the sidebar, navigate to the Solidity compiler and click the "Compile…" button.
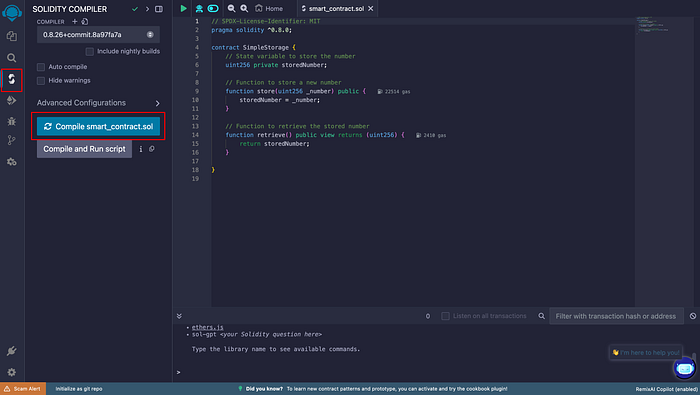
- After following the above step, you will see a green tick mark that shows that you have successfully compiled your smart contract.
- Next, head on to the Deploy & run transactions.

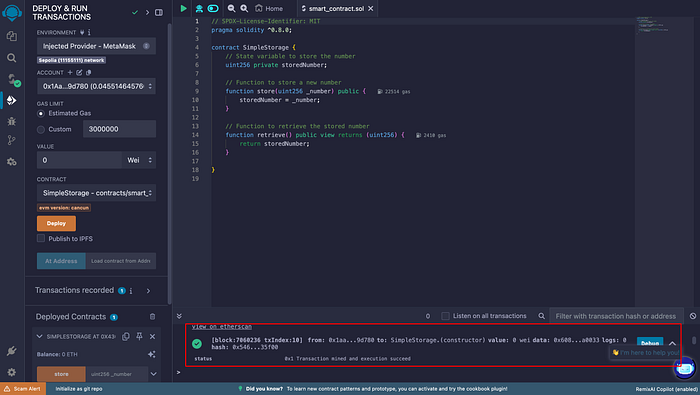
- Next, choose "Injected Provider — MetaMask" in the ENVIRONMENT section. Clicking on this button will prompt your MetaMask wallet, allowing you to sign a message.
- After selecting the environment, you can hit the "Deploy" button. Doing so will, once again, prompt your MetaMask wallet, where you need to sign and pay for the transaction using your Sepolia testnet tokens.

- Once you confirm the transaction, approval might take some time. But when it does, you'll see a message in the Remix console.
- After following the above steps, you can view and test your contract's functions under the "Deployed Contracts" section.
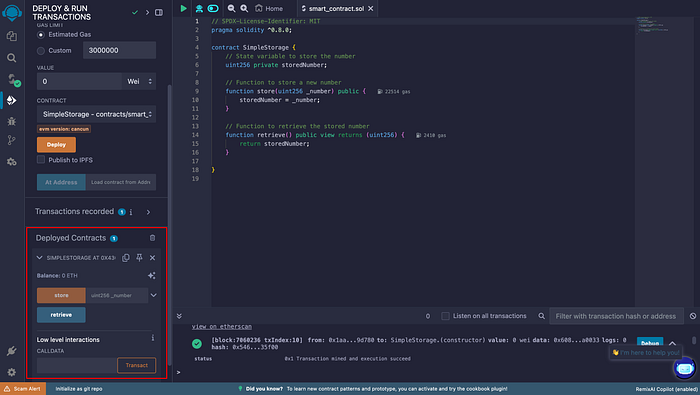
Congratulations! You have successfully created and deployed a simple Solidity smart contract to the Sepolia testnet!
Final Thoughts
Deploying a smart contract using MetaMask is straightforward, thanks to its seamless integration with Remix and Ethereum. By following this guide, you've not only learned how to deploy contracts but also how to interact with them using MetaMask. This skill is crucial for building and managing decentralised applications in the blockchain ecosystem.
Happy deploying!