
Currently it is essential to be agile to manage each of the software components of our solutions, for this reason having an automated process to be able to interact in an orderly, safe and above all fast way becomes vital to develop successful projects.
Azure Databricks is an optimized data analysis platform, it has components such as Databricks SQL that allows us to execute queries in our data lake, Databricks Data Science & Engineering and Data machine Learning as we can see it sounds quite interesting and powerful everything we can do with this service.
However; to take advantage of all the benefits of this type of services and tools we must reach a certain level of agility to really be able to translate them into value functionalities applied to the business; and to establish these agility mechanisms it is important to consider provisioning services through IaC (Infrastructure as Code), establish ways that allow developers to work in parallel with automatic controls such as static code reviews (good development practices, code style, static security review), validation of dependencies to prevent them from having vulnerabilities, automation of the continuous integration and deployment process, among other practices.
The goal is to share and help the adoption of these practices and we will focus on how to manage Azure Databricks notebooks with a collaborative branching strategy on GitHub.
Prerequisites:
· Visual Studio Code
· Azure subscription
· A GitHub account, with a repository created (preferably private, however, it can be public or internal according to the purpose of your project)
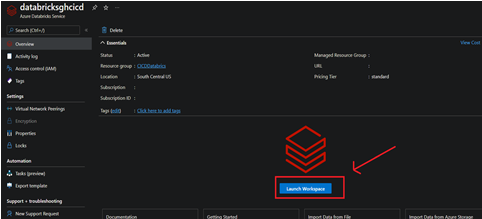
The first step we are going to perform is to enter our Azure Databricks resource and click on the Launch workspace button to enter the corresponding environment.
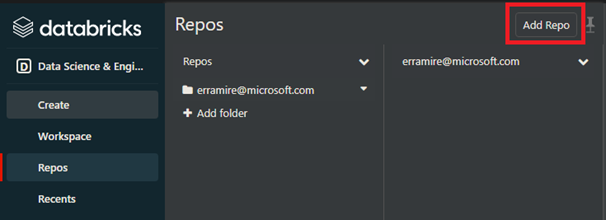
Once we are in the workspace, we proceed to configure our GitHub repository that we previously enabled to work on the notebooks of our projects, for this we click on the side panel in the "Repos" section, then click on the "repos" button.
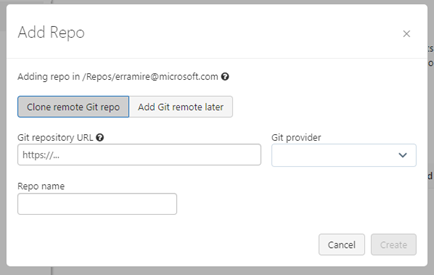
Then we must enter the following data:
· URL of the GitHub repository
· Repository provider (in our case this is GitHub)
· Repository name (This field is autocompleted)
And we click on the create button
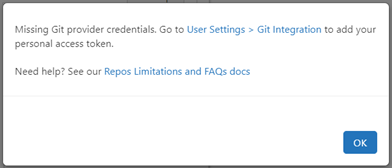
If our GitHub repository is private or internal, it is necessary to get a Personal Access Token so that we can have access to it.
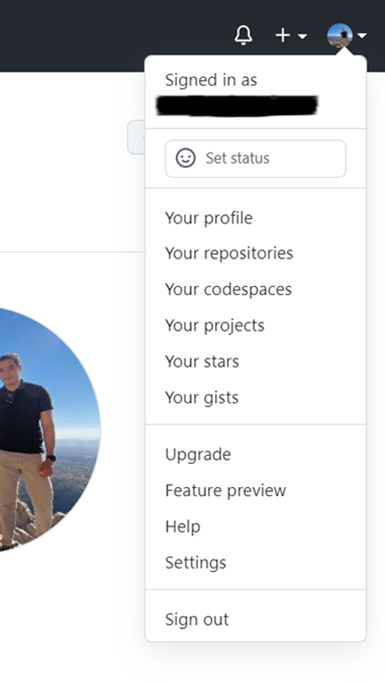
For this we go to GitHub, within your profile, we look for settings in the menu options.
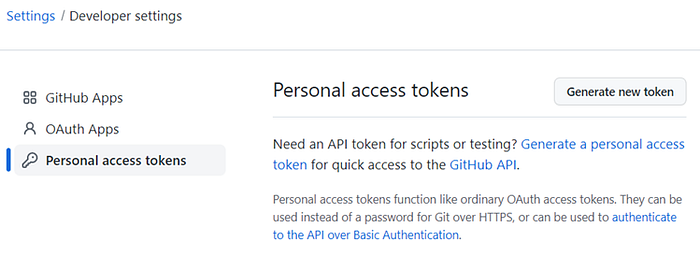
Once we are in the option, in the side panel we go to "Developer Settings", then to "Personal Access Token" and click on generate a new token.
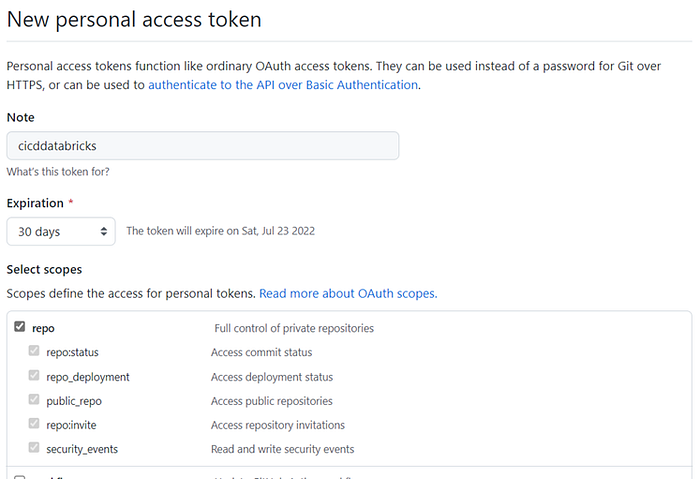
To generate our token we must enter, the following information:
· Note: Description of what it will be used for.
· Expiration: There are certain predefined periods, but it is also possible to enter a custom expiration date
· Select scopes: For this case we only need to enable access for repo
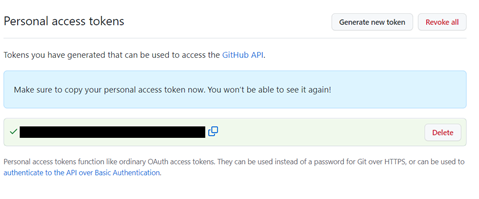
Finally, click on "Create". Once created we see the token, it will only be available on that screen, so we must save it since we will use it later.
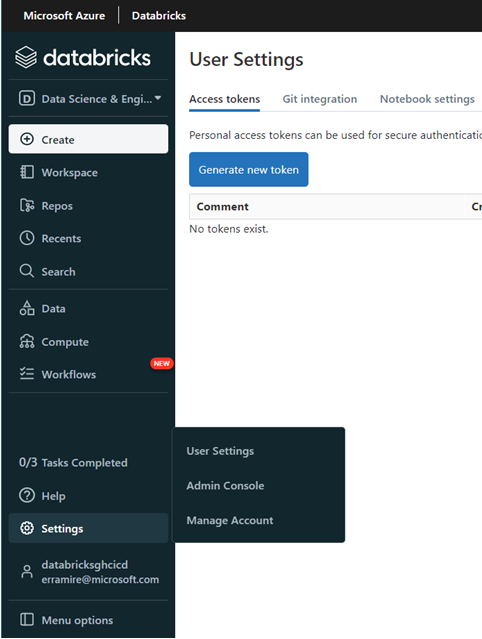
Since we have the token, we proceed to configure our Azure Databricks resource, once we are in the main panel, we go to "Settings" and click on "User settings".
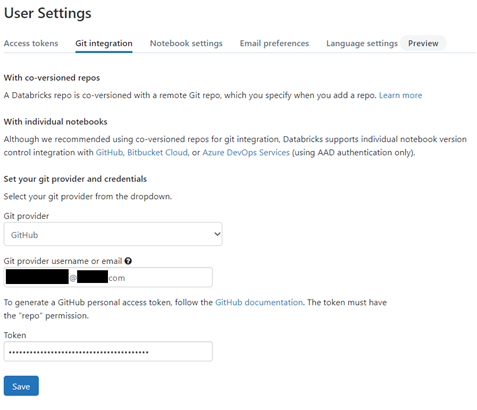
Go to the "Git integration" tab and specify the following information:
· Git Provider: In this case we choose GitHub
· Git Provider Username: we introduce our email, in which we have access to GitHub
· Token: We specify the Personal Access Token that we generated in previous steps
Click on the "Save" button.
Since we have access to the GitHub repositories, we specify the repository where we will be versioning our code.

Once the GitHub repository is associated, the next step is to choose a branch strategy that best suits our development process, and then we begin to protect the branches from where we can deploy our components to an environment, whether development, QA, Staging, Production, etc.
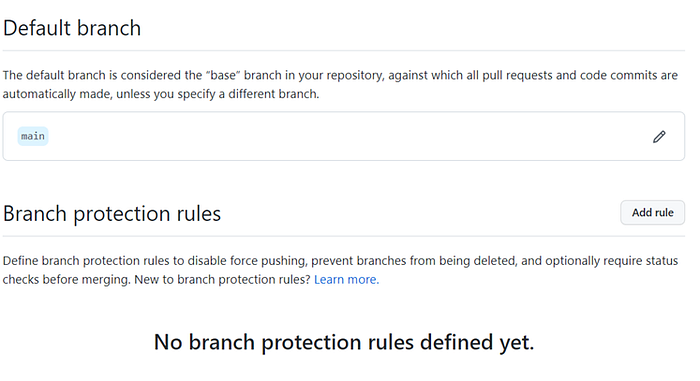
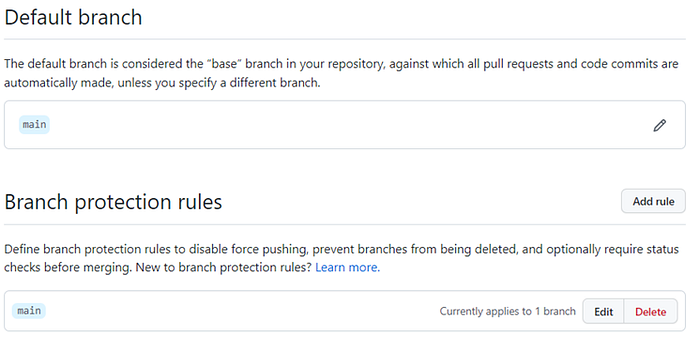
For this we go to our repository, "CICD-AzureDatabricks", go to Settings, and click on the side panel in "branches".

To protect our branches in the central panel of the branch's configuration, in the "Branch protection rules" section we click on the "Add rule" button
It depends a lot on the branching strategy that we are going to use, for this case we will use the "trunk-based development". In this strategy of branches, the main branch is "master / main" and on this we deploy to all the environments that we have defined in our development process.
We integrate latest changes from the generation of branches based on master/main to add new capabilities (Creation of branches "feature"), add a minor feature (creation of branches "topic") or resolution of a bug or error (creation of branches "bugfix"). In this strategy we would only protect the "main/master" branch

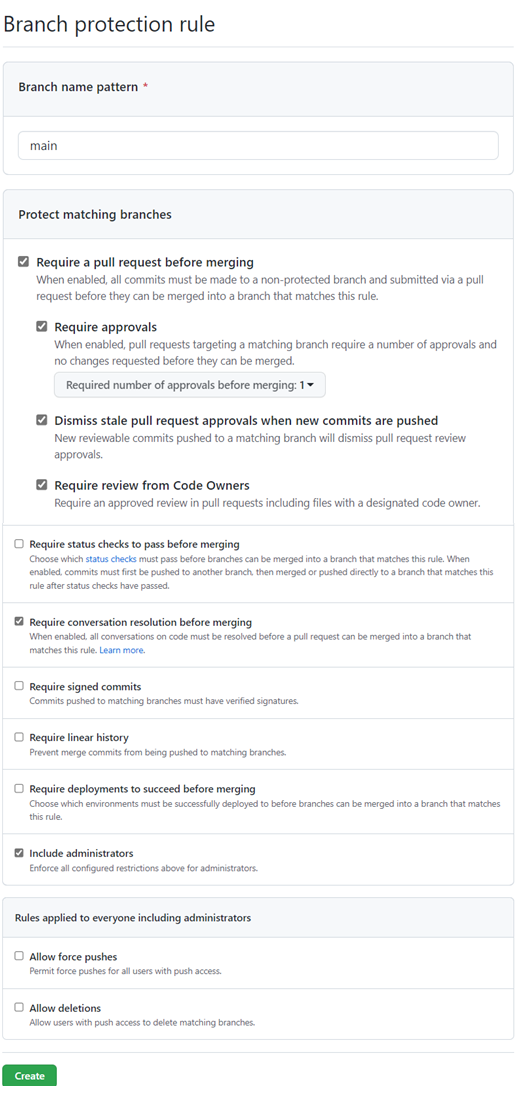
Now we specify the branch that we will protect in the field of "Branch name pattern" in our case it is main; then we activate the following options:
· "Require a Pull Request before merging", with the aim of integrating only one change to that branch through a Pull Request.
· "Require approval", for someone to review the changes to be integrated into the protected branch.
· "Require review from Code Owners", which specifies who should be self-assigned to perform the revisions on each request to integrate a change.
· "Require conversation resolution before merging" in case the reviewer makes any comments/observations the change is not integrated until it is resolved.
· "Include Administrators", this option should be enabled when we need all including administrators to comply with the policies defined to protect this branch(s)
It is important to mention that each team and organization works differently, they may or may not activate them according to the process that enables them to work better and provides them with the agility necessary to perform their daily tasks in these components.
Click on the "Create" button.
Now we can see the protection rule created in the branch configuration section.
I hope you liked this article; you can see more content that I will be generating in this medium.
Greetings and enjoy being in the cloud!