

This project is part of my Udacity Nanodegree program. We will be creating a Pixer Art Maker using HTML, CSS, JavaScript, and Document Object Model (DOM).
The first task was to create a layout using HTML and CSS. We will need an input box to get the grid width and height value. You will need a color picker. There are not many items, you can design your layout and style with CSS.
<body id="body">
<h1>Pixel Art Maker</h1>
<form id="sizePicker">
Height:
<input type="number" id="inputHeight" name="height" min="1" value="1">
Width:
<input type="number" id="inputWidth" name="width" min="1" value="1"> <input id="submit" type="submit" onclick="return false;">
</form>
<h2>Color</h2>
<input type="color" id="colorPicker">
<script src="designs.js"></script>
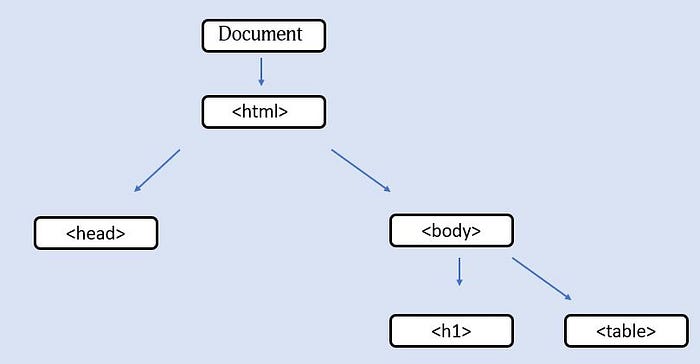
</body>The main focus of the project is JavaScript. We will be using Document Object Model to make our website interactive. DOM is an interface that will make your life easier. What DOM do is make the HTML in a tree by making every element in the tree that you can access. It defines the logical structure of documents and the way a document is accessed and manipulated.
The first task is to get the input values from the submitted form.
document.getElementById("submit").addEventListener('click', function(){
    const gridHeight = document.getElementById("inputHeight").value;
    const gridWidth = document.getElementById("inputWidth").value;
    makeGrid(gridHeight,gridWidth);
});
You can access the HTML element from the parent document object. The getElementById will helps to find the element you want to access. addEventListener add events to the element. In my project, I am adding a click event. Here is a list of events you can add to your element. When the submit button is clicked it will store the grid height and grid width in the variable and also call the makeGrid function.
function makeGrid(gridHeight,gridWidth){
    // if table is already present, remove it
    if(document.getElementById('grid') != null){
        document.getElementById('grid').remove();}
   // create a new table element
   let table = document.createElement('table');
   table.setAttribute('id','grid');

   // add cells with event listener to the cells of the table
   for(var i =0; i <gridHeight; i++){
       let tr = document.createElement('tr');
       for (var j =0;j<gridWidth;j++){
           let td = document.createElement('td');

           td.addEventListener('click', function(){
           td.style.backgroundColor =
               document.getElementById('colorPicker').value;
           })

           td.addEventListener('dblclick',function(){
               td.style.backgroundColor = 'white';
           })

           tr.appendChild(td);
      }
      table.appendChild(tr);
   }
document.getElementById('body').appendChild(table);
};
First, check if there were any table before, if there is any remove the table. Second, create a new table. The last task is to add events to the cells of the table. We want the change the background color of the cells whenever someone clicks on it. For use two for the loop, we select the row element and apply the event to all the cells. In the end, we append the table to the body of the HTML. You can check the final result here.
If you like this article, don't forget to clap and share this article. I will see you next time.