


Introduction
Recently I've decided to unravel the mysteries behind Mobile Pentesting. For some reason, there is so much fuss about Web Pentesting and forums and questions asked, and then you can spend days trying to insert an APK file into Genymotion because no one likes to talk about Android Pentesting.
This article will try to go into the its and bits of this little Mobile Application Pentesting Journey of mine starting with the Android World.
Table of Contents
- Installing VirtualBox
- Genymotion — Android Device Emulator
- Installing an APK file in Genymotion
- Setting up Burp Suite with Android Emulated Device
- Tools for Static and Dynamic Analysis
Setting up the lab
1. Install VirtualBox
VirtualBox is used as a core by Genymotion to virtualize Android Operating Systems. So in order to have a successful Genymotion installation you need VirtualBox in your system. Go ahead, click on this link, find your OS and install VB.
2. Download and install Genymotion
Now, assuming you've installed VirtualBox, you can go and download Genymotion from here. If you're on Windows, go for the Without VirtualBox installation. Of course, as expected, for the other systems, there is only one option, so go with that one.
Once Genymotion is downloaded, in order to access the Interface you would need to have an account. First create the account here.
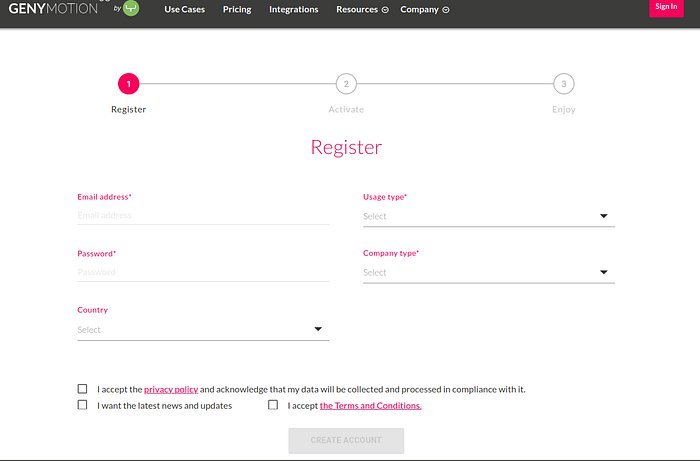
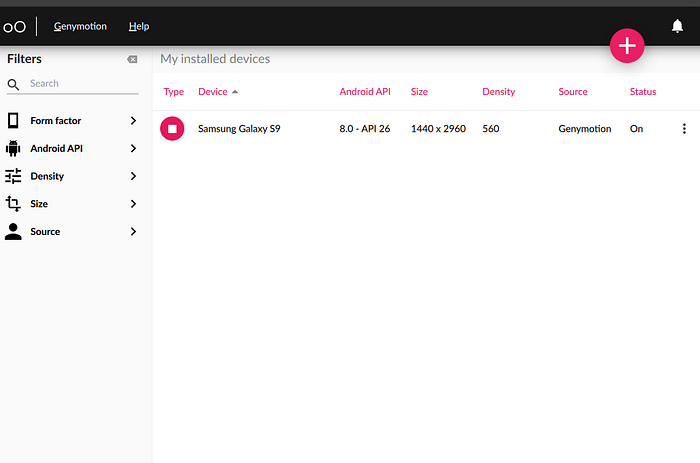
Once you've done that and the download is complete, install Genymotion and login with the account you've just created. The application will look something like this. I already have one device installed, you can install as many as you like.
Now there are a few issues that you're going to come across to.
Issue #1 ARM Translator Library
Now in order to insert APK files and for them to actually work, you would 90% of the time need an ARM Translator. Now you'd probably think "Wait, wait, I lost you here". So here are the ABCs of that:
- Genymotion's devices consist of x86 (32 bit) architecture.
- When I say architecture I refer to the type of processor in your phone. Usually the options are ARM, ARM64, x86 and x86_64. ARM and x86 are for 32-bit processors while ARM64 and x86_64 are for 64-bit processors.
- Now, if the apk you've downloaded has been built on ARM architecture, the Genymotion device will not be able to run it because x86 and ARM files are not cross compatible.
- This is the reason why you would need an ARM Translator Library.
To install an ARM Translator Library find the correct Android Version and download the corresponding zip file from here. So if your device is running Android version 8.0, you should download Genymotion-ARM-Translation_for_8.0.zip.
After download, drag and drop the zip file into the emulated device. Successful installation of the ARM library is when a successful message pops on your screen.
Issue #2 Finding your device's information
- To be able to know exactly which architecture is your device built on you can install Droid Hardware Info, which is a free apk file and will tell you essentially everything that you need to know. After downloading the file just drag and drop it into the device emulator and you should see a screen similar to this one:

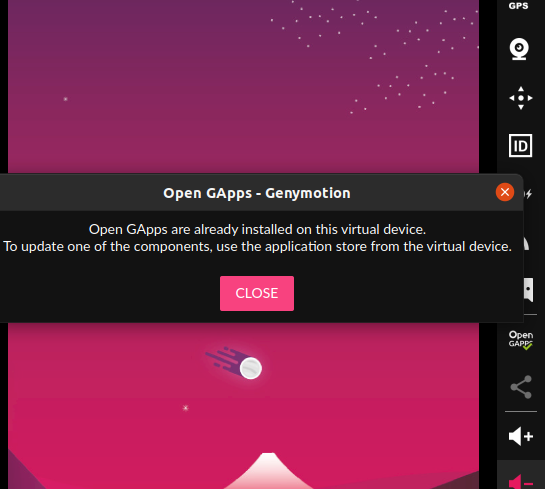
Issue #3: Downloading and installing GApps
Installing GApps into the emulated device makes things easier to download target apps from Google Apps. This can be done by :
Option 1: Clicking the widget in the emulated device
Option 2: Downloading the zip file from GApps Open Source Project page.
Since we can see from the Droid Info Page the Architecture of the Device and we also found out the Android Version, we can select those on the page and download the zip package.
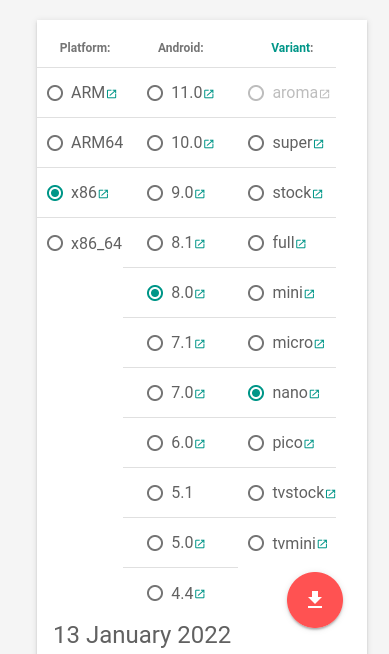
After downloading the file, we can drag and drop it into the emulated device.
3. Installing an APK file in Genymotion
There are again several ways to do this:
#1 Download the apk file from sites like: APK Mirror, APK Pure. How this works is, you find your apk file on the site, download it and drag and drop it into the emulated device.
#2 This approach is by downloading the application from Play Store and then pulling it with adb (Android Bridge).
- Why would you need the apk file if you can just in install the app from Play Store? It's required for a decompiler in order to review the source code for static analysis.
Okay, now that that is out of the way. The commands are the following:
# Call package manager (pm) and filter out a specific app's package name
$- ./adb shell pm list packages | grep appname
# Check the absolute path
$- ./adb shell pm path com.appname.android
# Pull apk and rename to twitter_lite.apk
$- ./adb pull /data/app/com.appname.android.somevalue.apk
Now drag and drop the apk file into the emulated deviceNote: to be able to use adb, it usually comes preinstalled in genymotion tools, so if you installed genymotion in home directory you can execute the above commands by first navigating to: ~/genymotion/tools/
At this point we have set up our emulator and can see the application that we want to test in the emulated device.
Next up we need to set up Burp Suite as a proxy and then install and connect some tools that we will use for Dynamic and Static Analysis.
4. Setting up Burp Suite with Android Emulated Device
First off, if you haven't already, install Burp Suite's community version: link.
Now you would need to set up a Burp CA's certificate into the emulated device. The steps are the following:
- Navigate to Burp -> Proxy -> Options -> Export CA certificate -> Certificate in DER format.
- One you've exported the certificate use OpenSSL to convert DER to PEM and rename to <cert-hash>.0
To do that the commands are the following:
$- openssl x509 -inform DER -in cacert.der -out cacert.pem
$- openssl x509 -inform PEM -subject_hash_old -in cacert.pem | head -1
9a5b575
$- mv cacert.pem 9a5b575.0
3. Now move the created certificate in emulated device using adb
# Change /system partition into writable mode with remount
$- ./adb remount
# Transfer certificate
$- ./adb push 9a5ba575.0 /system/etc/security/cacerts/
# Change its permissions
$- ./adb shell chmod 644 /system/etc/security/cacerts/9a5ba575.0
# Reboot to let changes occur
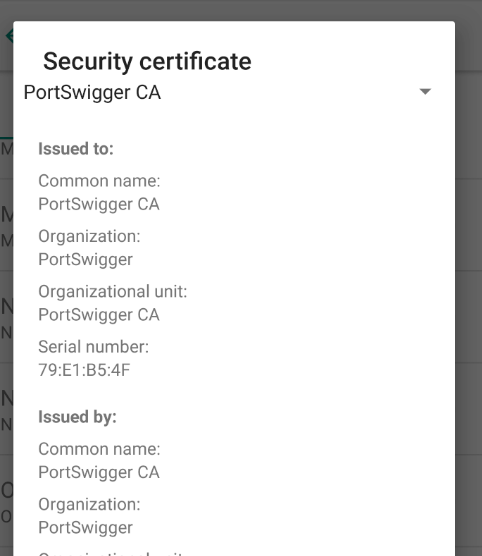
$- ./adb shell reboot4. The certificate should now be installed as a system trusted CA certificate which you can confirm by navigating the emulated device in Settings -> Security & Location -> Encryption & Credentials -> Trusted Credentials
5. Next up is configuring burp suite's proxy, by navigating to Proxy -> Options -> Proxy Listeners -> Add. There you can set your port number to be 8082 and bind it to a specific address which is the VirtualBox's Interface IP.
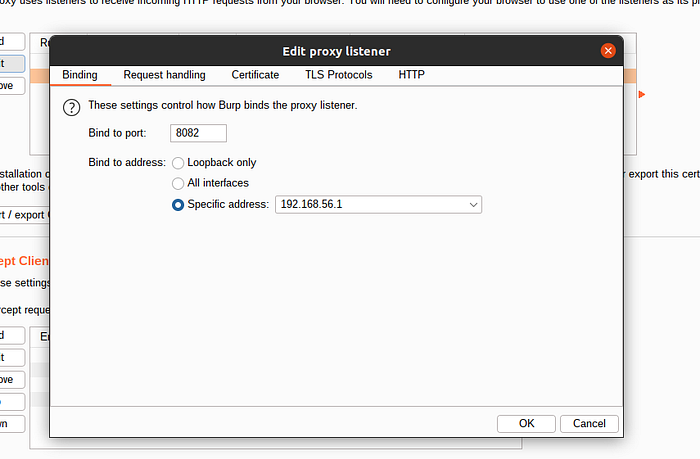
To find your VirtuaLBox's Interface IP, open your terminal and type `ifconfig`.
5. The last thing to do is on the emulated device you should also set up the WiFi settings. Navigate to WiFi -> Long press WiFi name -> Modify Network -> Advanced Options -> Change proxy None to Manual.
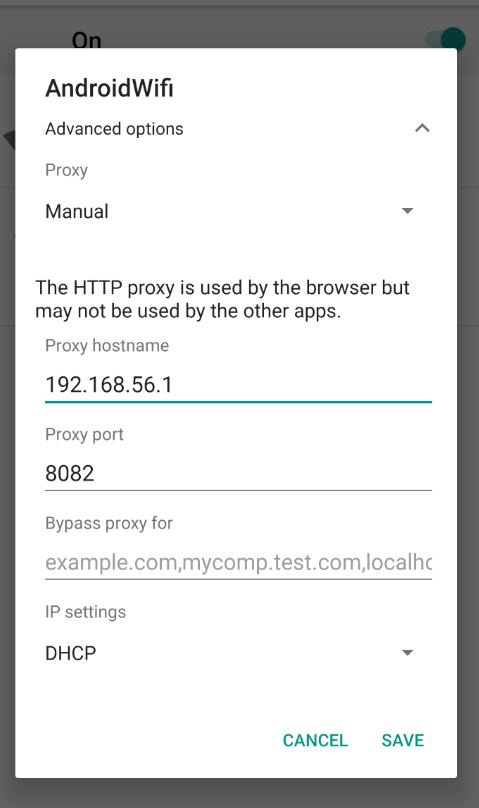
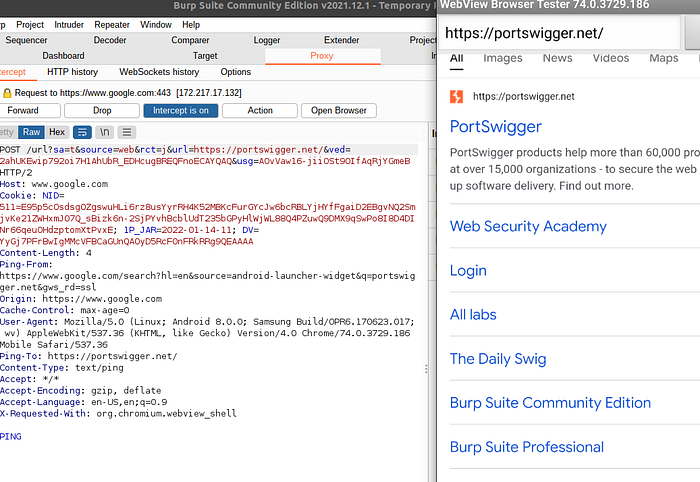
After this you can see network traffic in Burp.
5. Tools for Static and Dynamic Analysis
Continuing with the setup, in order to be able to do Dynamic and Static Mobile Analysis we would require some tools.
There are plenty of tools available and it really comes down to your preference, as I've recently learned. However, in this article I will mention a few tools used for scanning, static/dynamic analysis or frameworks that incorporate both that you might need in your setup and walk you through their installation and in-depth usage for each of them in the following articles.
Application Scanners
- AndroBugs Framework —An Android vulnerability analysis system that helps developers or hackers find potential security vulnerabilities in Android applications. No splendid GUI interface, but the most efficient (less than 2 minutes per scan in average) and more accurate.
- Quick Android Review Kit (QARK) — This tool is designed to look for several security related Android application vulnerabilities, either in source code or packaged APKs. The tool is also capable of creating "Proof-of-Concept" deployable APKs and/or ADB commands, capable of exploiting many of the vulnerabilities it finds. There is no need to root the test device, as this tool focuses on vulnerabilities that can be exploited under otherwise secure conditions.
Dynamic Analysis Tools
- Frida — This is a dynamic code instrumentation toolkit which lets you dynamically inject snippets of code into running processes of the app in order to change its behavior.
Static Analysis Tools
- Androwarn — Static Code Analyzer for malicious Android applications. The detection of malicious behaviour is performed with the static analysis of the application's Dalvik bytecode, represented as Smali, with the
androguardlibrary. This analysis leads to the generation of a report, according to a technical detail level chosen from the user. - Bytecode Viewer — Used for decompiling source code for better review.
Frameworks
- MobSF — Mobile Security Framework (MobSF) is an automated, all-in-one mobile application (Android/iOS/Windows) pen-testing, malware analysis and security assessment framework capable of performing static and dynamic analysis. MobSF support mobile app binaries (APK, XAPK, IPA & APPX) along with zipped source code and provides REST APIs for seamless integration with your CI/CD or DevSecOps pipeline.The Dynamic Analyzer helps you to perform runtime security assessment and interactive instrumented testing.
These were some of the tools required to setup a decent Android Security Pentest Lab. However keep in mind this list is ever expanding and there are so many different tools that you can use or even build one of your own if you can't find what you're looking for in the current world of open source.
Keep #hashtalking and stay with me while I unravel the world of Mobile Hacking.