

We have discussed about setting up a .Net solution that using Aspire and hosting Ollama server, registering necessary databases in the previous stories. If you have not read it yet, you can read them here:
Now we're going to add some code in CRaG.AIEngine first to see how OllamaSharp works in the project basically.
To install OllamaSharp, stay in the CRaG.AIEngine and run the command:
dotnet add package OllamaSharp — version 4.0.6
Before doing some code, we would like to install Carter library:
dotnet add package Carter — version 8.1.0
What is
Carterlibrary?
Carter is a framework that is a thin layer of extension methods and functionality over
ASP.NET Coreallowing the code to be more explicit and most importantly more enjoyable. Carter usesIEndpointRouteBuilderrouting and all the extensionsIEndpointConventionBuilderoffers also known as Minimal APIs. It helps us to implement the routing in Minimal APIs easily.
To get more information about Carter please visit below link
You can feel freely to use Carter or not. Now we stay in the CRaG.AIEngine , create PromptEndpoint.cs with the path Features > Prompt > PromptEndpoint.cs , and PromptModel.cs with the path Features > Prompt >Models
Note: You don't need to follow our structure. You can create these files in anywhere you would like.
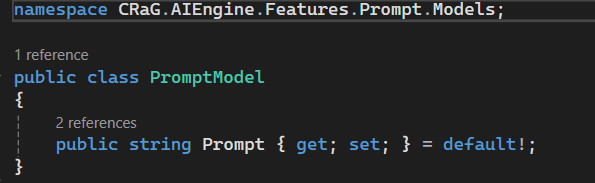
PromptModel.cs in CRaG.AIEngine.Features.Prompt.Models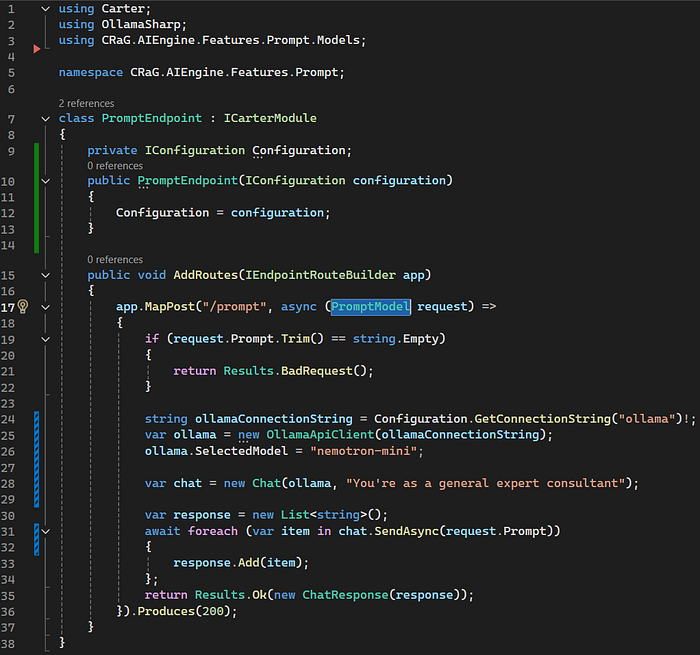
PromptEndpoint.cs in CRaG.AIEngine.Features.PromptAs you see in the picture, OllamaSharp help us to create an ollama instance which will integrate with Ollama server. To create a new instance, we need to pass Ollama connection string, so go back to CRaG.AppHost project and open program.cs file
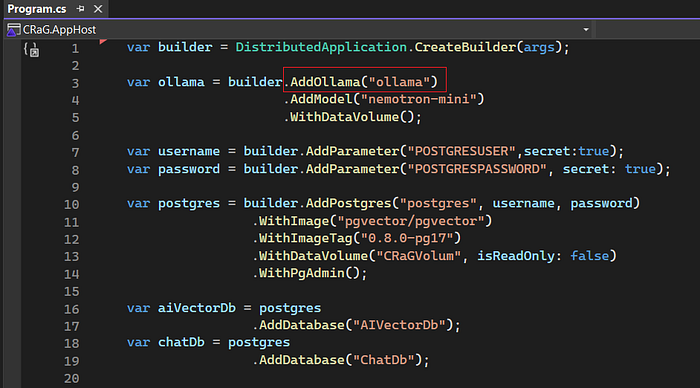
We can use the alias name (ollama) to connect to Ollama server or we can call Ollama server directly via its url. To get its url, start the solution and go to the dashboard.
Note: The URL of Ollama may be change overtime when we run the solution, so the best way is using the alias name.

Now, we need to do some more important steps:
- Select a model for our Generative AI. Here we use the model named
nemotron-mini.

- Create a
chatinstance and setsystem promptfor our chat. You can set whatever you would like for your bot.

. Send the message and get the response
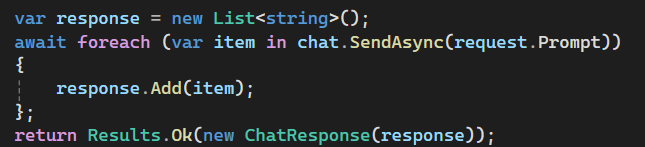
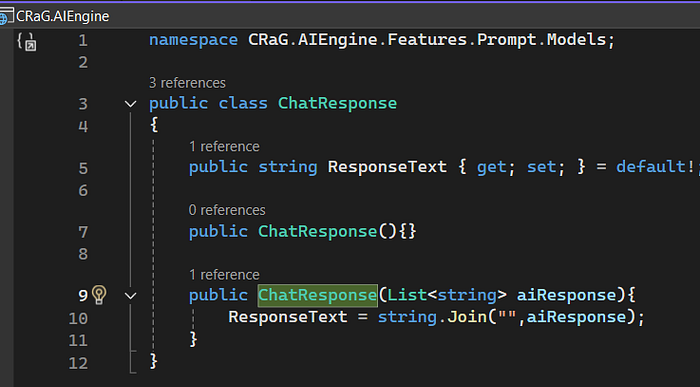
- Convert the response to text and return the result.
All right, time for testing. Run our solution and use Postman to get it.
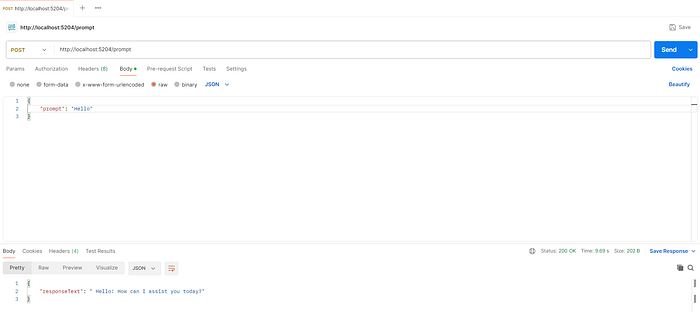
Congratulation! Finally, we have a simple Generative AI chatbot.
Hey !!! hey !!! we haven't finished yet. It seems our chatbot cannot understand our current context if I send relevant messages.

To understand the current context, we need to give it previous information. To do that we need to update our PromptEndpoint.cs and PromptModel.cs again.
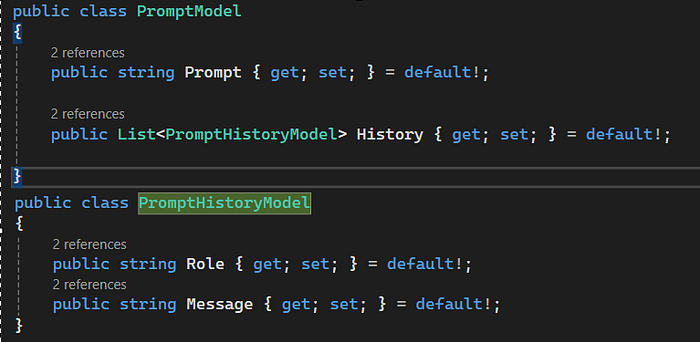
We add a new field for PromptModel, it's called History. This field includes: Role and Message.
Next, we update our PromptEndpoint

Luckily, we don't need to do anything complex. OllamaSharp already supports us an easy way to help your bot understand the context by adding Messages for it.
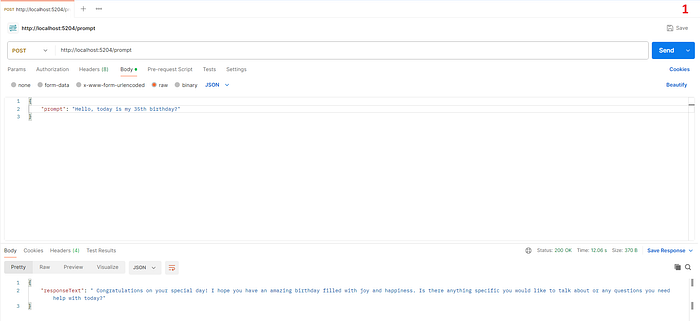
Now we can test it again.
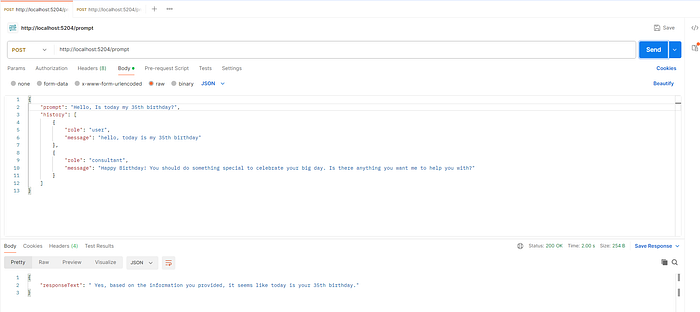
In the Postman test, I assumed that today was my 35th birthday and my bot gave me a birthday blessing, then I asked it again and now it remember that today is my 35th birthday based on Messages field of Chat instance.